
Half-Dome. Angels’s Landing. Whitney.
These are the names of some of the most popular/infamous hikes in the United States. The most recent trail to take its place among this elite club is lovingly known by hikers simply as “Havasupai”.
Thanks to the gorgeous Havasu waterfall and its unique milky blue-green pool, the Havasipai Trail has captivated the imagination of travelers from around the world.
It’s the stuff the dreams of hikers and photographers are made of.
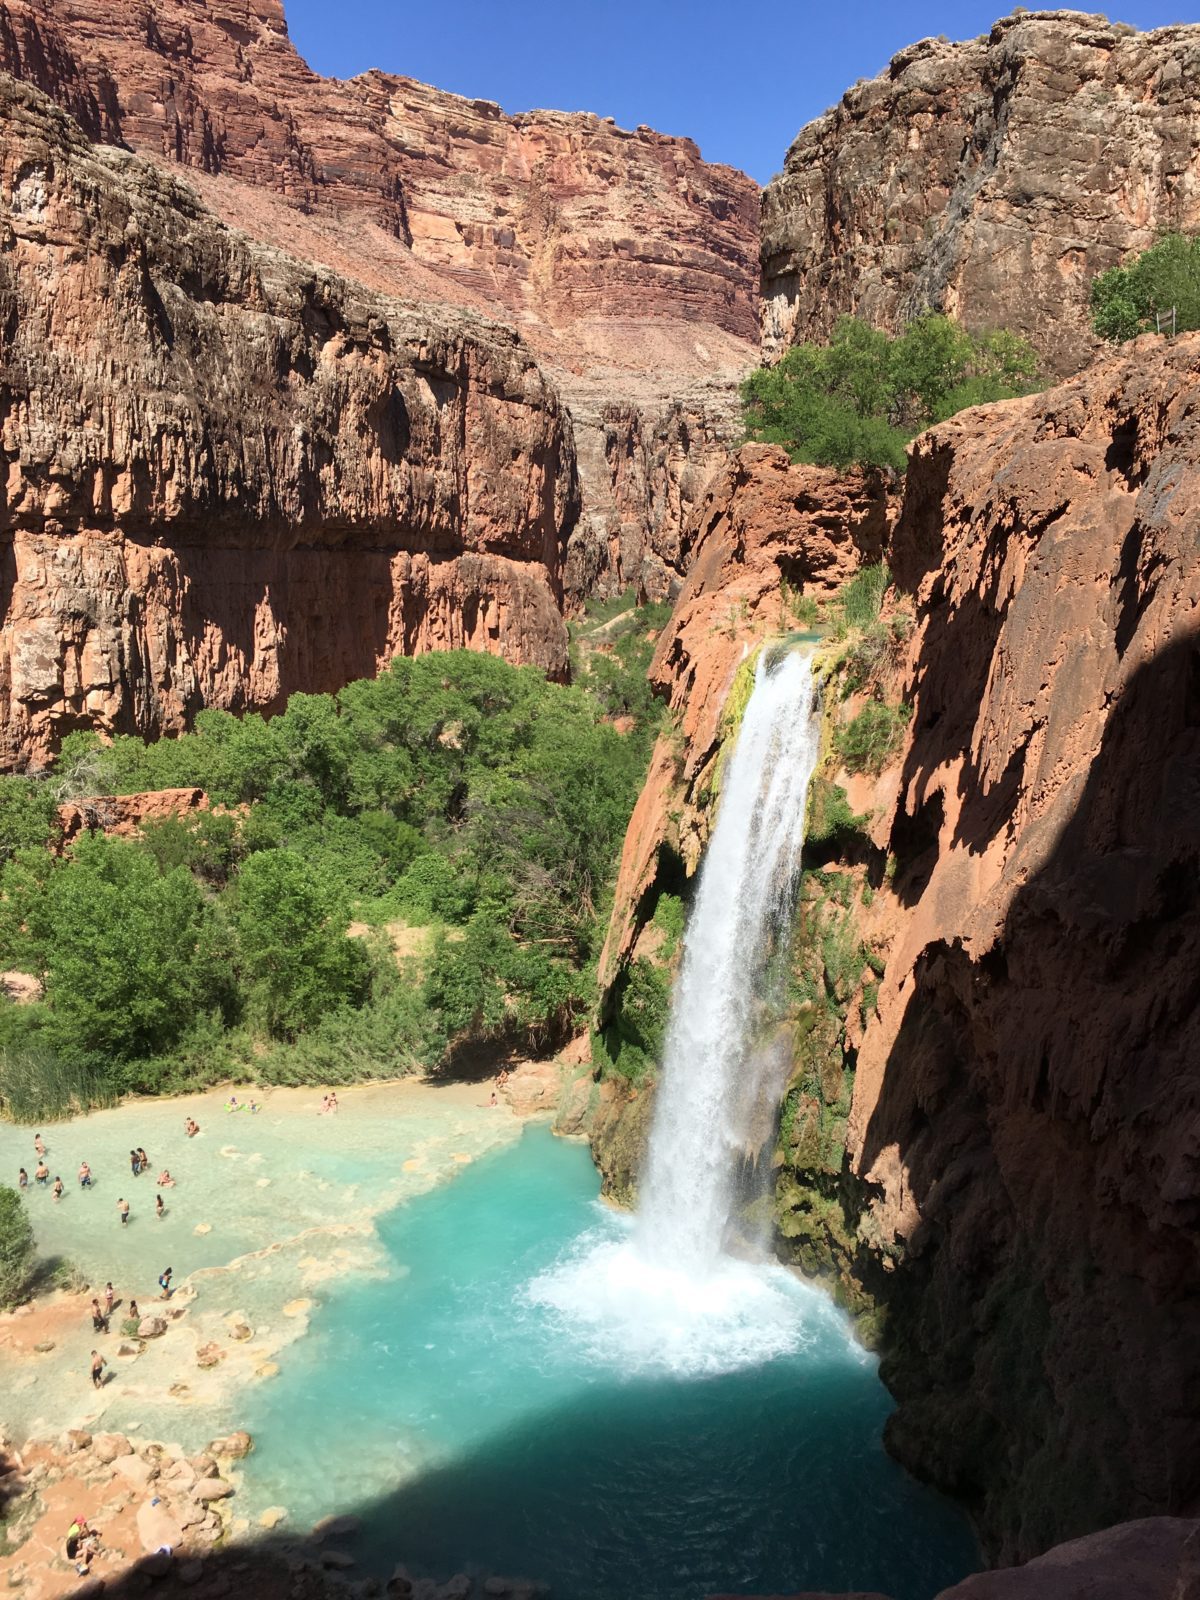
Havasu Falls in all its glory
Hiking The Havasupai Trail To Havasu Falls (Supai, Arizona)
Sure, hiking Havasupai is a “right-of-passage” trail for hikers. But these days, you can’t even be a self-respecting(?) Instagram influencer without an obligatory “care-free-frolic” photo shoot in Havasu Falls.
So where is it? How do you get there? How do you do it? I’ll cover all that and more in this post on Hiking The Havasu Falls Trail.
About The Havasupai Trail:
The Havasupai Trail to Havasu Falls is an out-and-back trail that takes you from the trailhead at Hualapai Hilltop to the village of Supai in 8 miles.
Havasu Falls and the campground are another 2 miles from Supai, making this trail a little over 10 miles each way (or a 20-mile+ round-trip hike).
The trail is a “reverse hike” in that it starts with a descent (the easy part) as the trail climbs down into the canyon and then to the waterfall and campground. Obviously, the reverse is true on the hike out, with the harder ascent on the way up.

Despite what Google Maps says (above), I’d say this hike will normally take about 5 hours to Havasu Falls
This hike must be done as an overnight backpacking trip rather than a day hike (day hikes are not allowed). The trail is well-marked and easy to follow, but it can be crowded.
FHOP Tip: The campground is “first-come-first-served” so plan on getting there early in the morning if you want any hope of getting a choice spot closer to the falls. The campground stretches far (over a mile) so a campsite at the end can add significant mileage to this hike (and the walk back-and-forth to the falls).
FHOP Tip: I would recommend at least a 2 or 3 night stay at the campground as that will give you sufficient time to explore Mooney Falls and and the surrounding areas.
Like the trails of the Grand Canyon National Park that surrounds the Havasupai Tribal lands, the Havasupai Trail takes you through a stunning desert canyon landscape, but there is very little shade, so be prepared for lots of direct exposure to the sun.
The “Typical” Itinerary:
Planning: Get hiking/camping permits (see below)
Day 1: The Descent: Check-in at Hualapai Hilltop – check-in at Supai – Navajo Falls – Fifty-Foot Falls – Havasu Falls – the campground
Day 2: Exploring: Havasu Falls – Mooney Falls – Beaver Falls
Day 3: The Ascent: The campground – Supai – Hualapai Hilltop
FHOP Tip: Most people leave the campground early in the morning at around 3:00 am to avoid the hottest part of the day and make it back to the top of Hilltop before 10:00 am.
FHOP Tip: There is a spigot for water in the campground. Rumors are its source is a fresh spring, although this is not verified. You may see people drinking the water untreated straight from the spigot, but I recommend bringing a water filter (or other treatment) and using it. Why risk it?
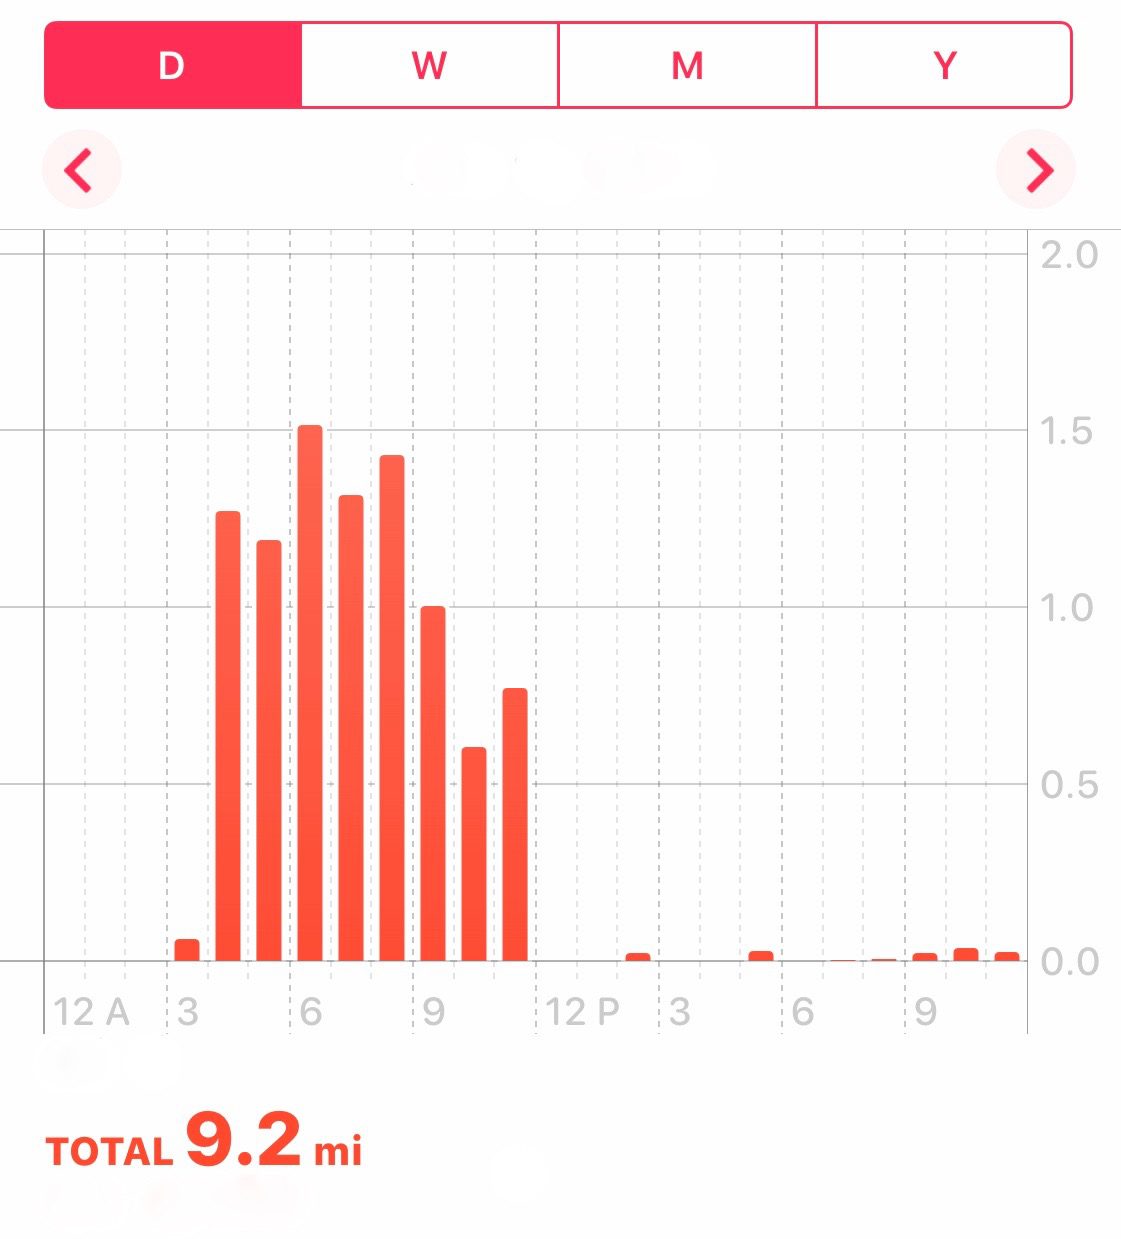
The Stats On The Hike:
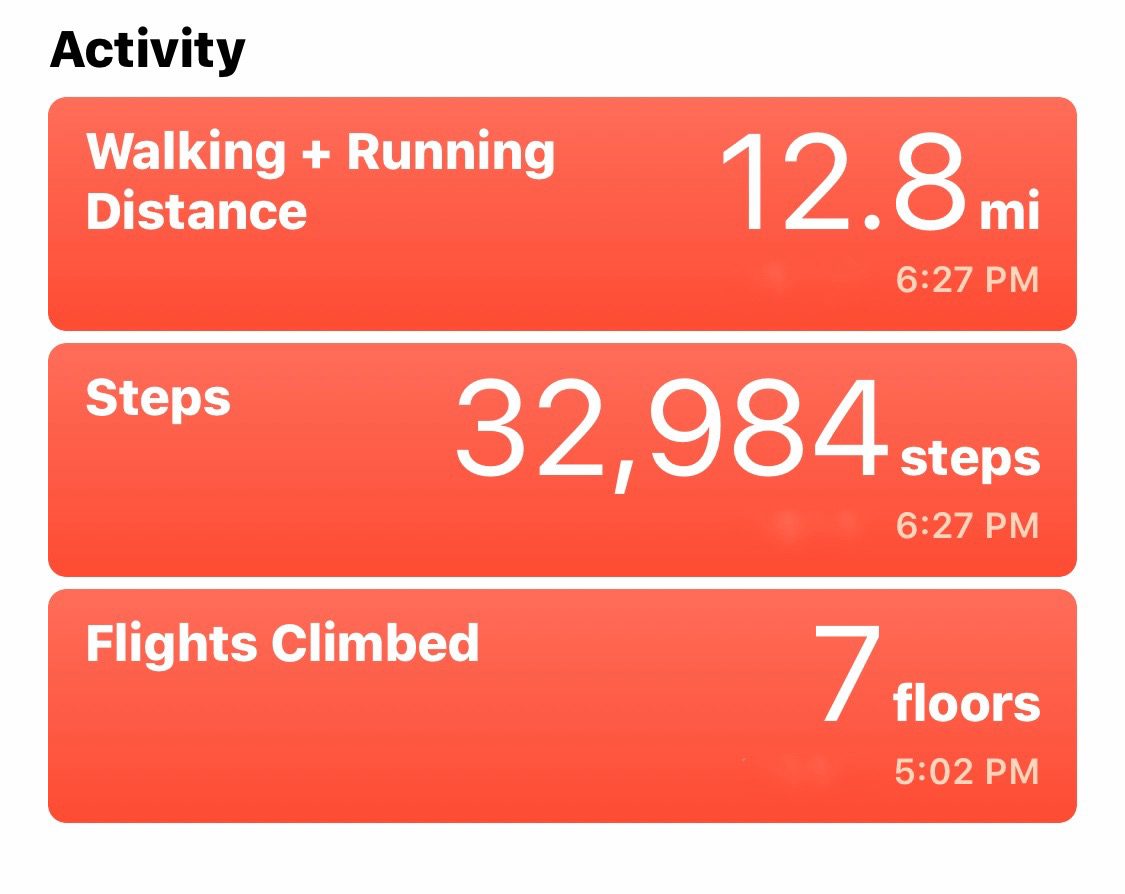
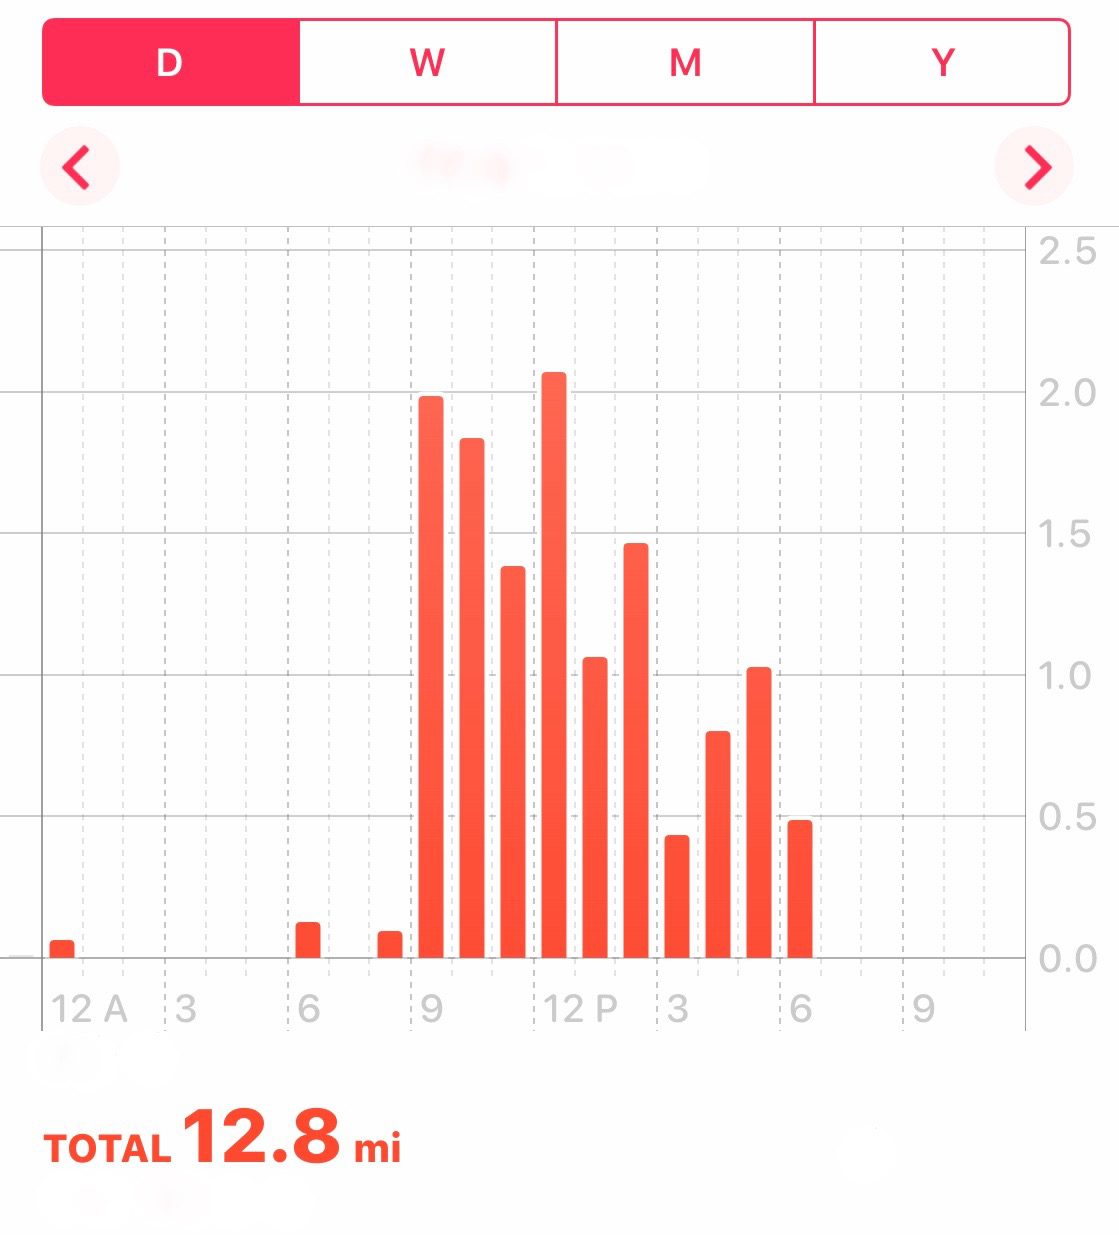
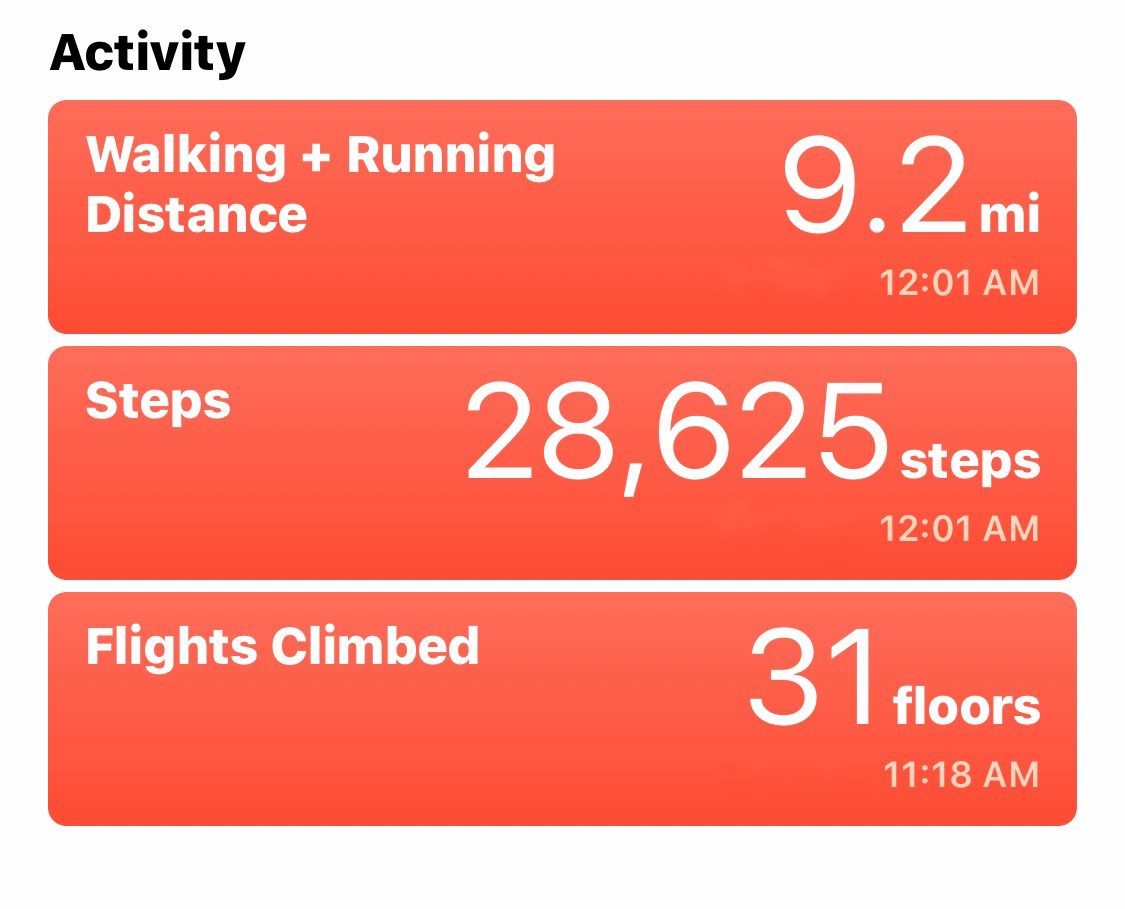
Here are my actual stats from the Health app on my iPhone. Your miles may vary.
Day 1: The descent to Havasu Falls (with some back & forth to the campground)
Day 3: The ascent back up to the Hilltop parking lot
Planning And Getting The Required Permits:
First-things-first: Permits are required for hiking and camping on this trail, and they are extremely hard to get. In fact, they will almost certainly sell out for the entire year – instantly – on the day they go on sale.
I covered the requirements of the permitting process in detail in this prior post, “What You Need To Know About Getting A Reservation To Hike Havasupai (Supai, Arizona)“.
In a nutshell, you must first go to the official Havasupai website havasupaireservations.com and create an account. Do this at least a couple weeks out (before February 1), don’t wait until the last minute to get this done.
Next, you must make your reservation on February 1st at 8:00 am [Arizona-time]. This is the only day during the entire year you can reserve a permit.
I highly recommend you have at least 5 choice dates selected before you enter the reservation system as you will not have time to consult a calendar or figure out new dates during the process.
The Official Information On The Campground And Pricing From The Havasupai Tribe:
NOTE: The information below is current at the time of this post. ALWAYS check the official website for the current information.
Here is the information on reservations and pricing from the official tribal website:
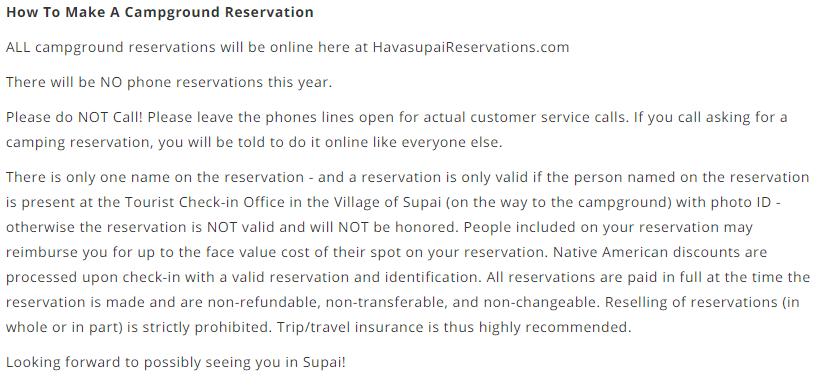
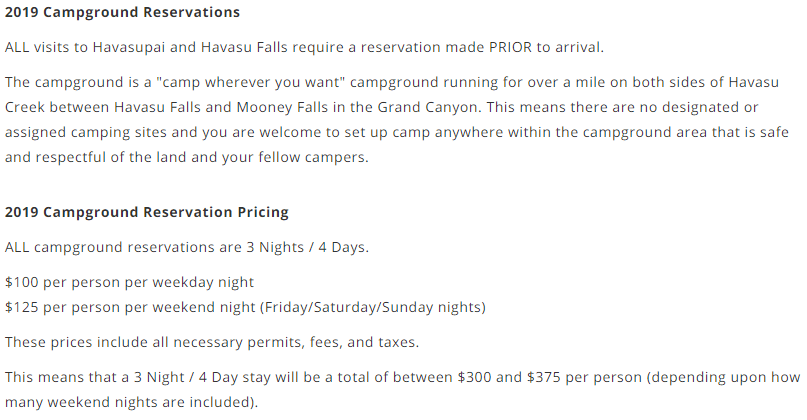
(Images courtesy of havasupaireservations.com)
Location & Getting There:
The Havasupai Trailhead is located on the Haualapai Indian Reservation lands of the Havasupai Tribe, roughly about 5 hours from Phoenix, 4 and a half hours from Las Vegas, or about 8 hours from Los Angeles.
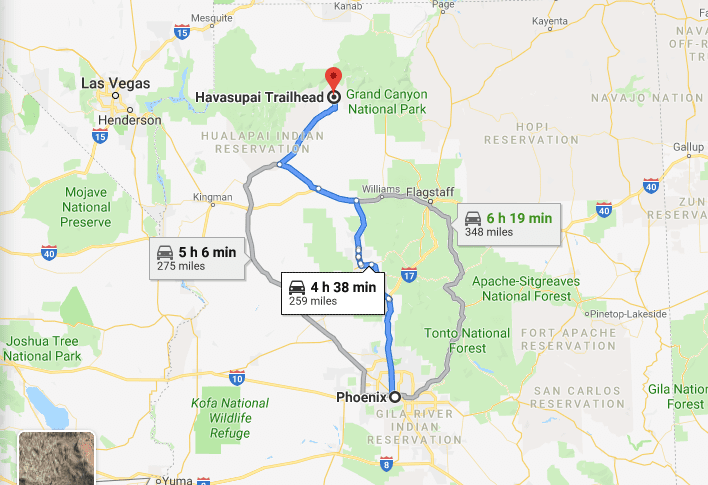
The drive to the trailhead is very remote, so make sure to stock up on supplies and gas ahead of time
The road will end at the trailhead at the back of the Haulapai Hilltop parking lot (below).
The Parking Lot [Situation]:
As you can see in the satellite picture of the parking lot (below), this place will be crowded so expect parking to be scarce anywhere close to the trailhead.
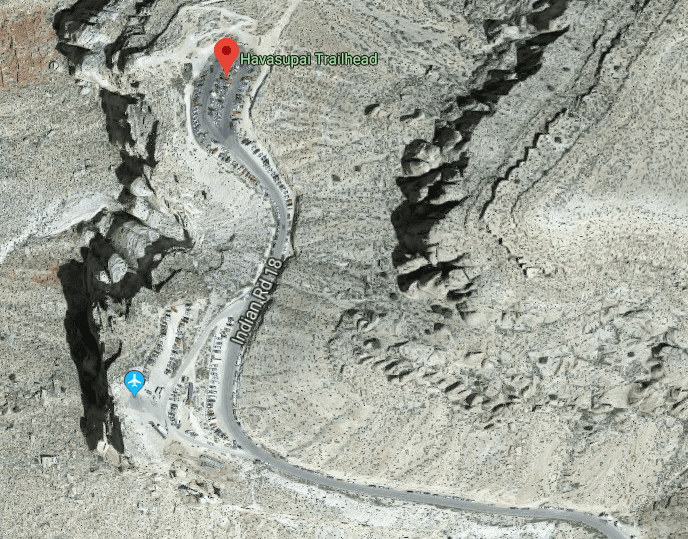
The end of the road and the parking lot at Hualapai Hilltop. Yes, that’s a line of cars stretching all the way down the road
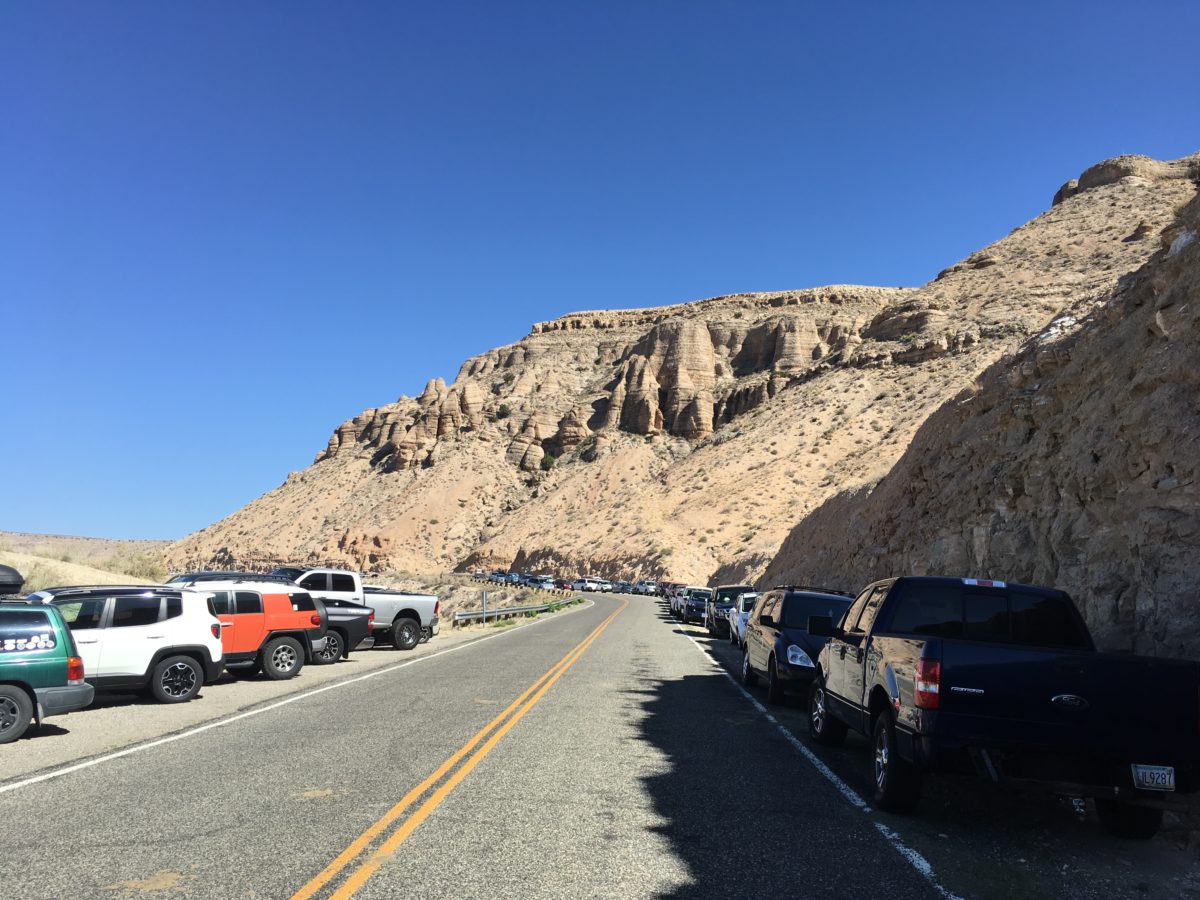
Parking in the lots is extremely limited, so expect park along the roadside and to walk a very long, long way
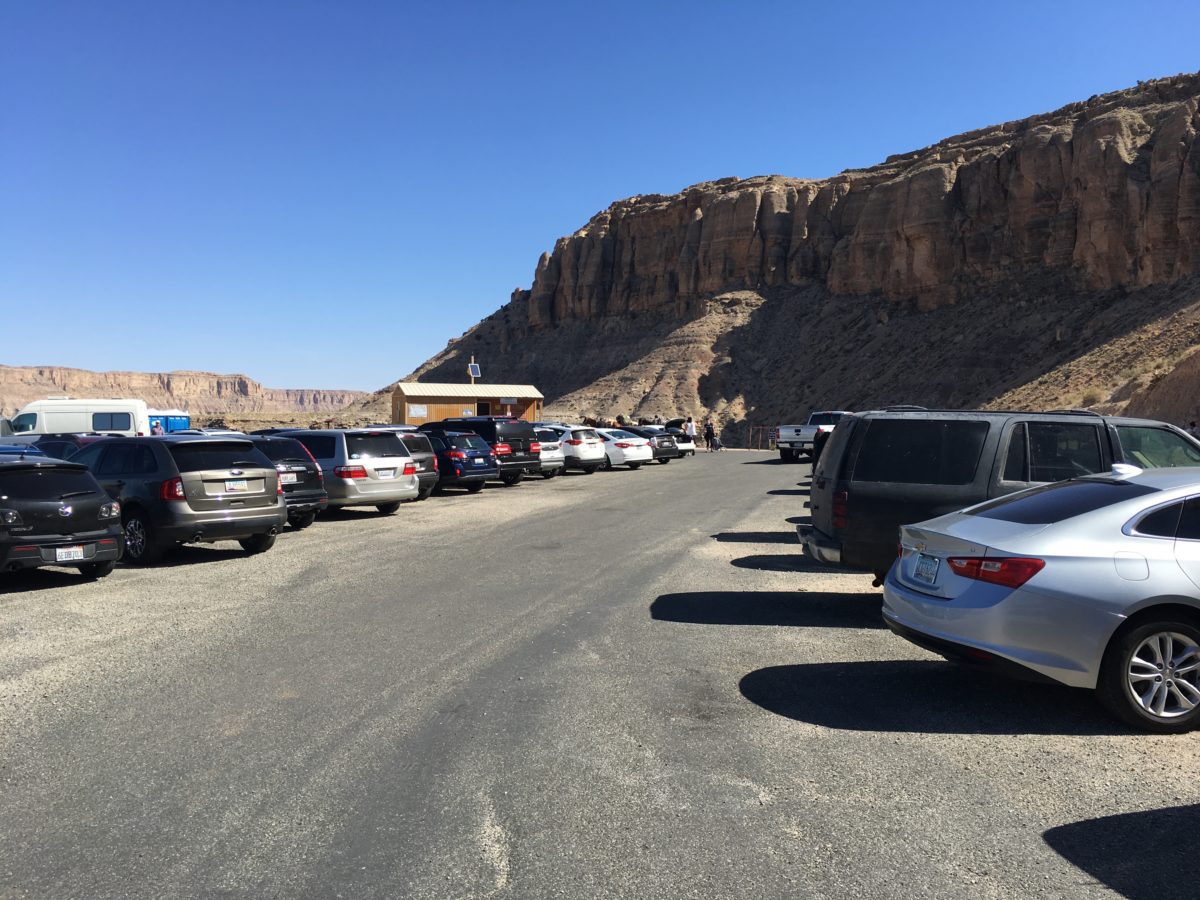
Will you get lucky with parking? I didn’t, but eventually I made it check-in office at the end of the parking lot
Checking-In At The Hualapai Hilltop Office:
Once you find a parking spot, you’ll have to head over to the office at the trailhead to check-in with your ID. The whole check-in process took about 2 minutes.
I was handed a General Information Guide and an official map then I was ready to hit the trail.
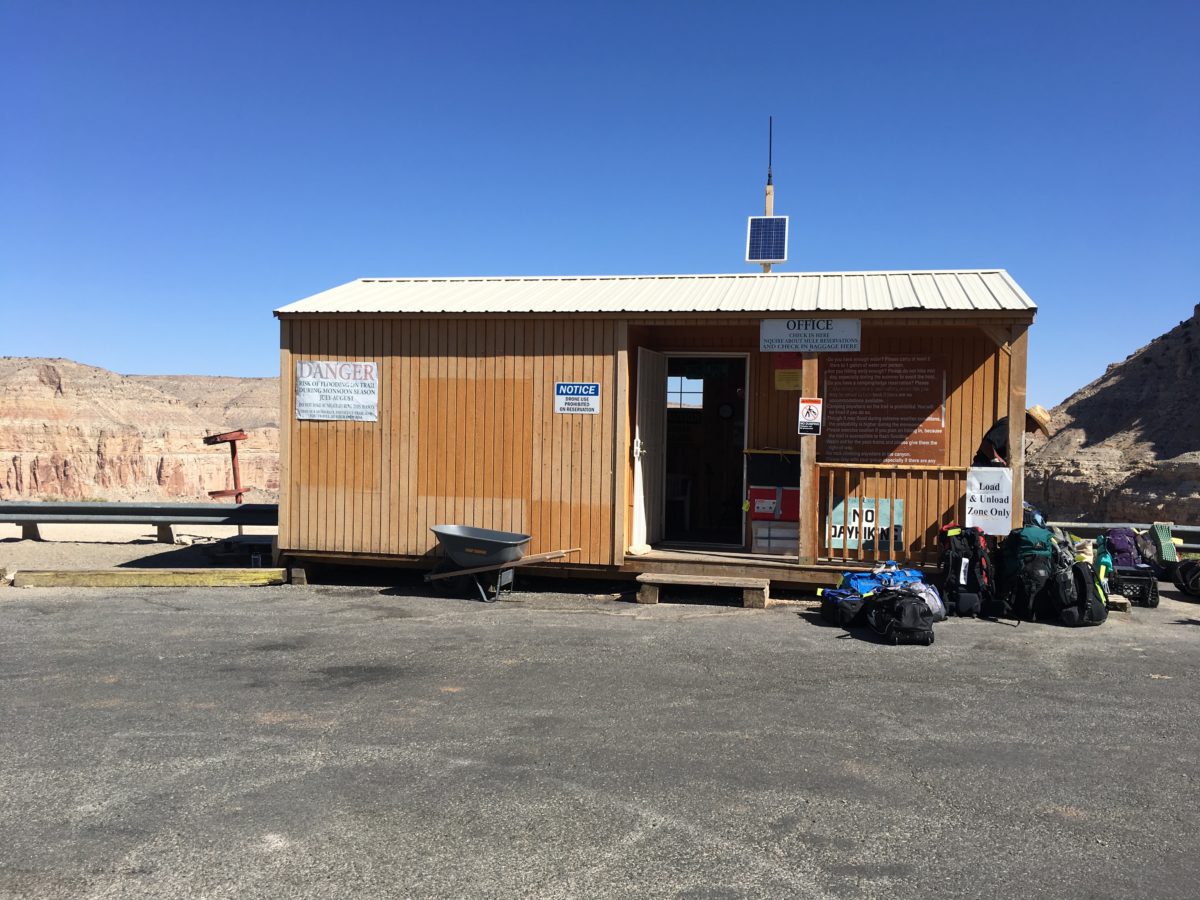
The check-in office. Have your permit and ID ready.

The official General Information Guide

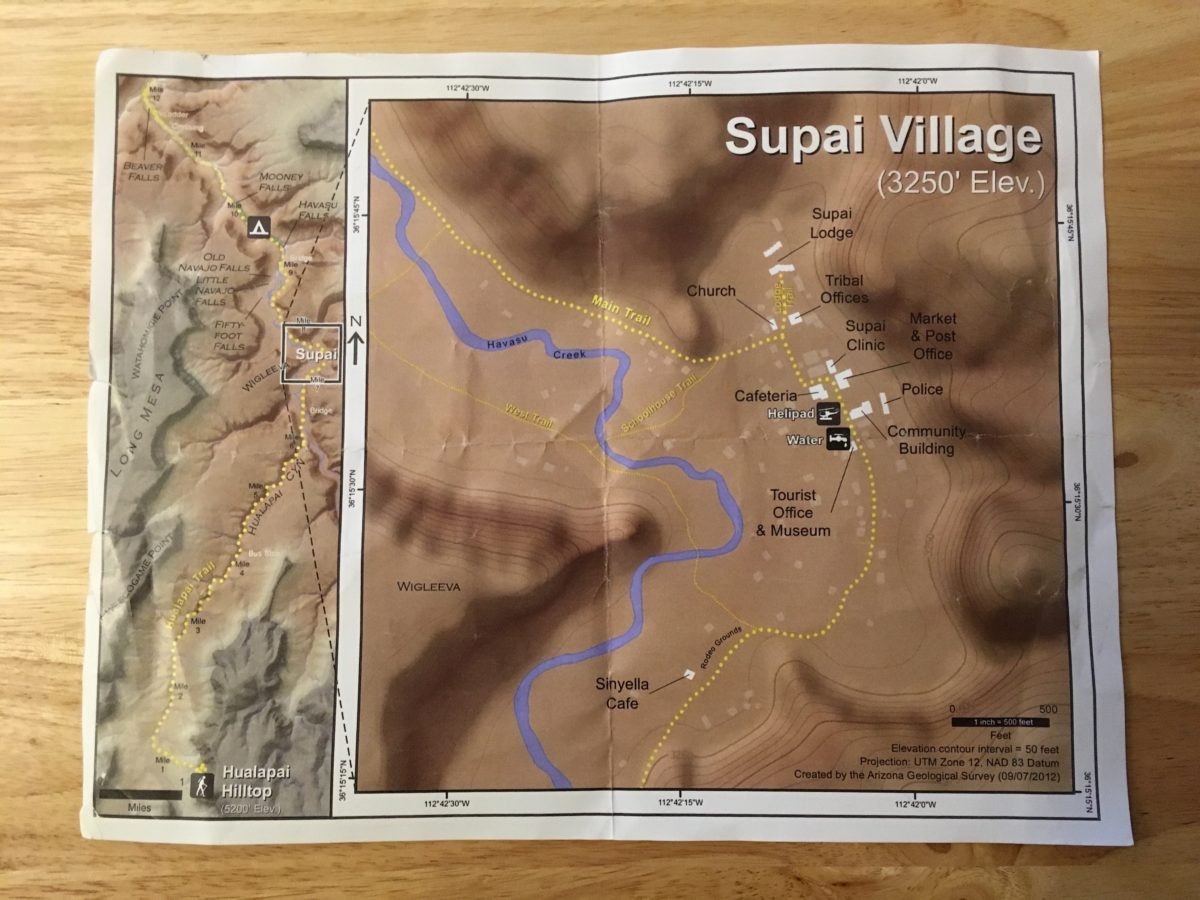
This is the official map you’ll receive at check-in (the trail on the left, the village on the right)
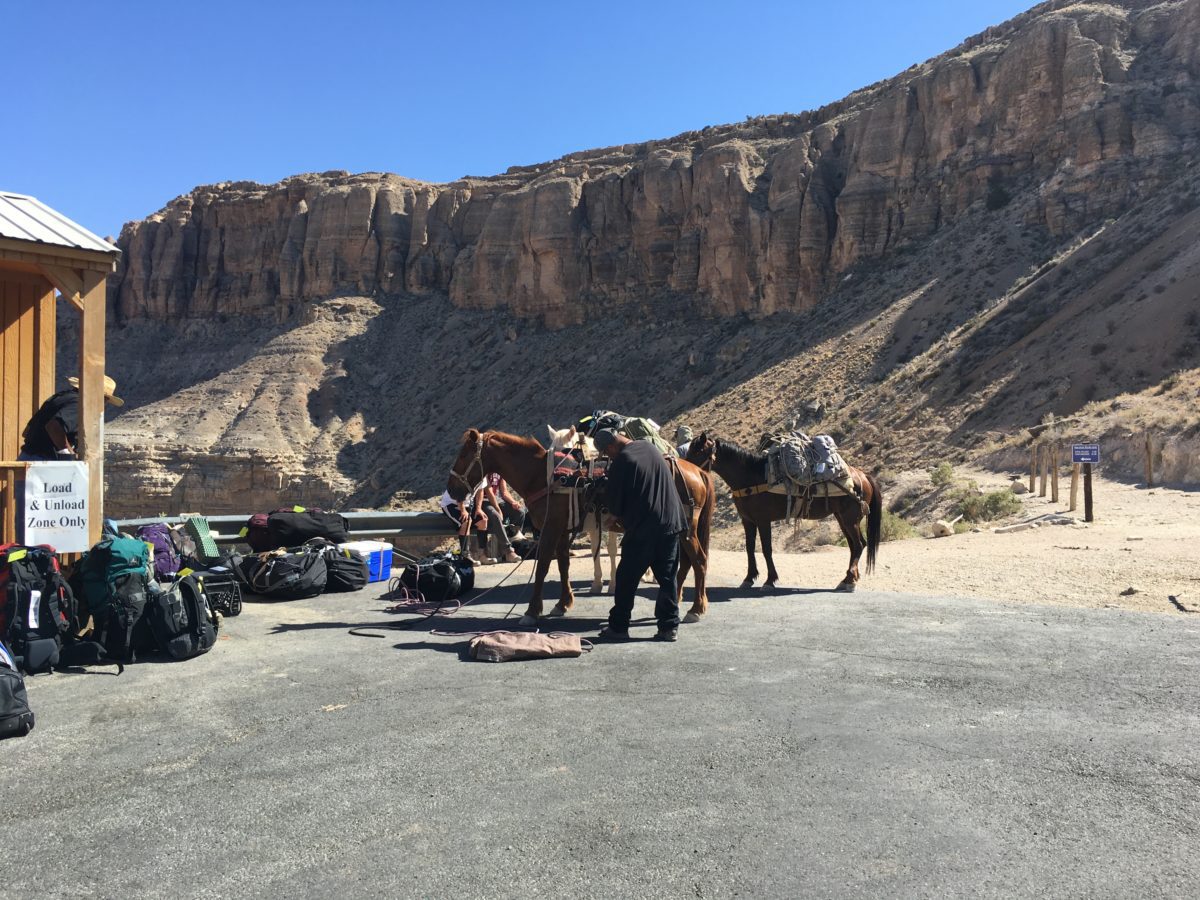
You can pay someone bring down your pack…but where’s the fun in that?
Section 1: The Trailhead, The Switchbacks, & The Slog
You’ll start the hike down an area known as “the switchbacks”. The trail is well engineered and easy to follow, but there is little to no shade.
FHOP TIP: This is the most dreaded section of this hike. Not so much going down, but coming back up. Whatever you do, you don’t want to be stuck trying to climb this section in the direct sun on a hot sunny day from 11:00 am to 2:00 pm. For this reason, most people choose to leave the campground at around 3:00 am in the morning in order make it back to the top of Hilltop before 10:00 am.
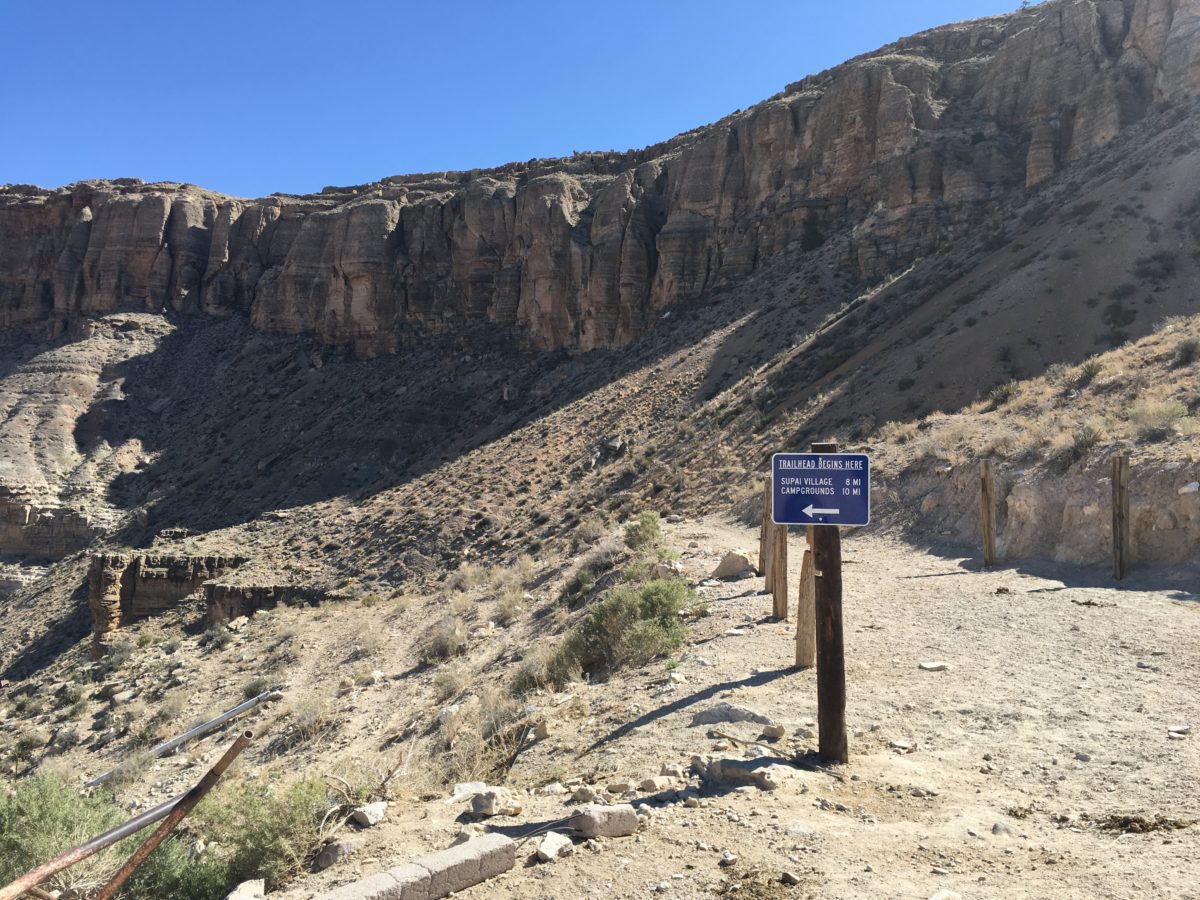
The official trailhead sign! Supai Village = 8 miles; Campgrounds = 10 miles
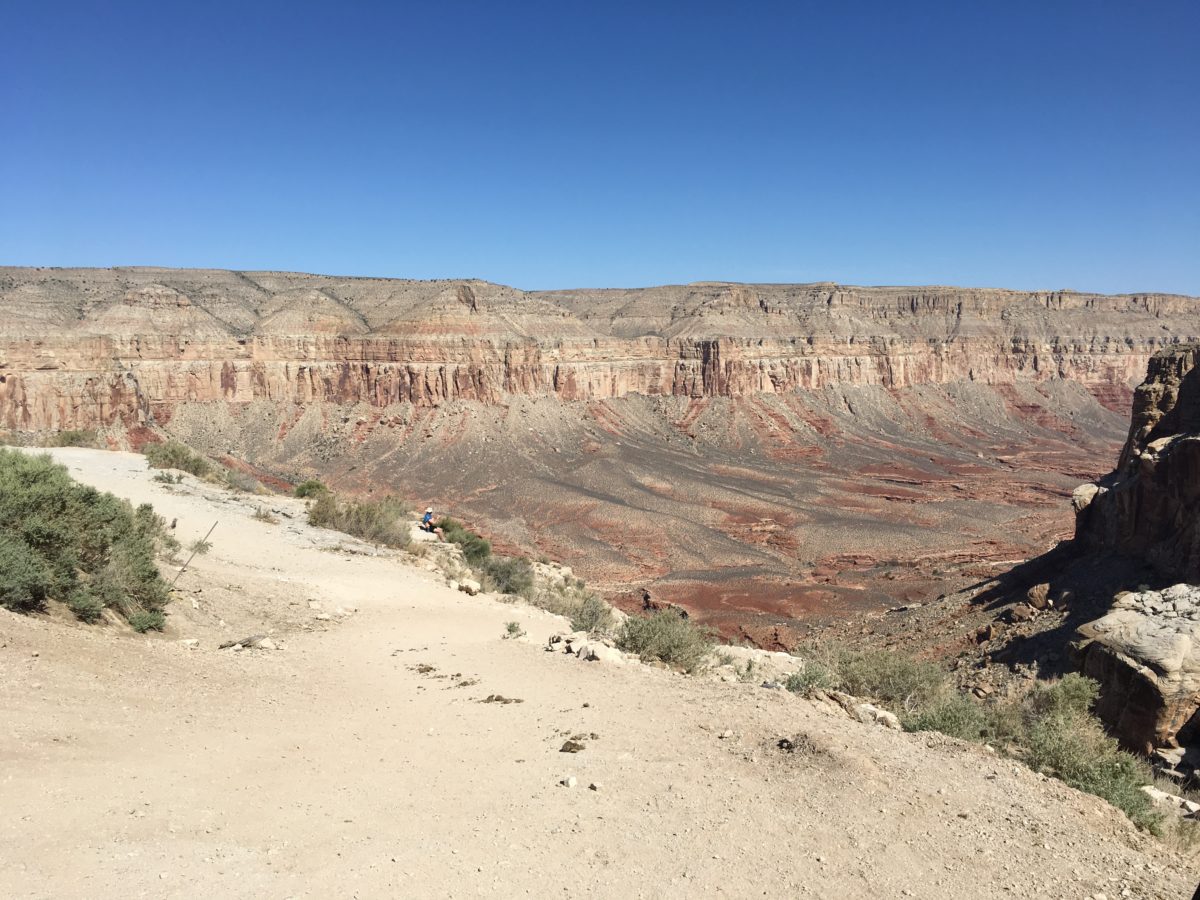
The first glimpse of the canyon below
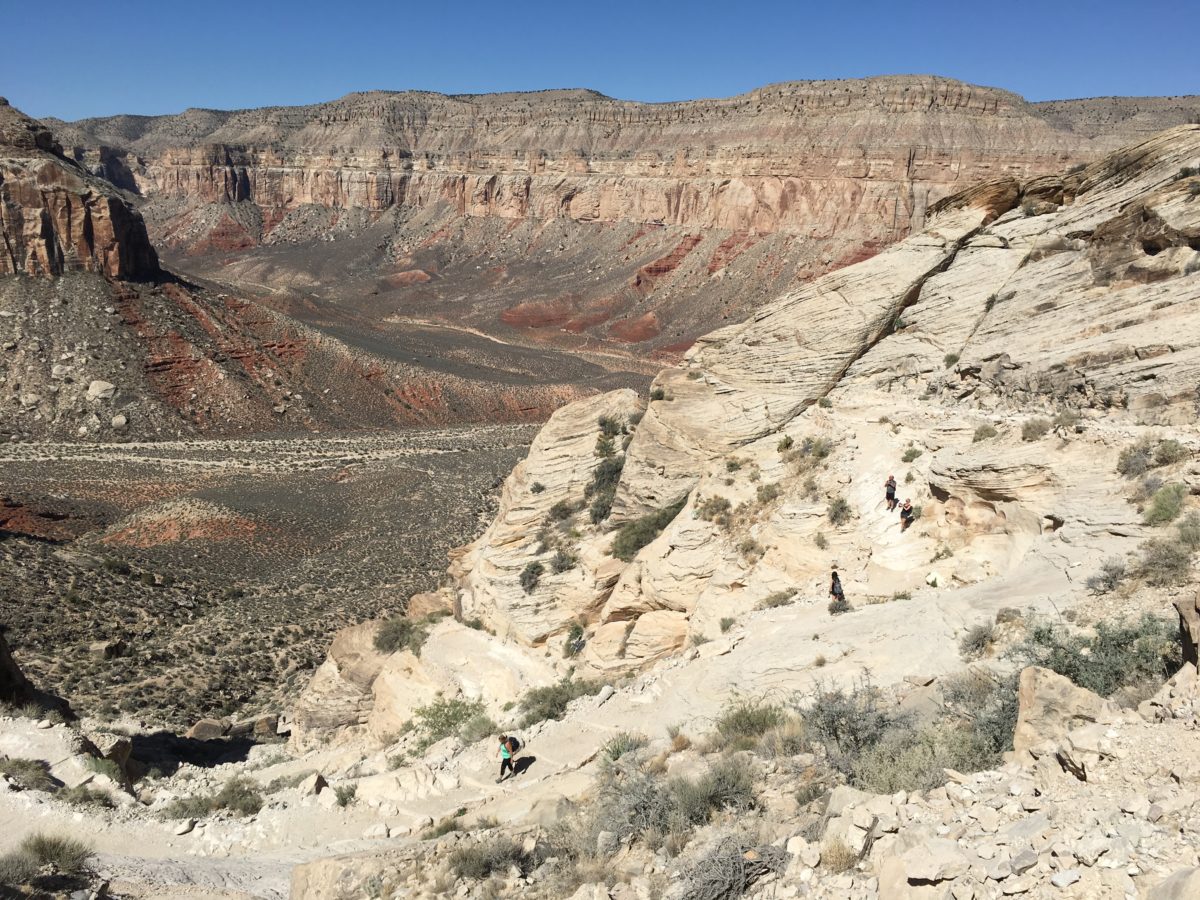
Look closely, you’ll see many hikers making their way down
On the left: a rare morning shady spot on the trail
“The slog” looms below
Once you complete the swithbacks section, you’ll enter “the slog”, a long, sandy, steep and boring section of trail that seems to take forever to go anywhere. It’s 10x worse on the way out.
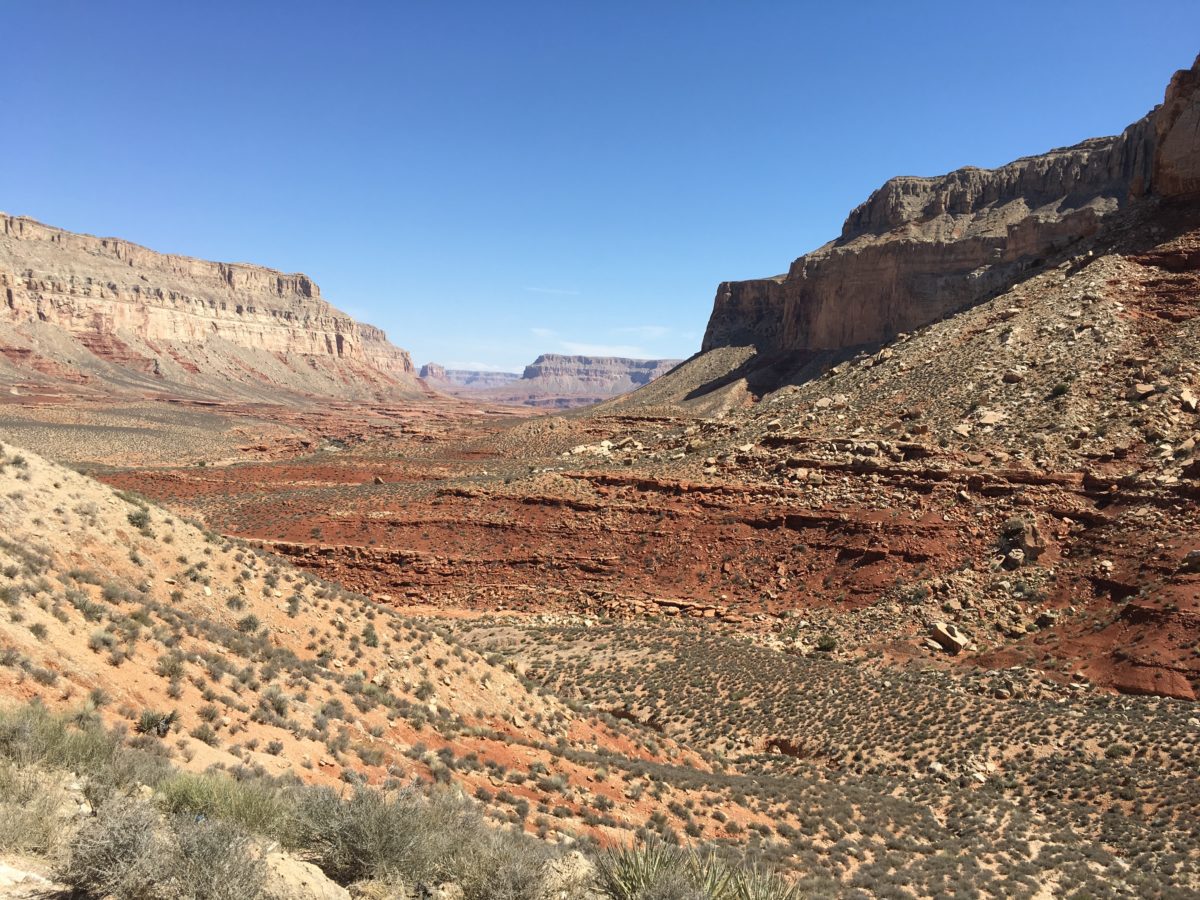
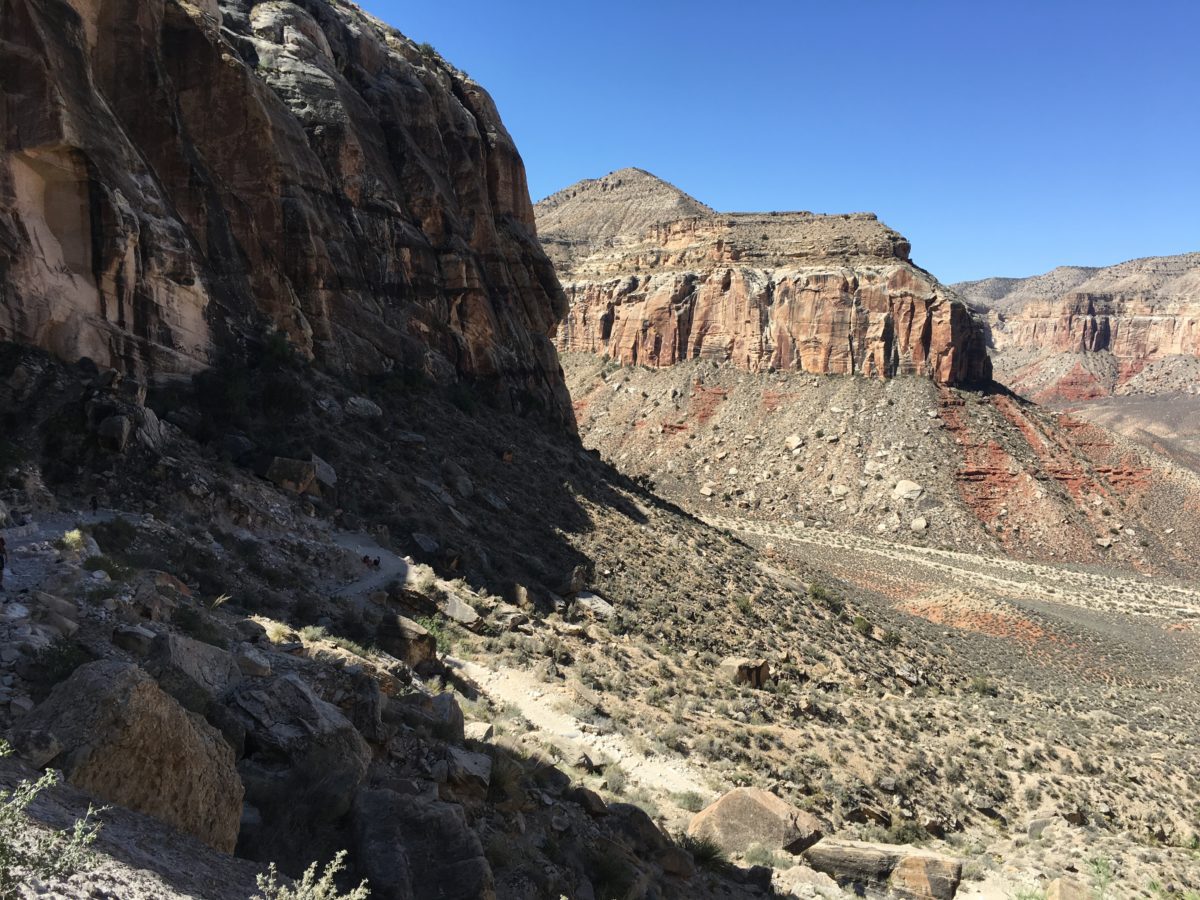
From the slog, you’ll be able to see the canyon that leads to Supai village
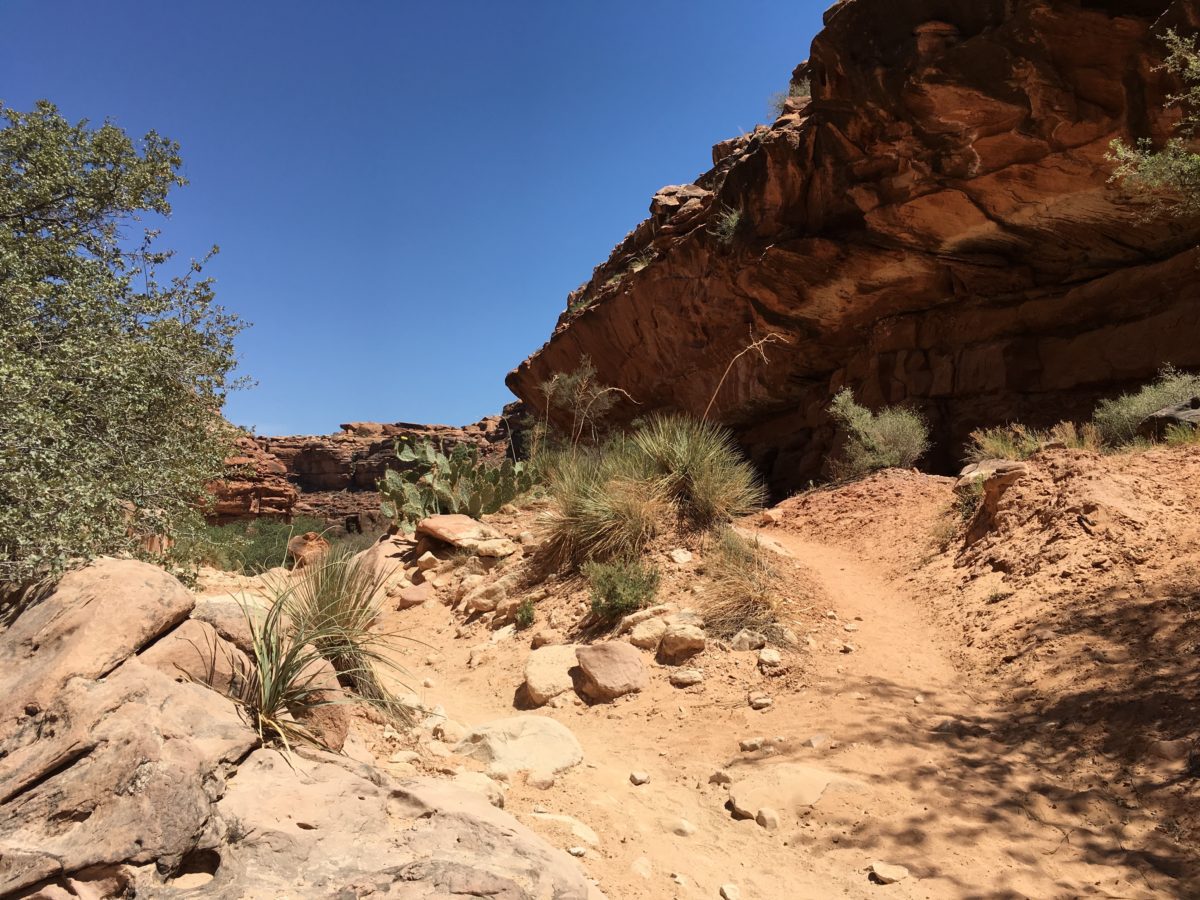
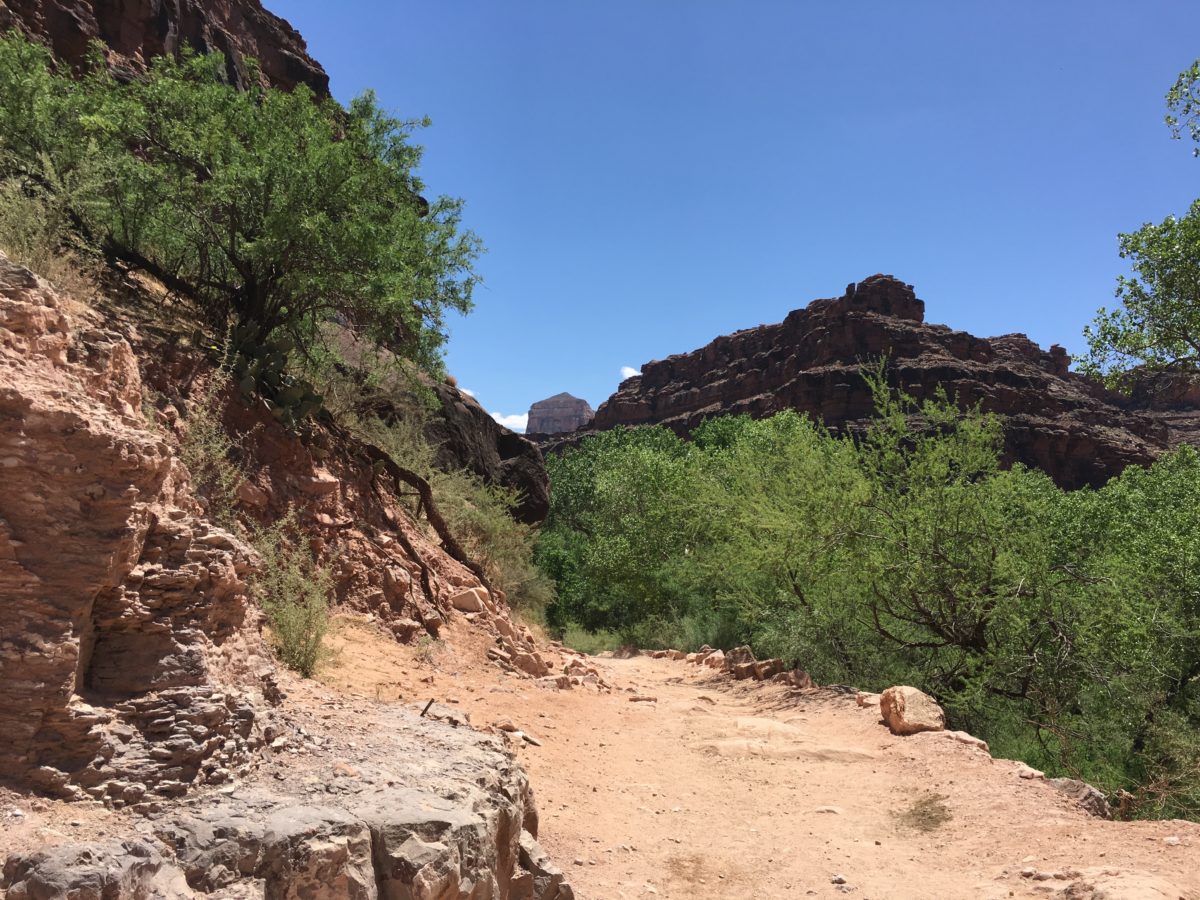
Section 2: The Mouth Of The Canyon
The next section is where things really start to get interesting. As you enter the mouth of the canyon, you’ll start to see many cool rock formations.
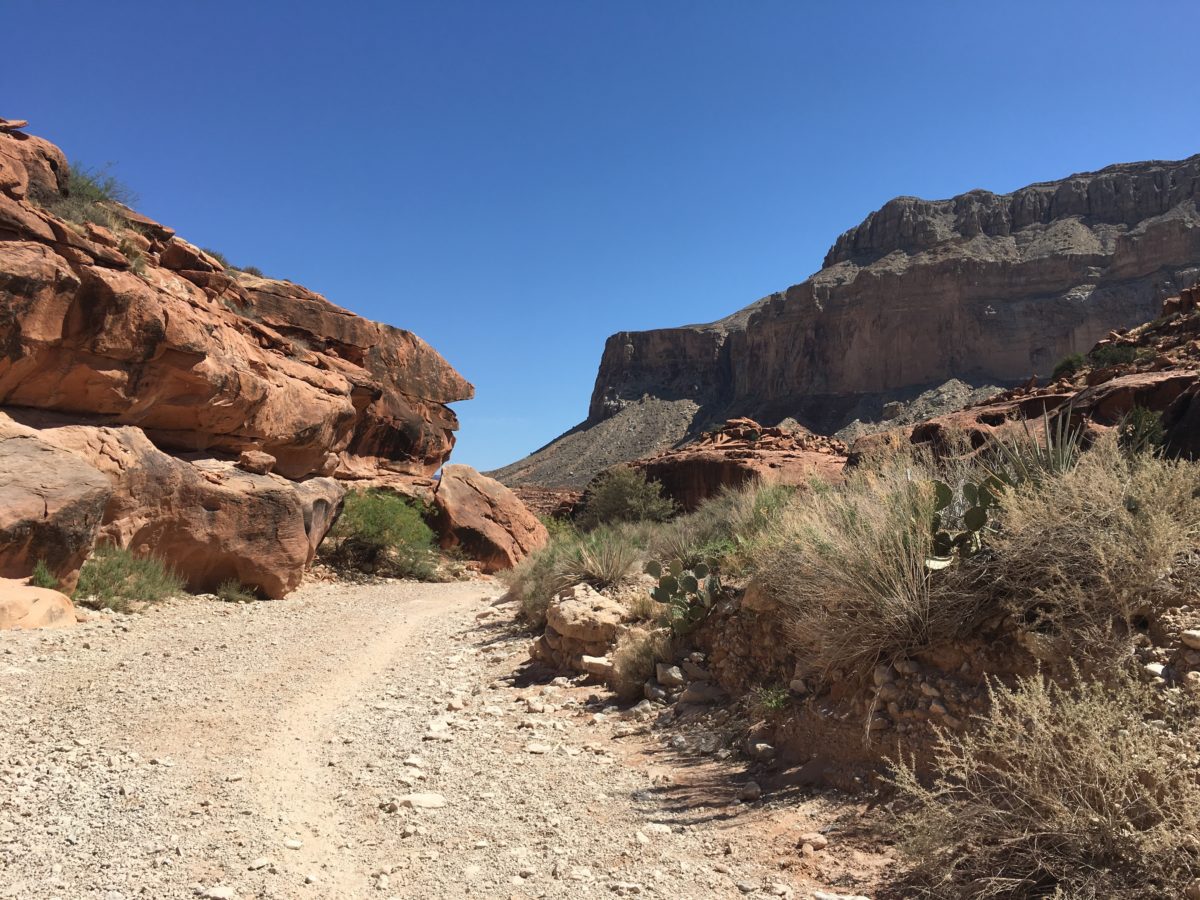
Threading the needle in the rock garden
It’s about here where it hits you…you’re actually doing this!
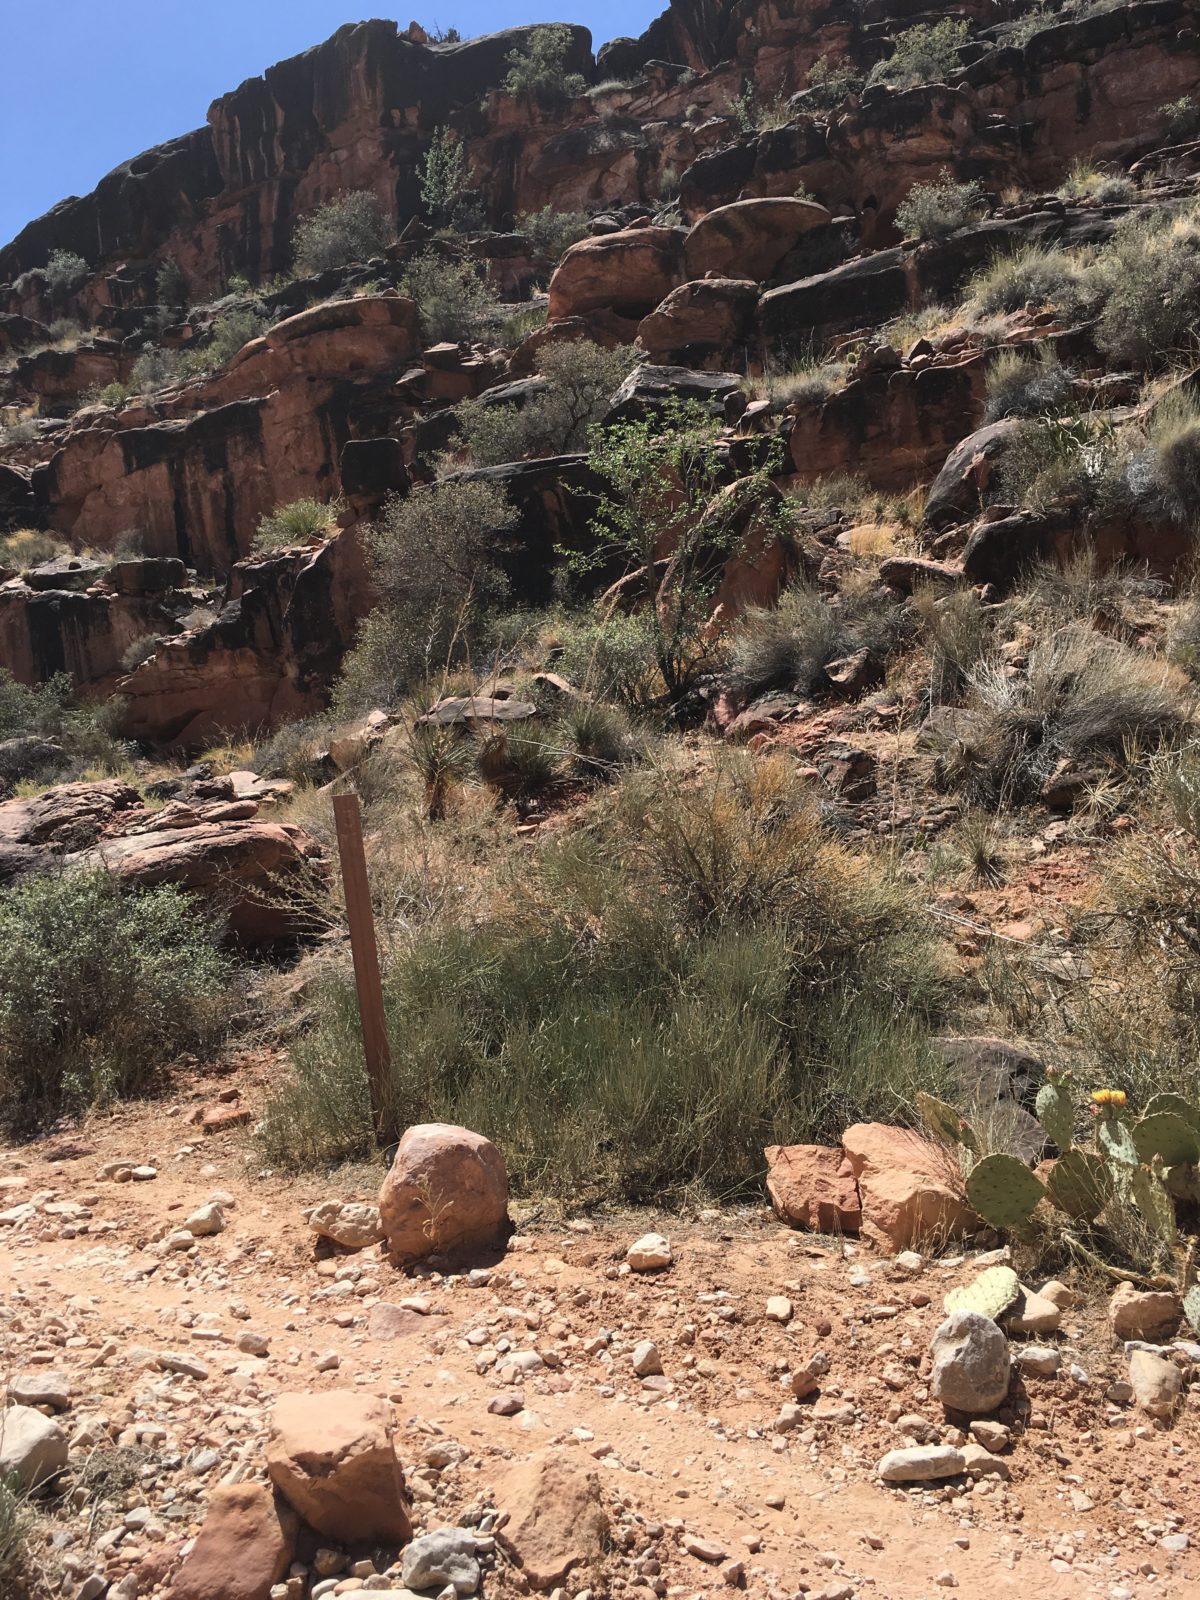
Mile makers along the way show your progress
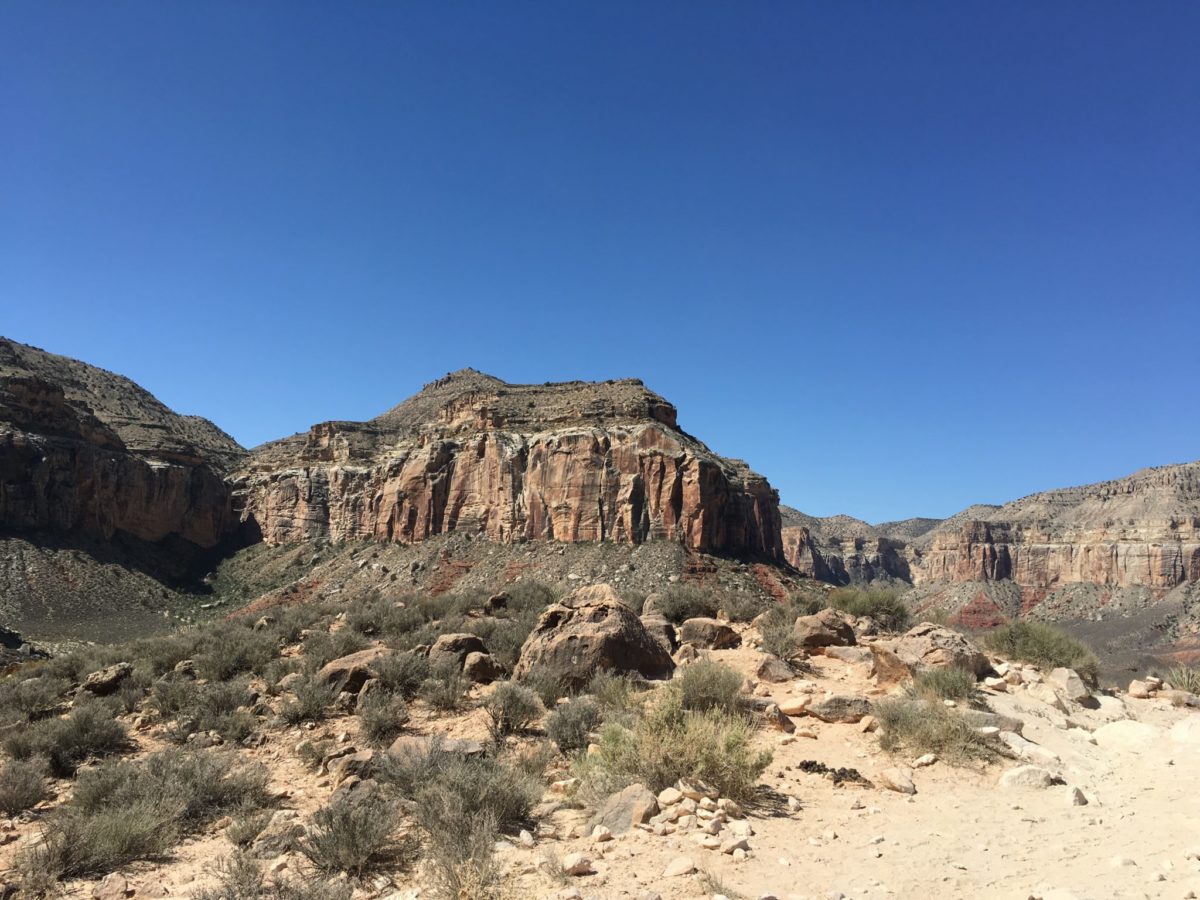
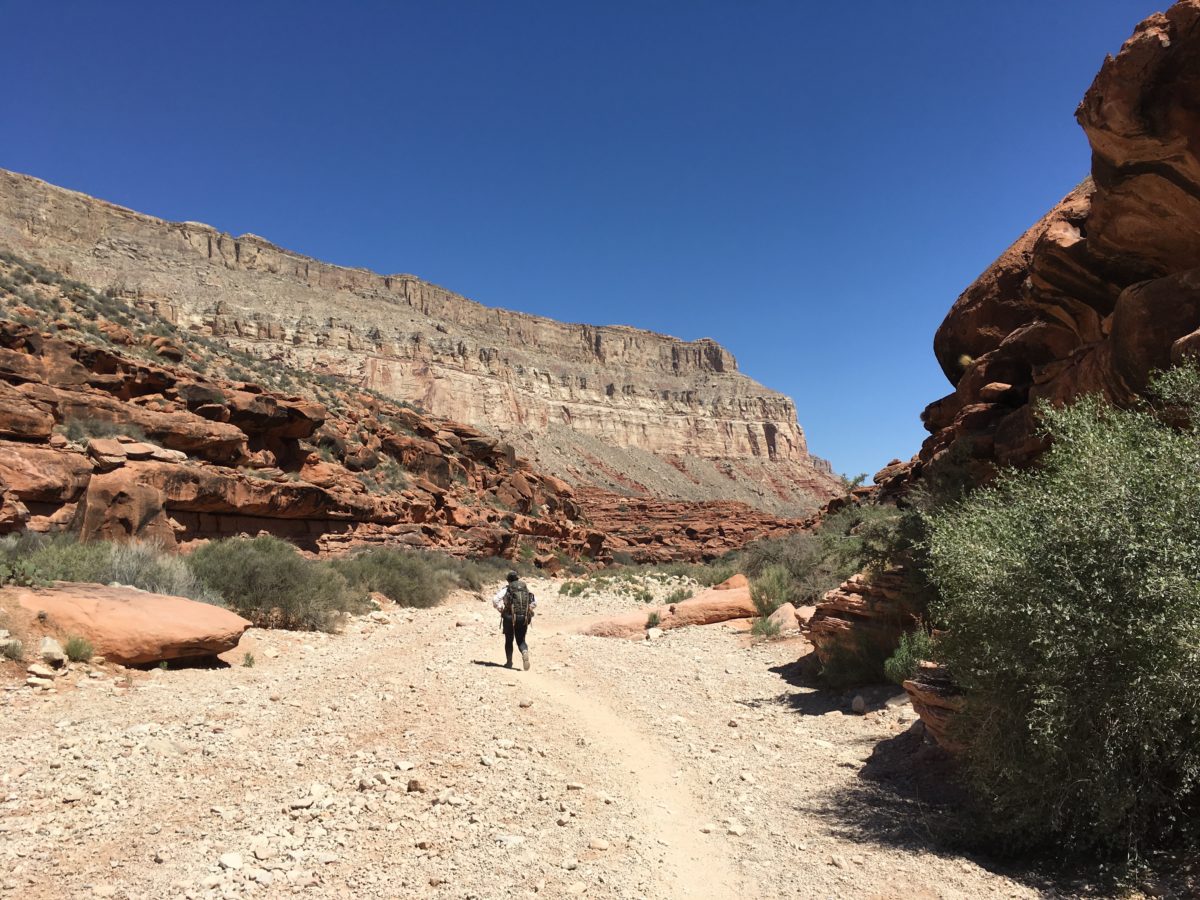
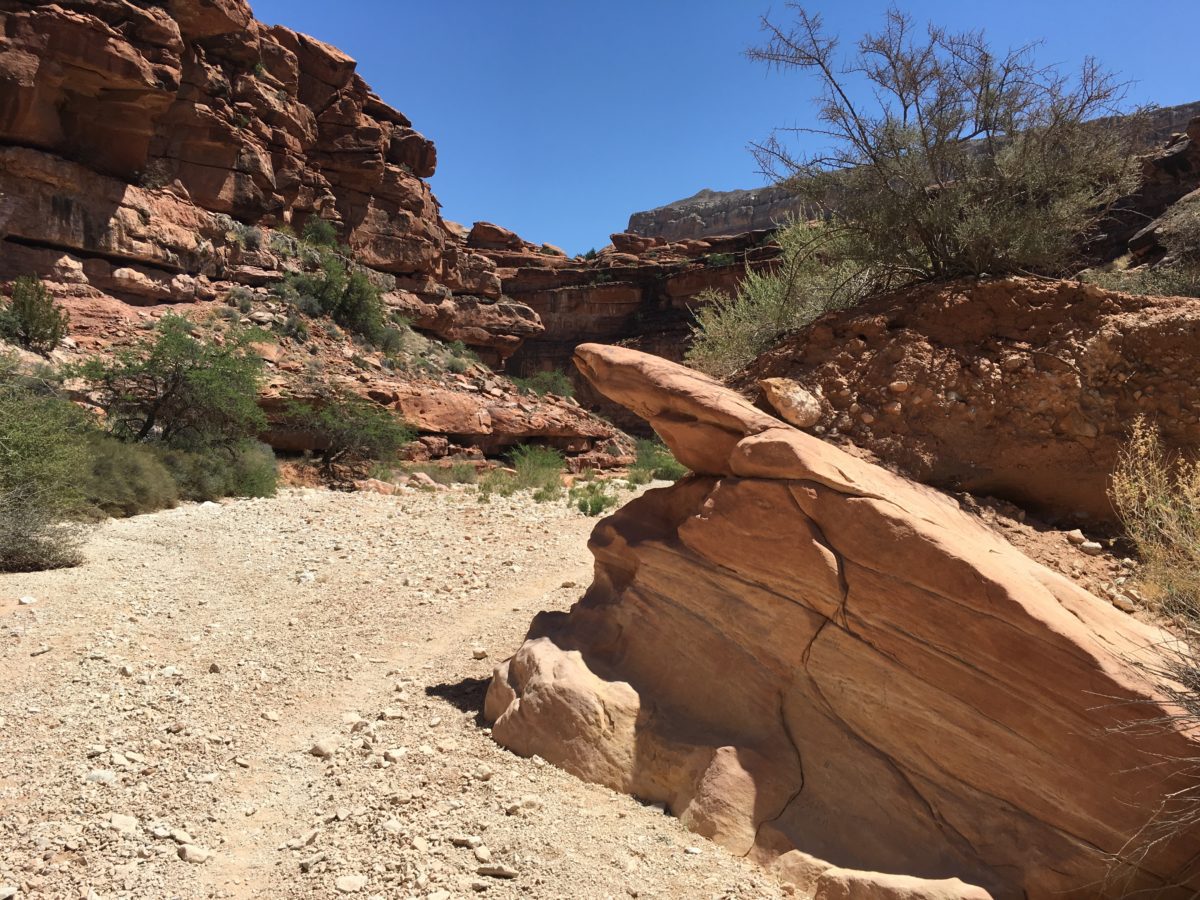
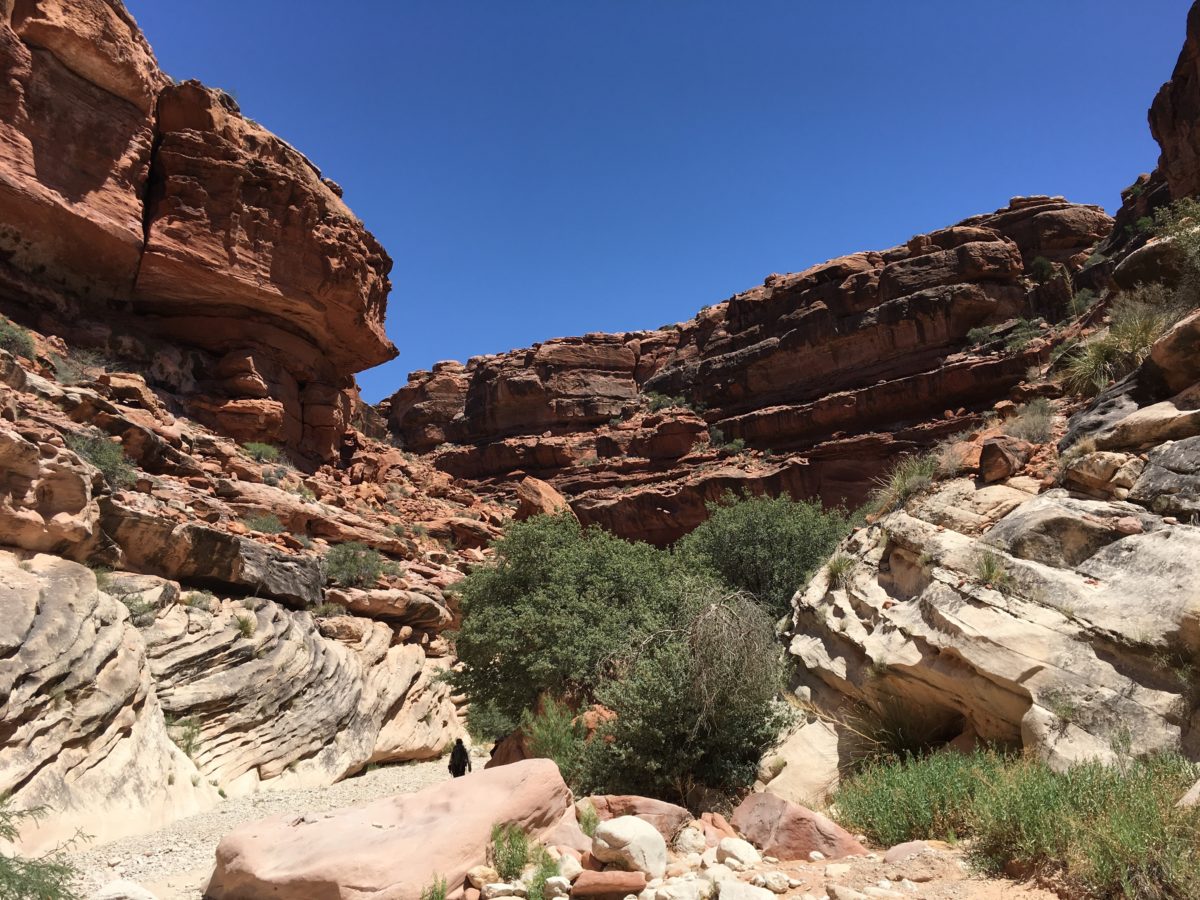
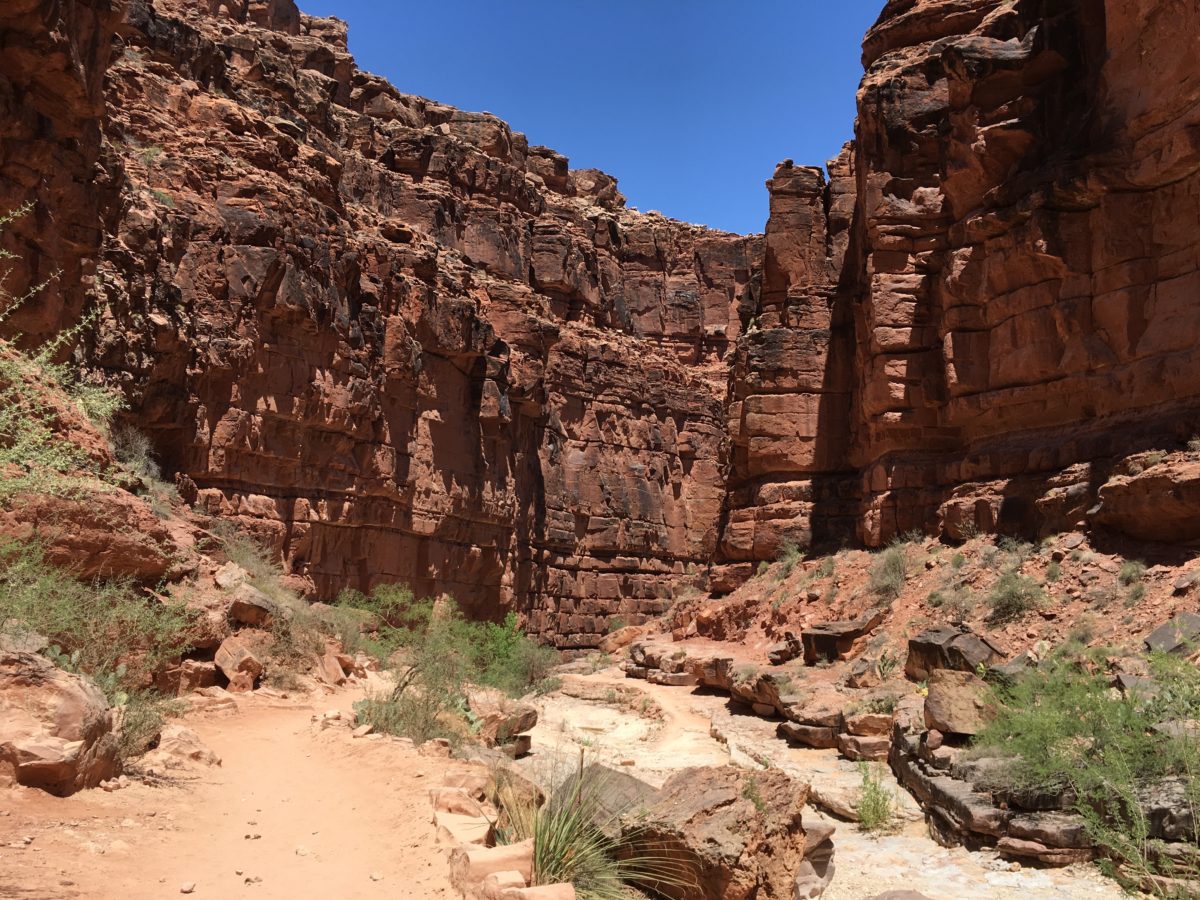
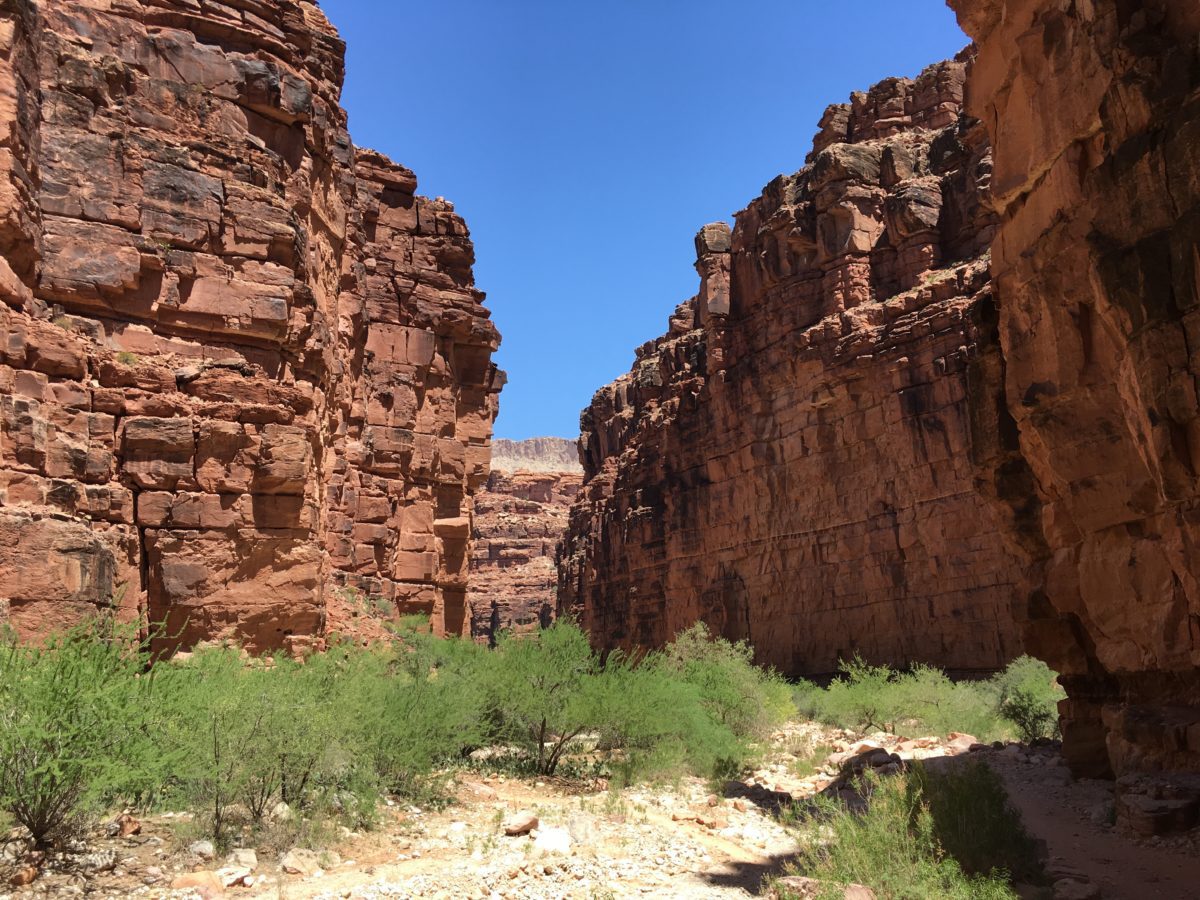
Section 3: The Canyon
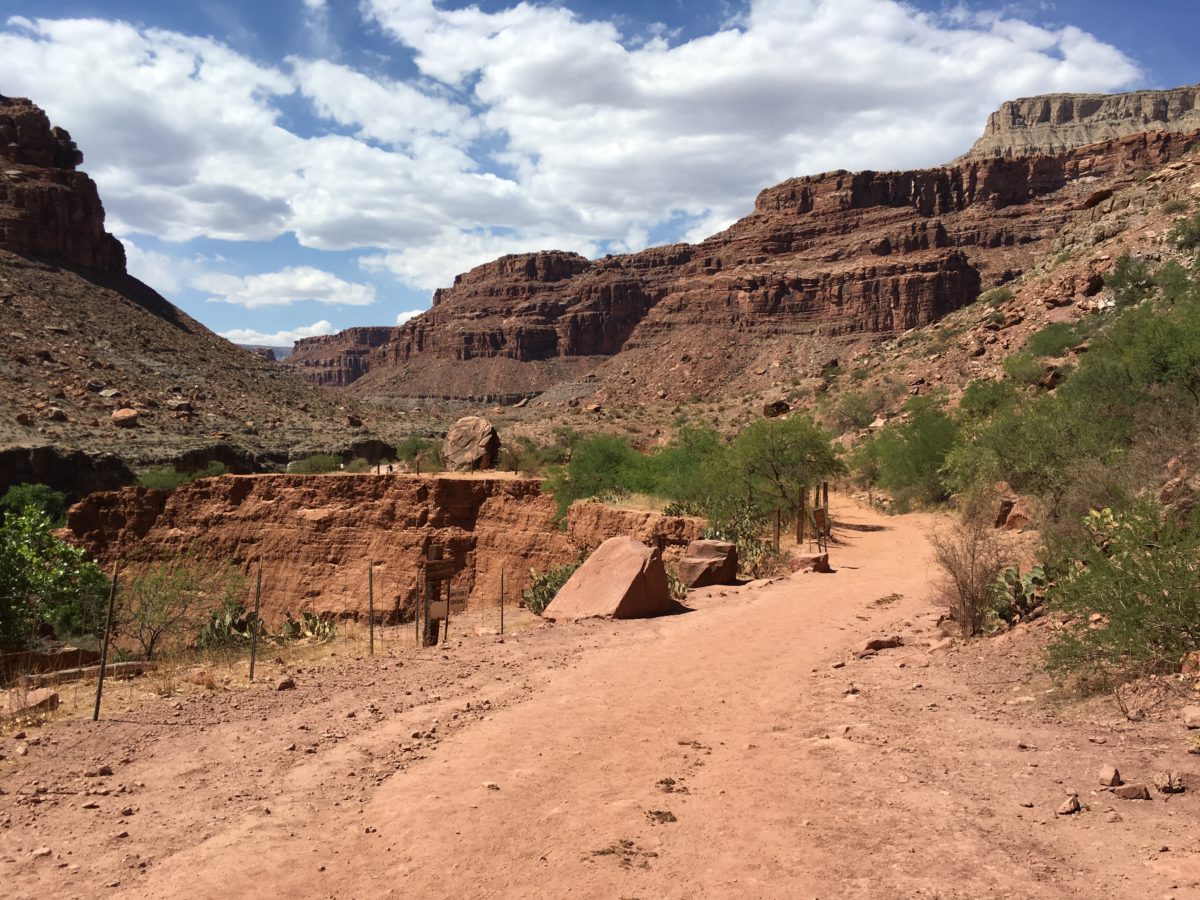
Before long, you will reach the canyon itself.
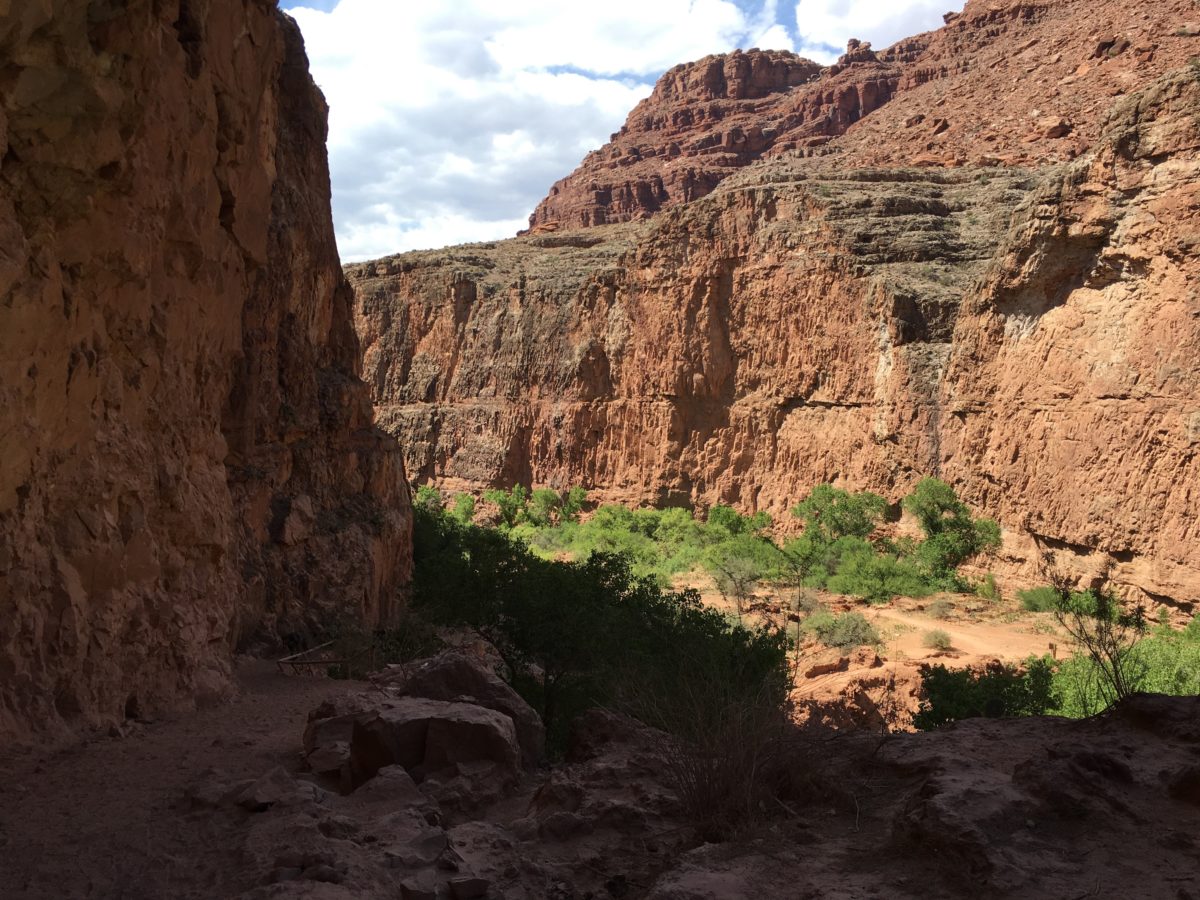
I found this section to be especially scenic and wonderful to hike through, with the trail meandering past Navajo sandstone caves, unexpected large trees, and a few giant boulders.
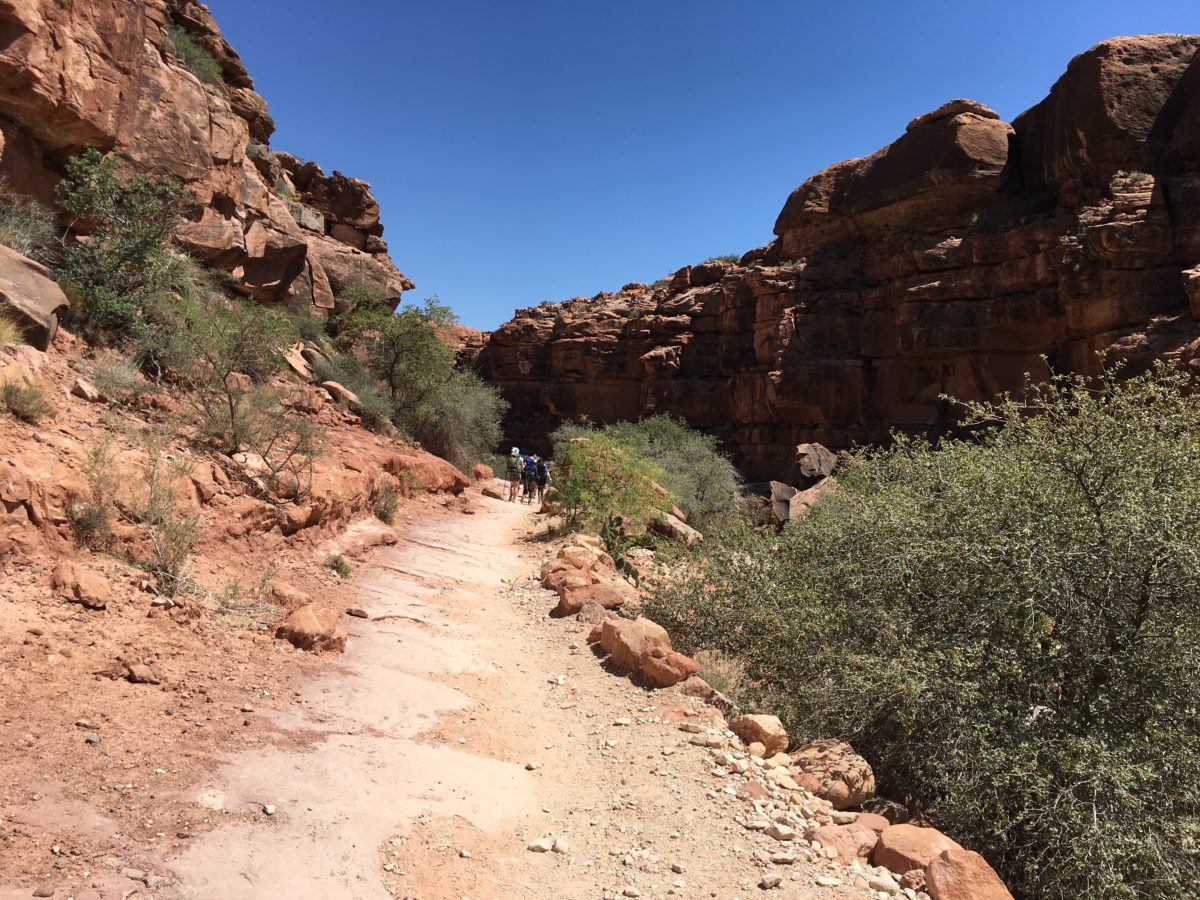
Enter the canyon
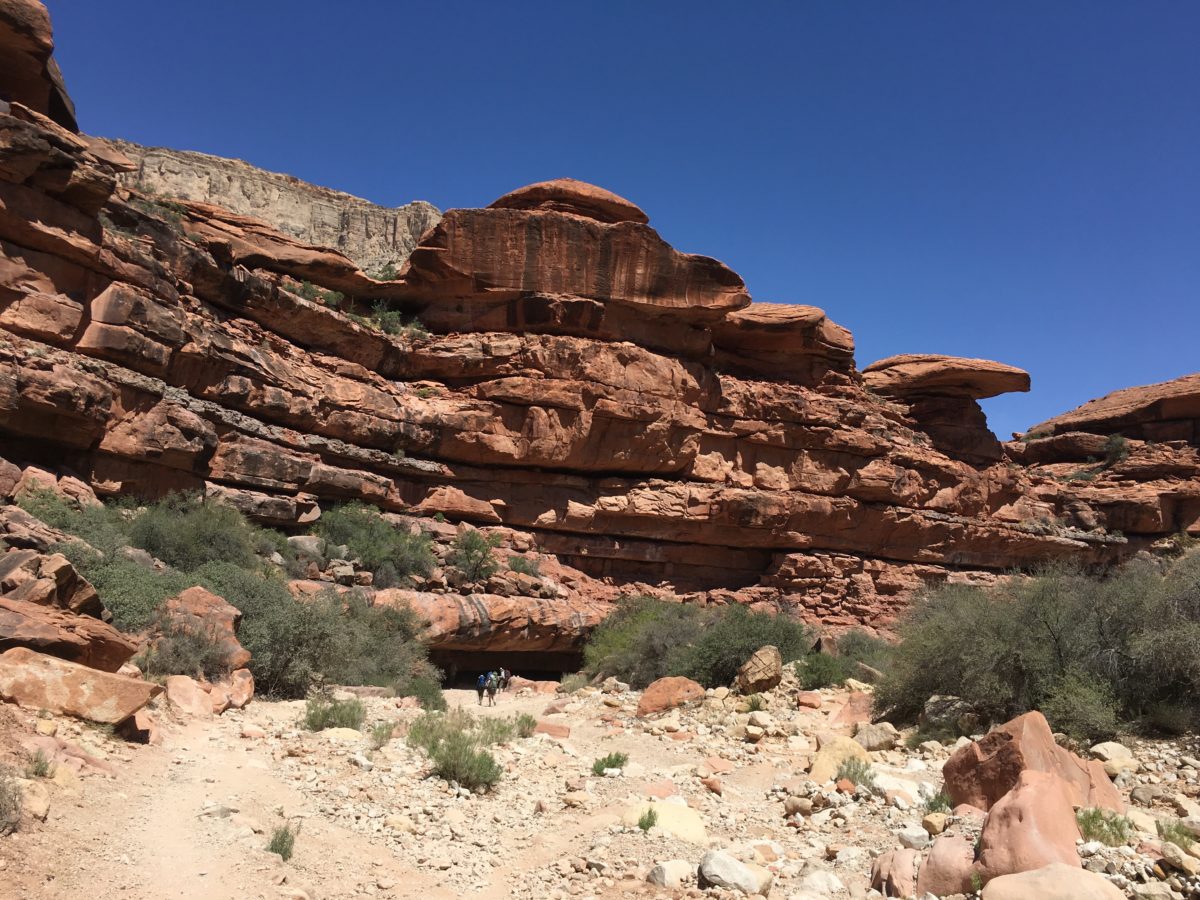
Hikers in front of a shady “cave”
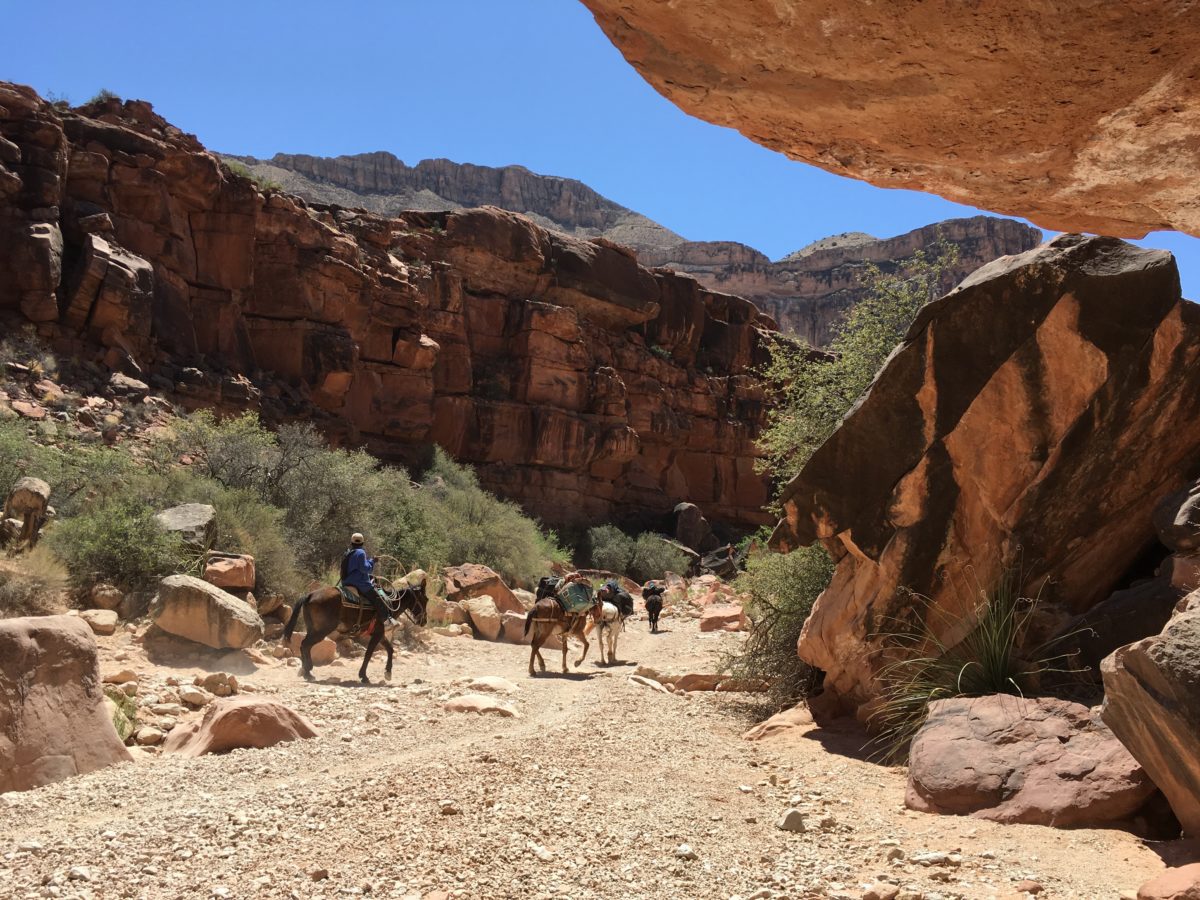
Beware of the many mule trains…they move fast and they don’t stop…for anything
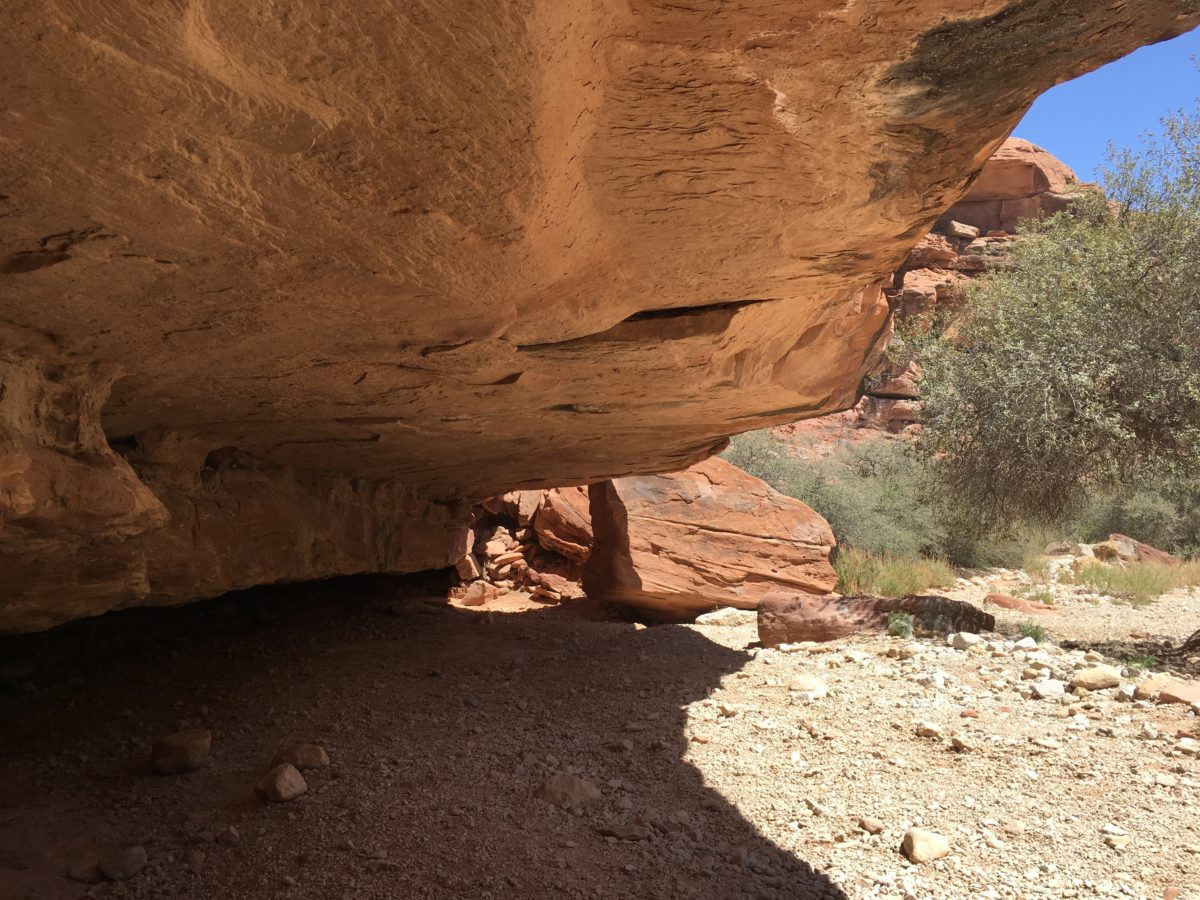
A shady resting area
The finger points the way
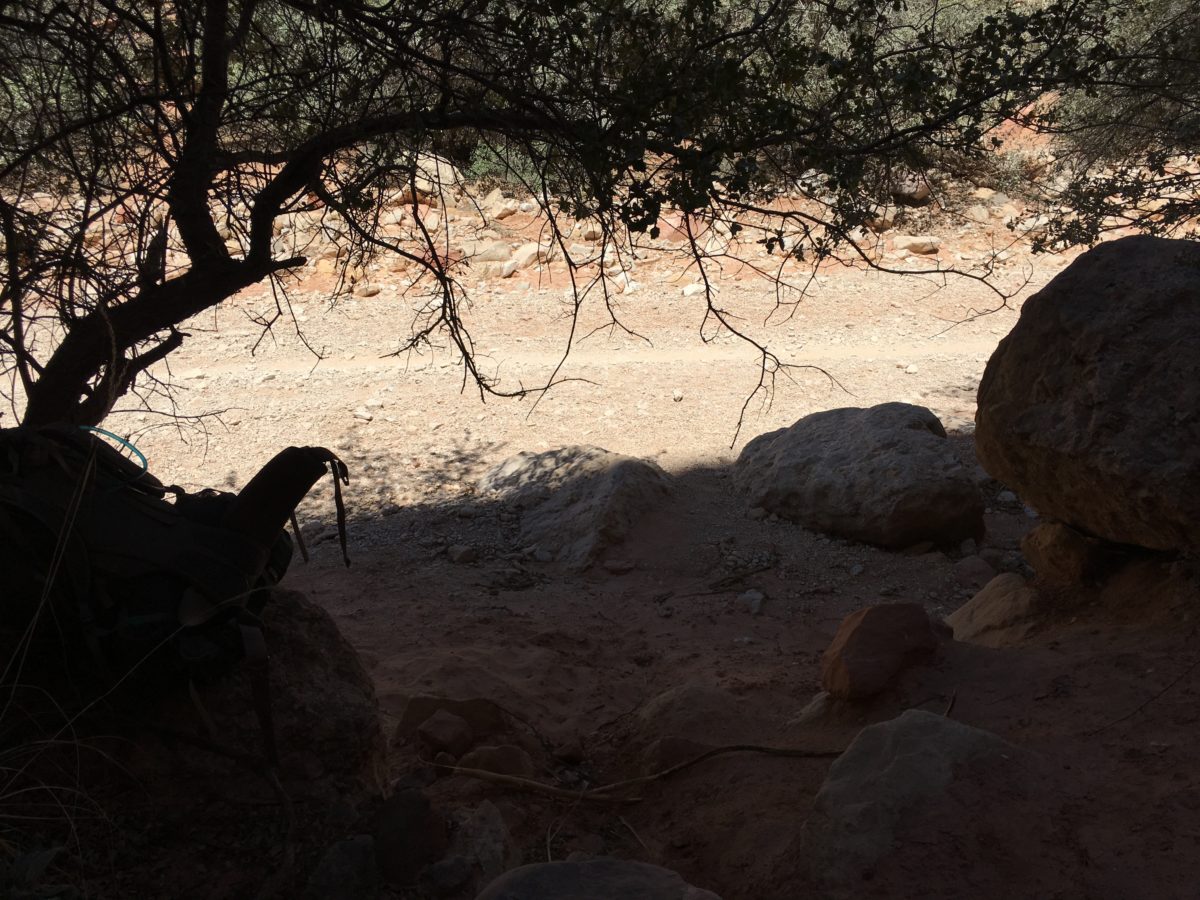
About 5 miles in, we found a “secret spot” in the shade where we broke for lunch

Another mile marker
Over and under…
…lots of places to explore here
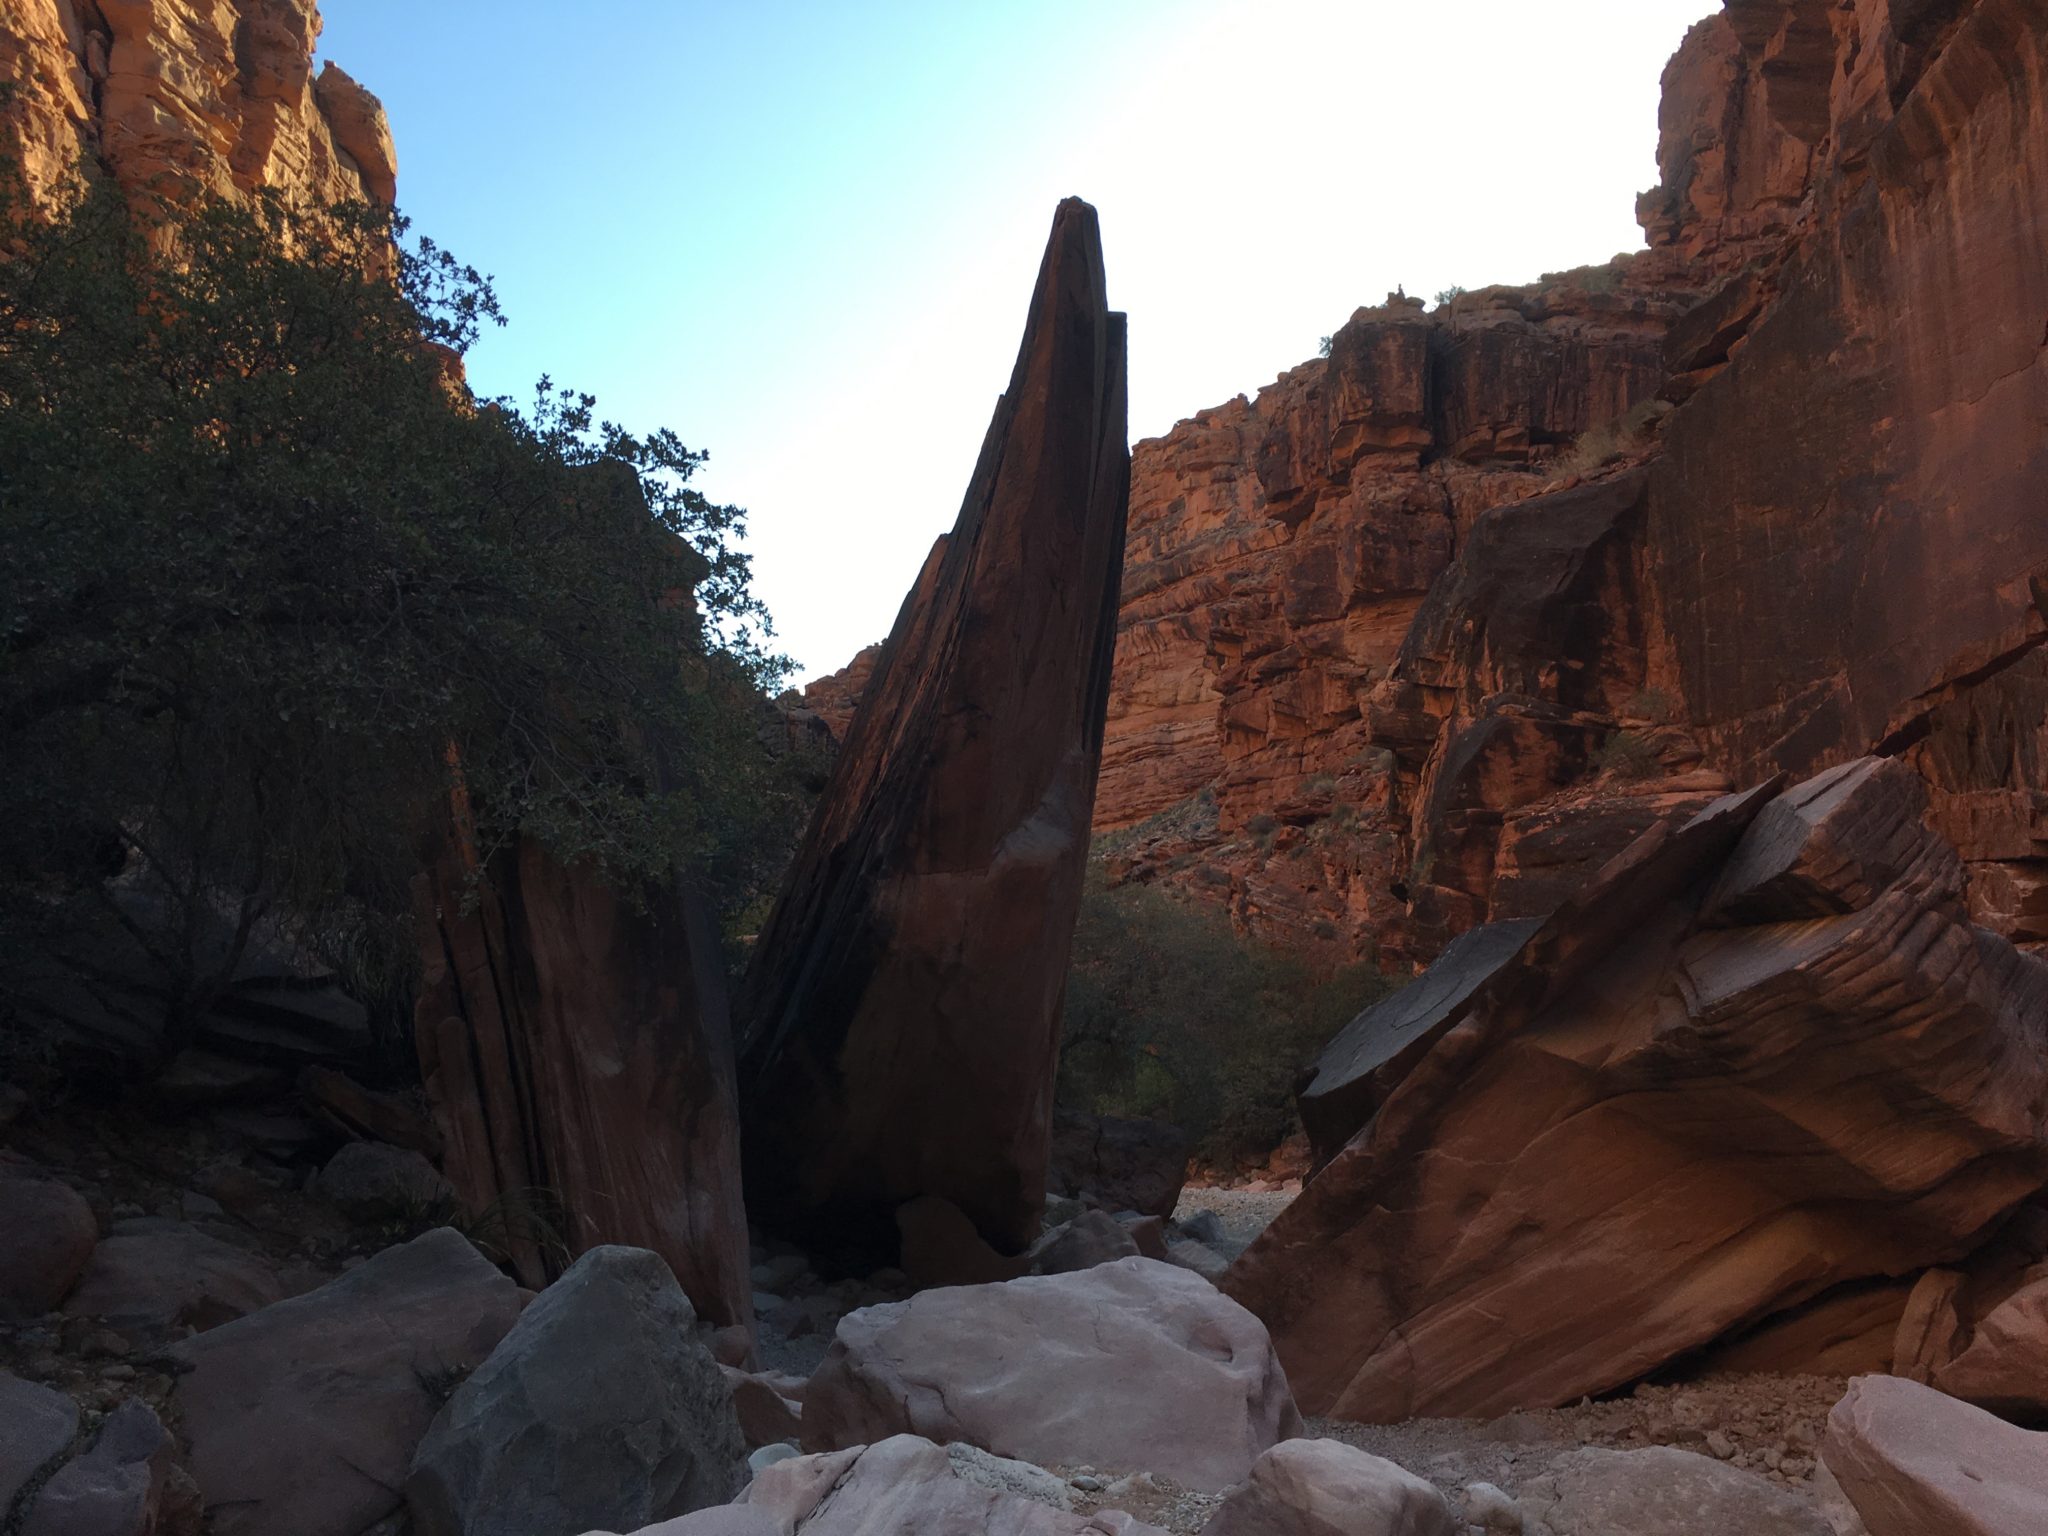
The shark fin
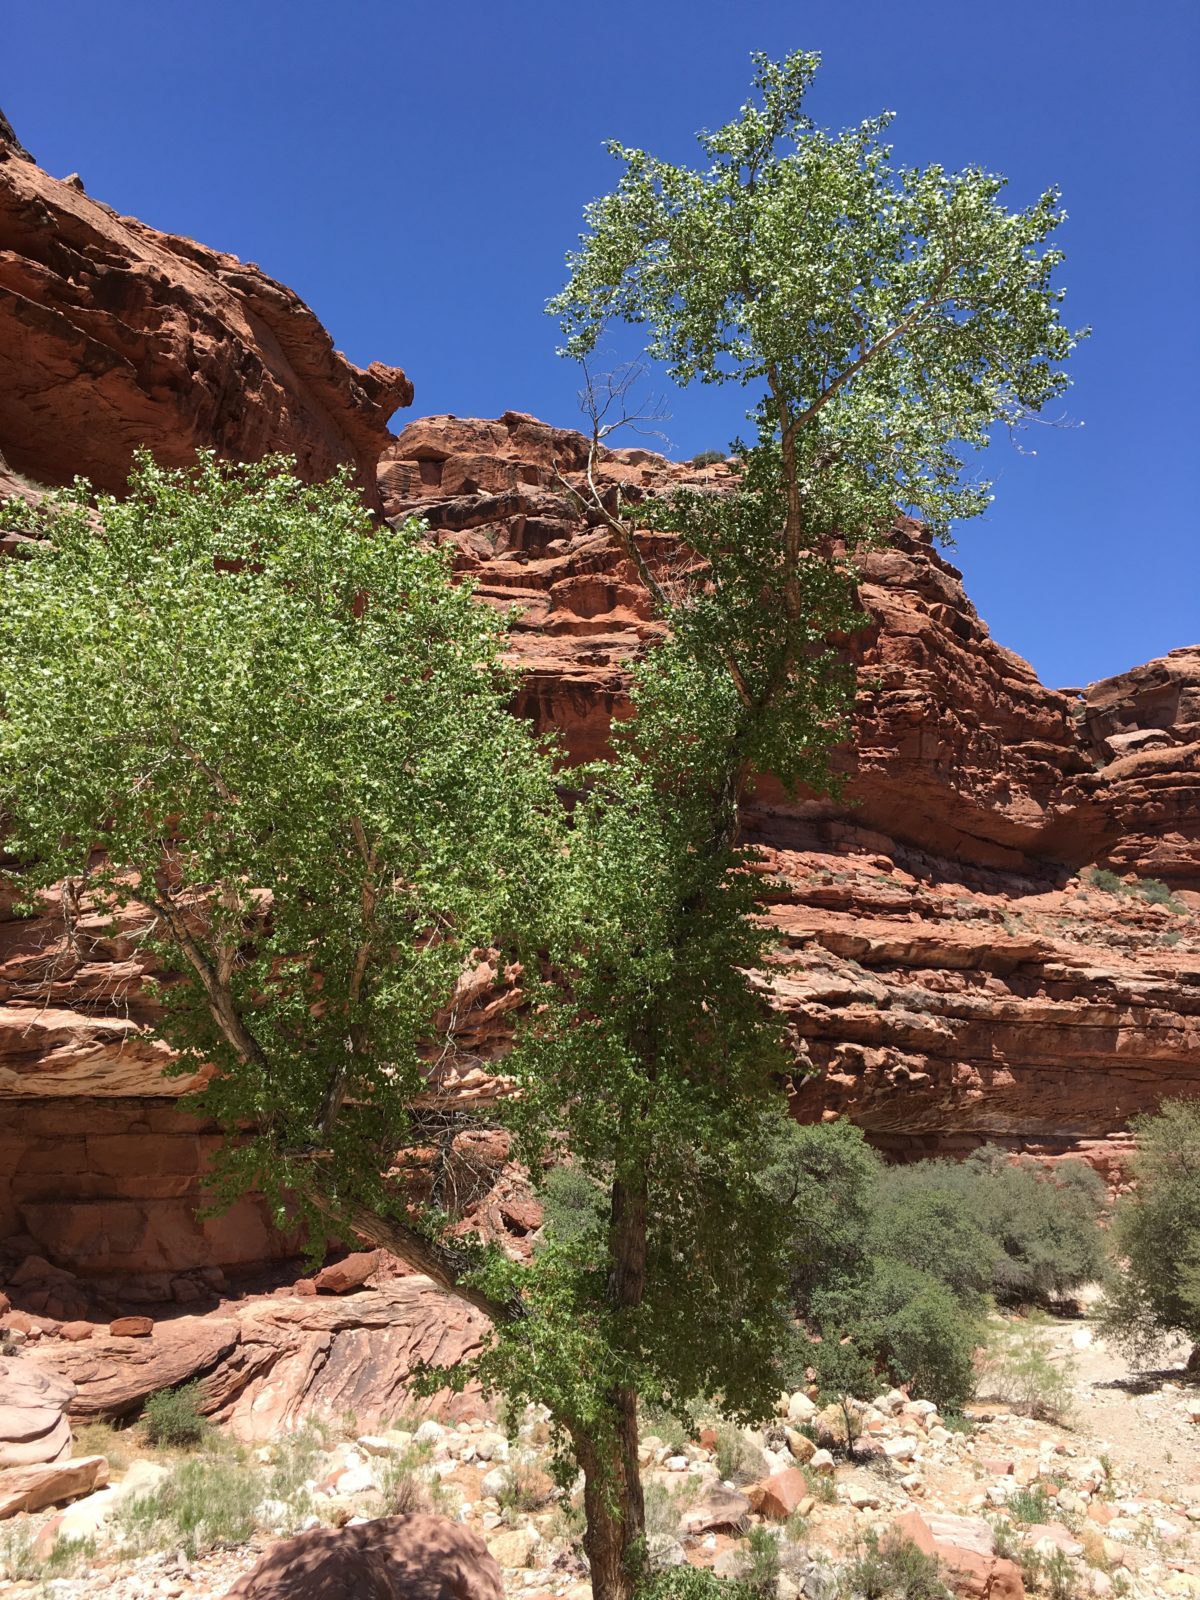
A few surprising large trees accent the bottom half of the canyon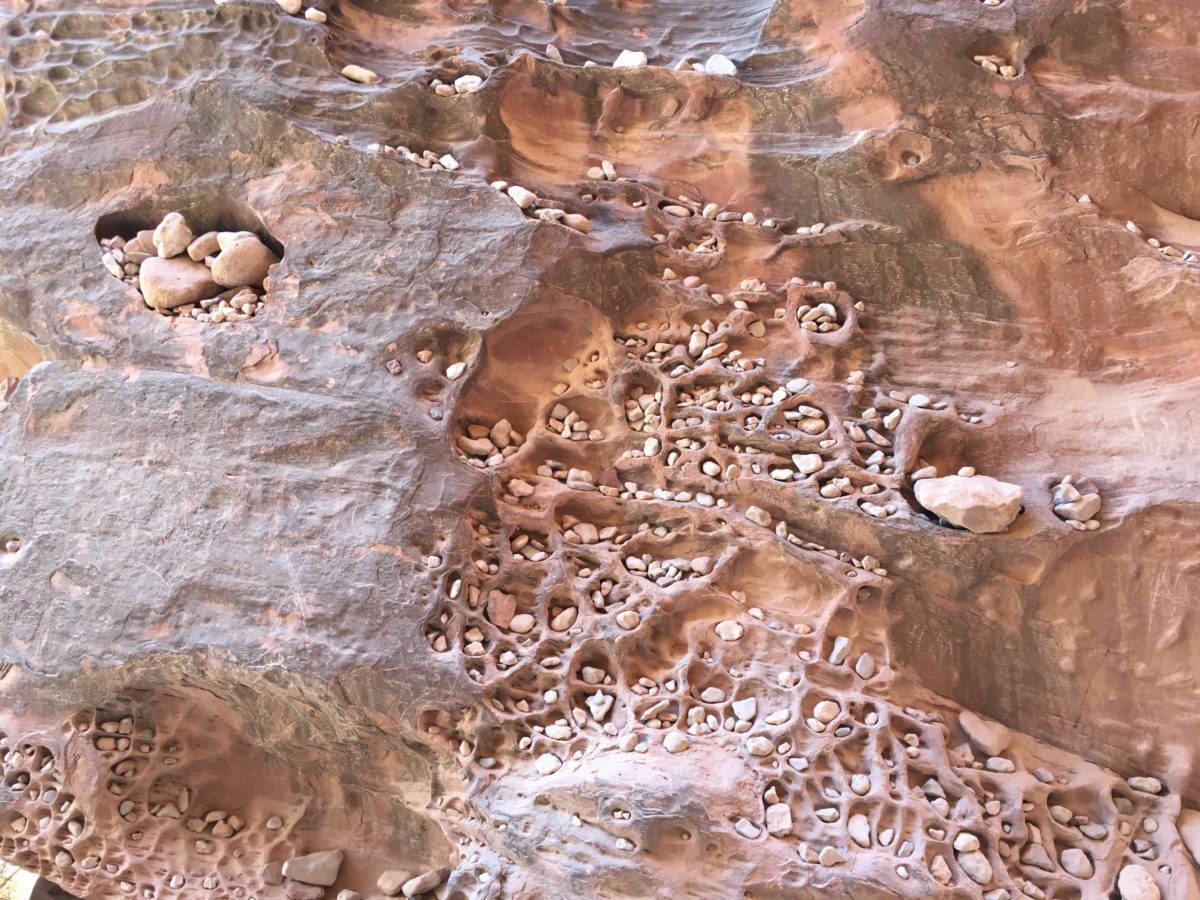
I’m pretty sure this is not a 100% natural occurrence
Almost out of the canyon…
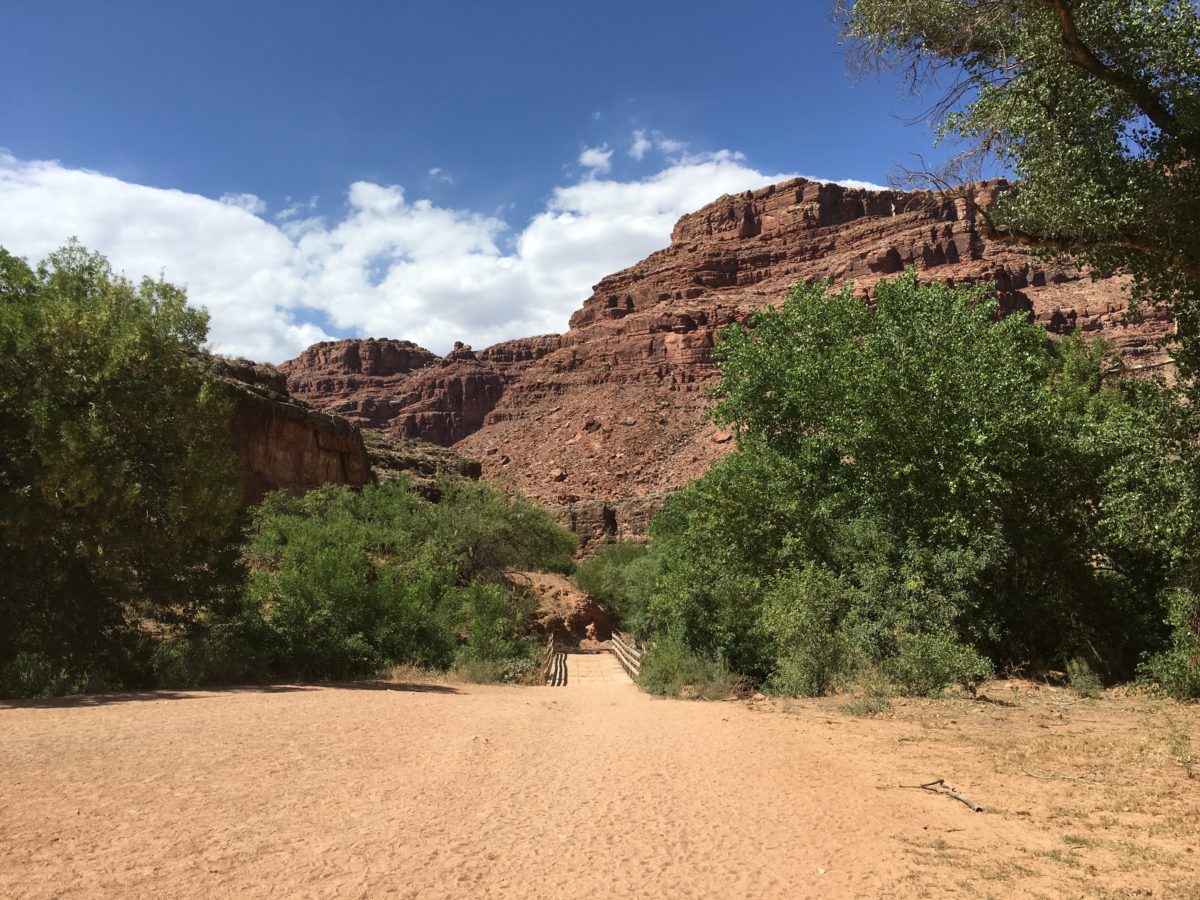
The walls seem like they are closing in until you reach this little green oasis at the end of the canyon
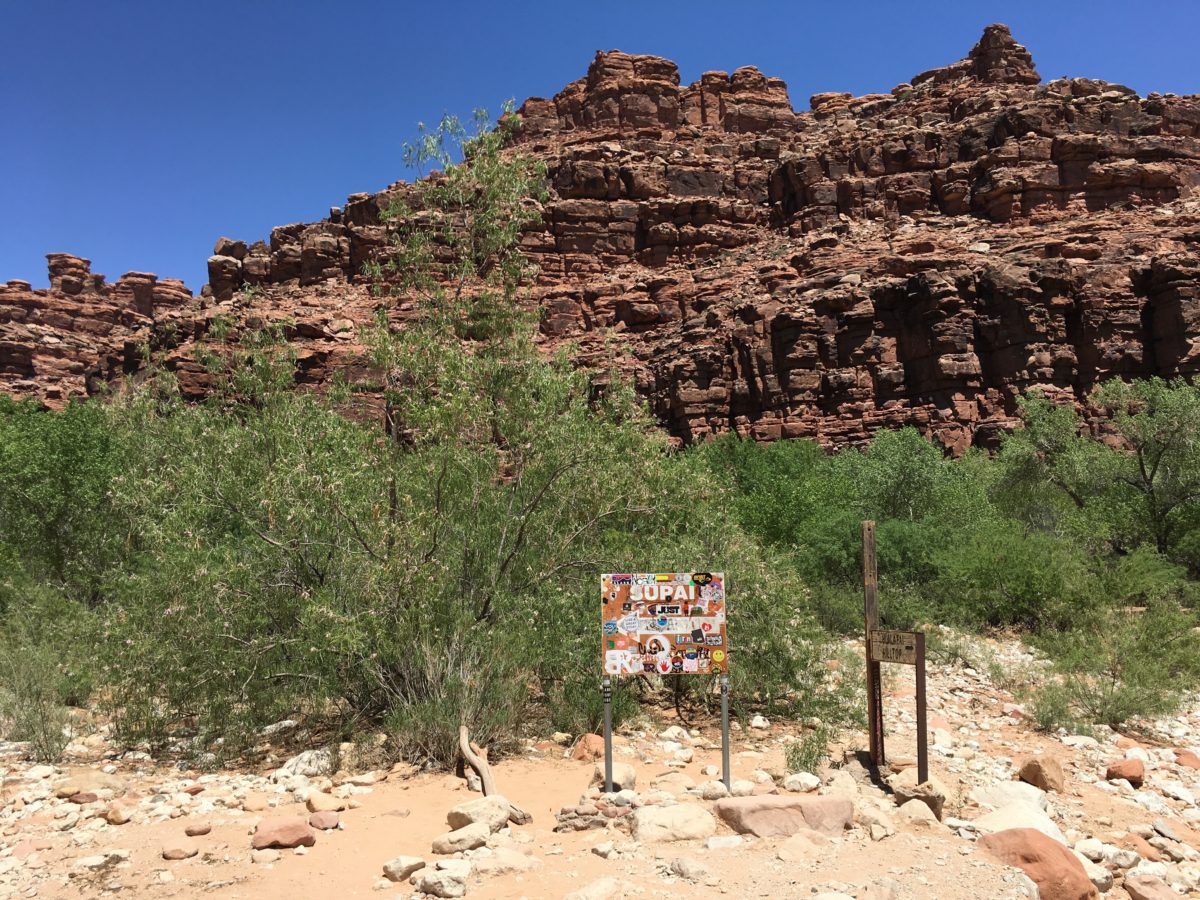
Section 3: Outskirts Of Supai Village
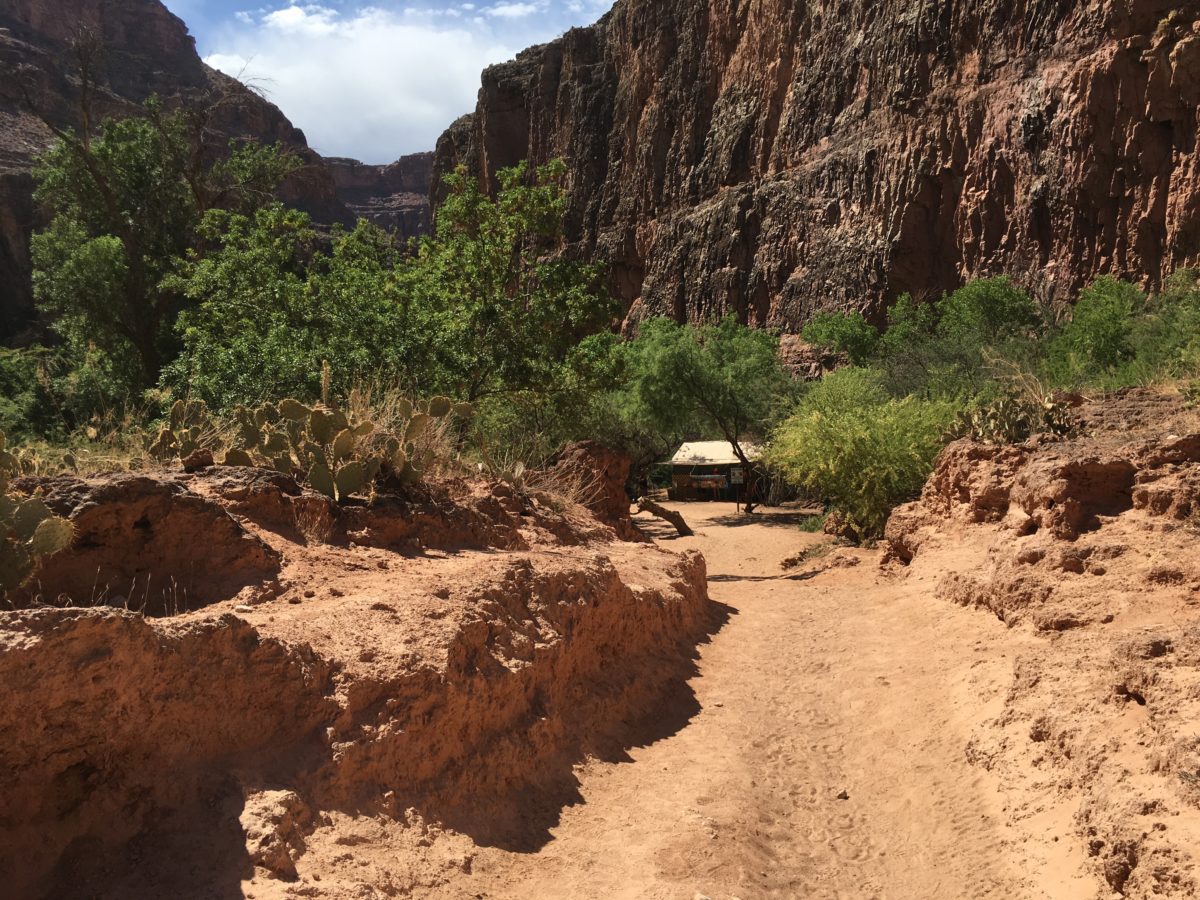
As you exit the canyon, you’ll start to see the first signs of civilization – signs for Supai and Hilltop.
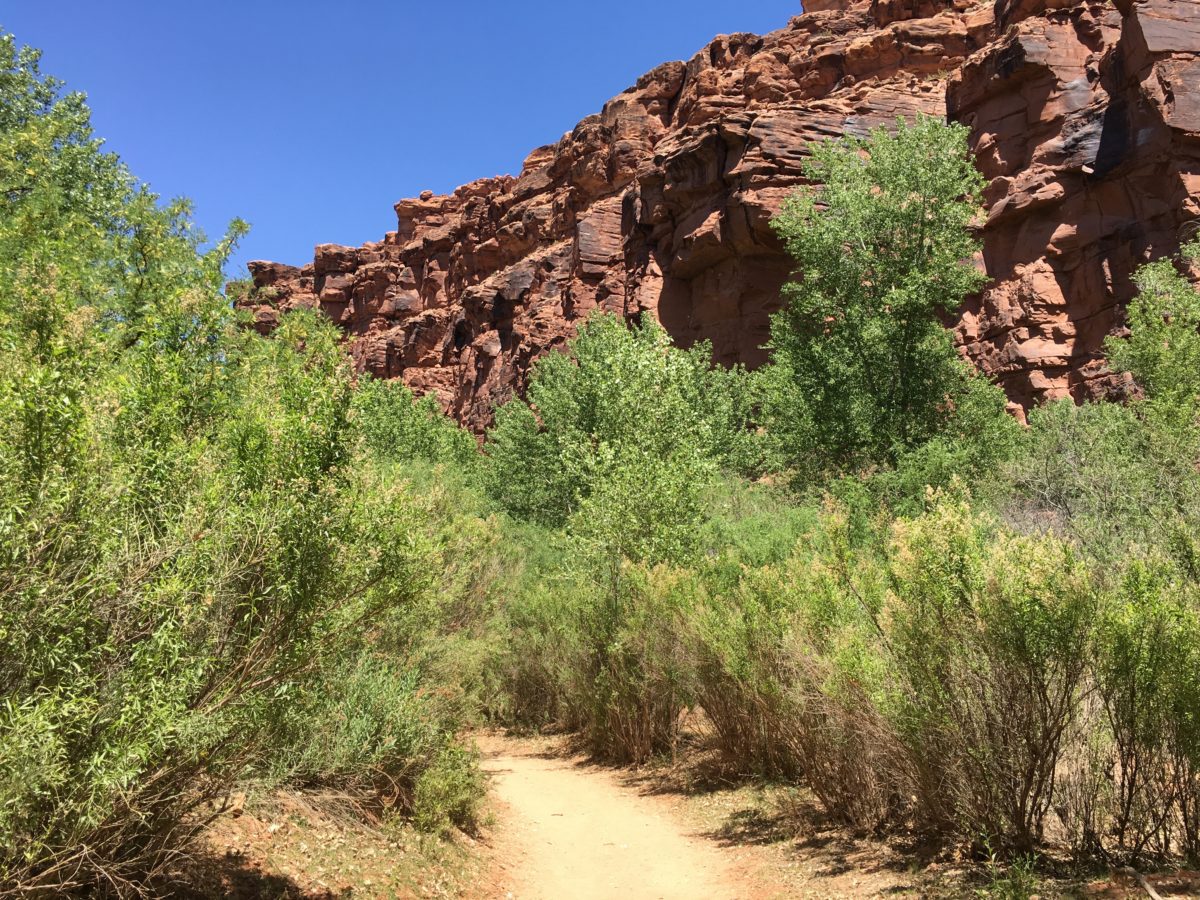
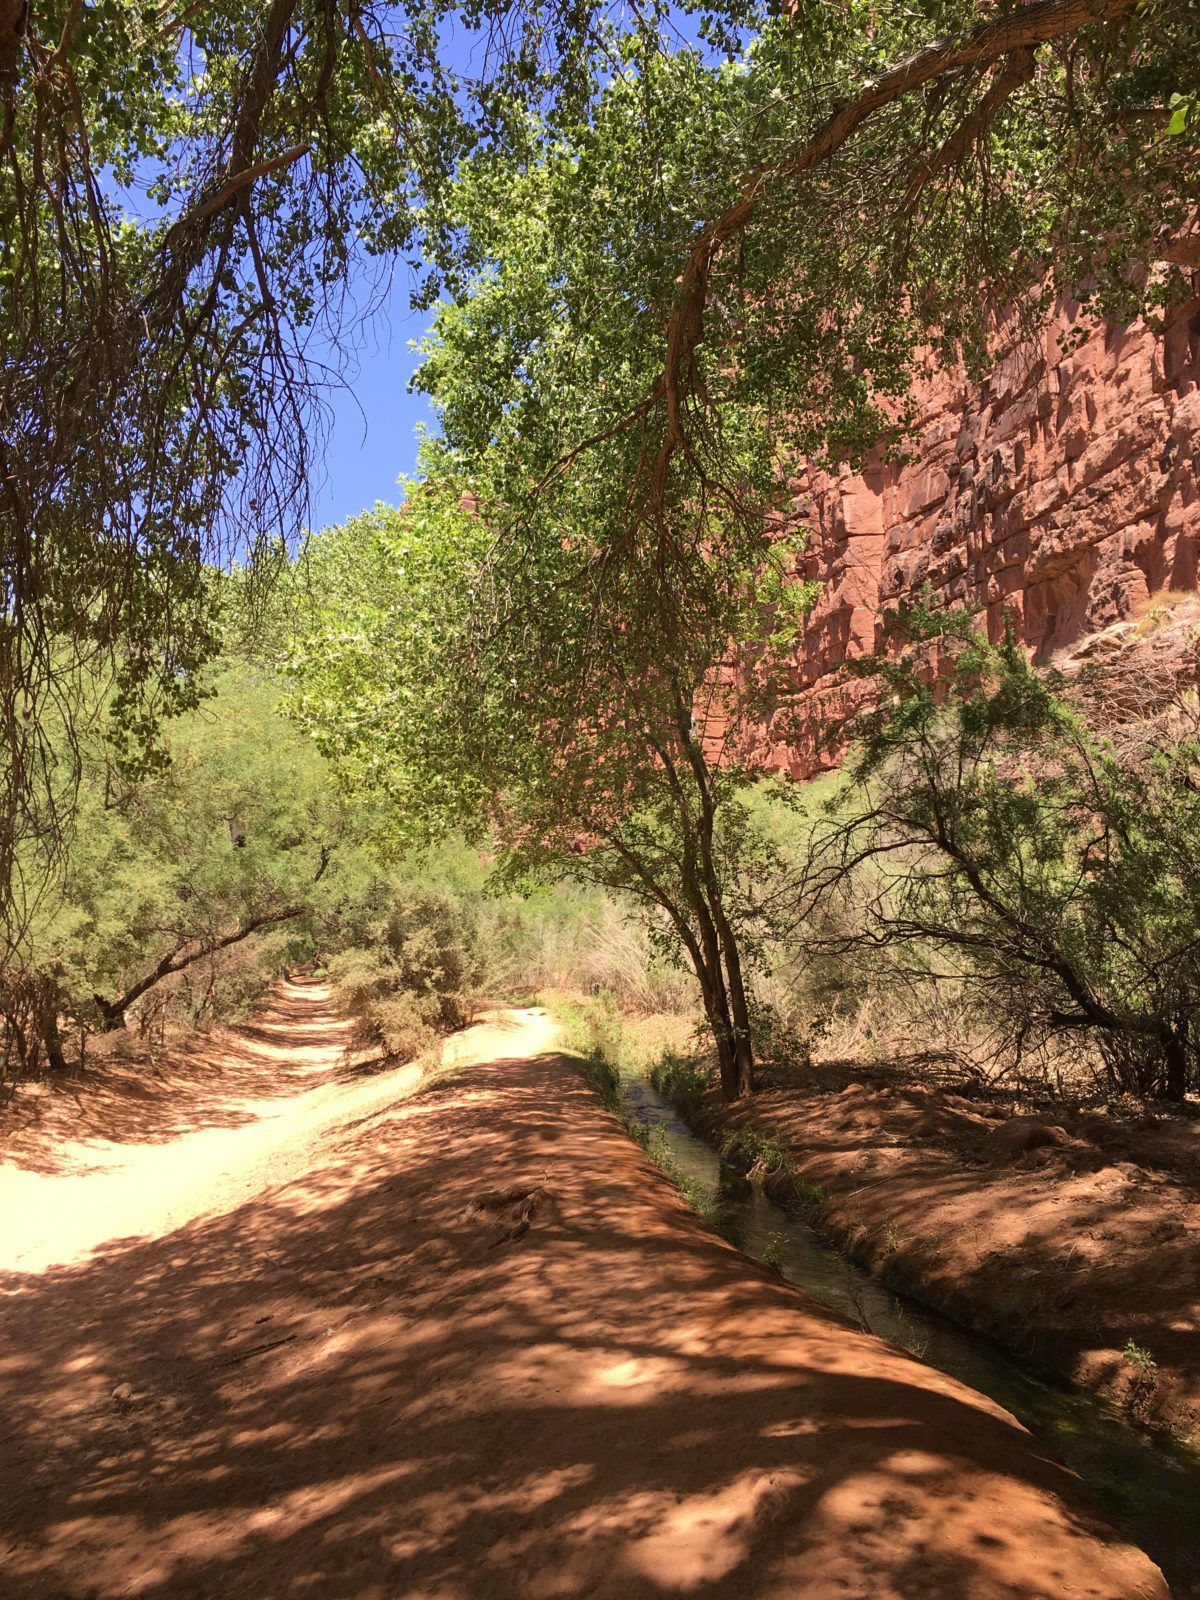
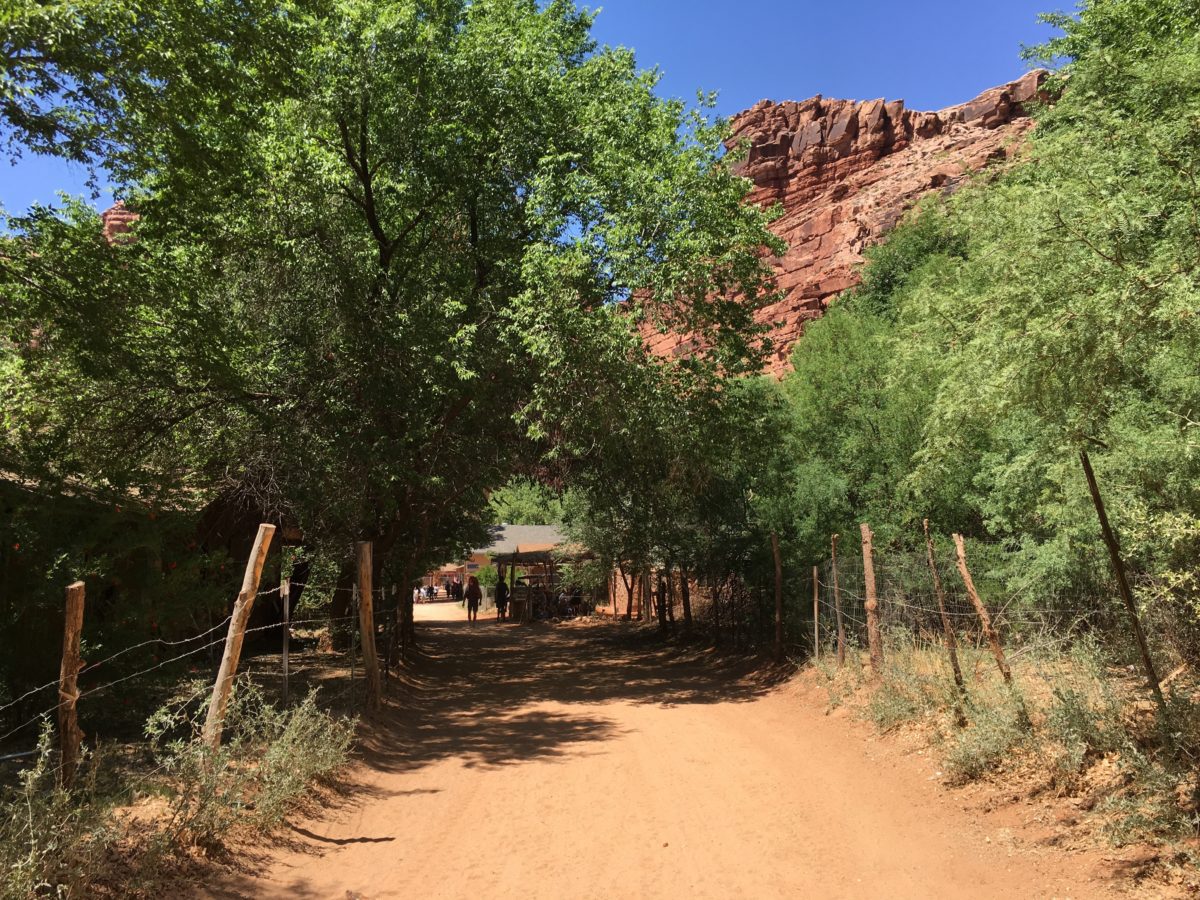
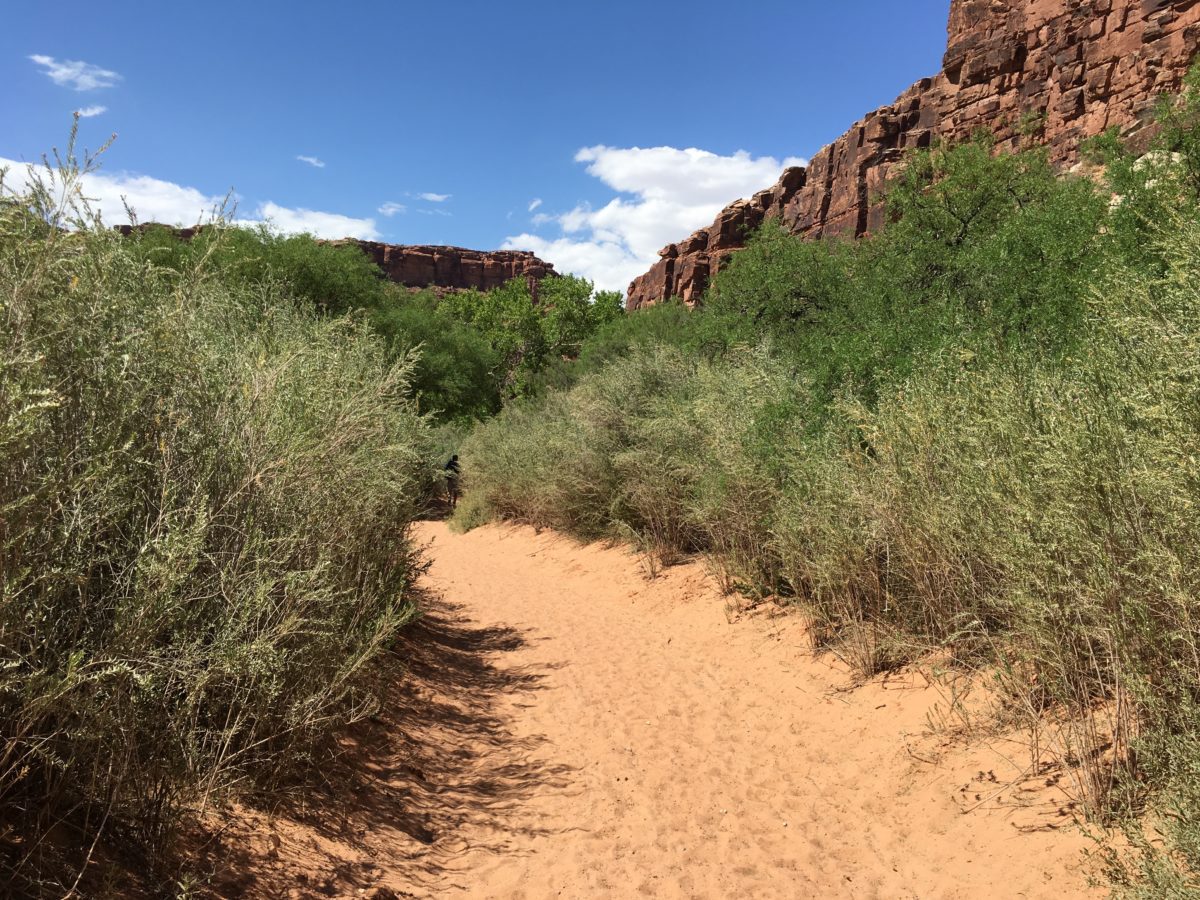
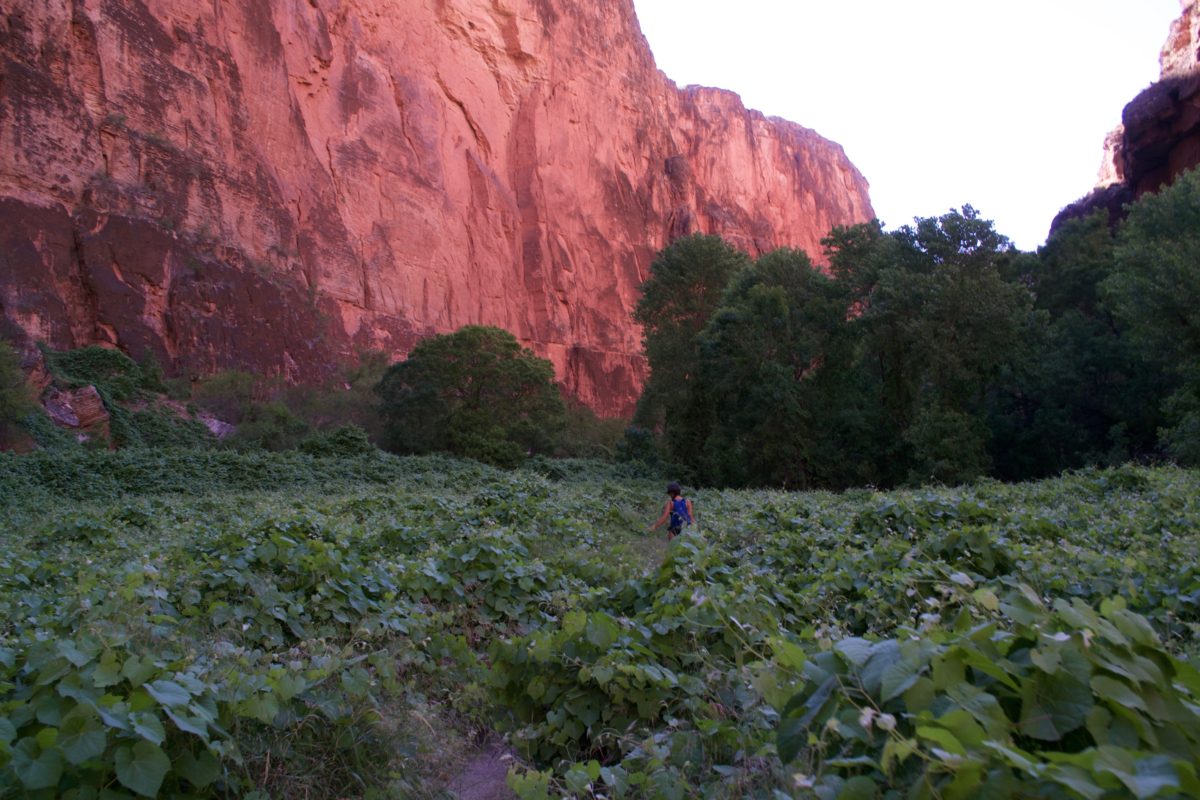
The section of the trail that leads to Supai is well-shaded micro-forest with some agricultural creeks flowing through.
Hikers were here

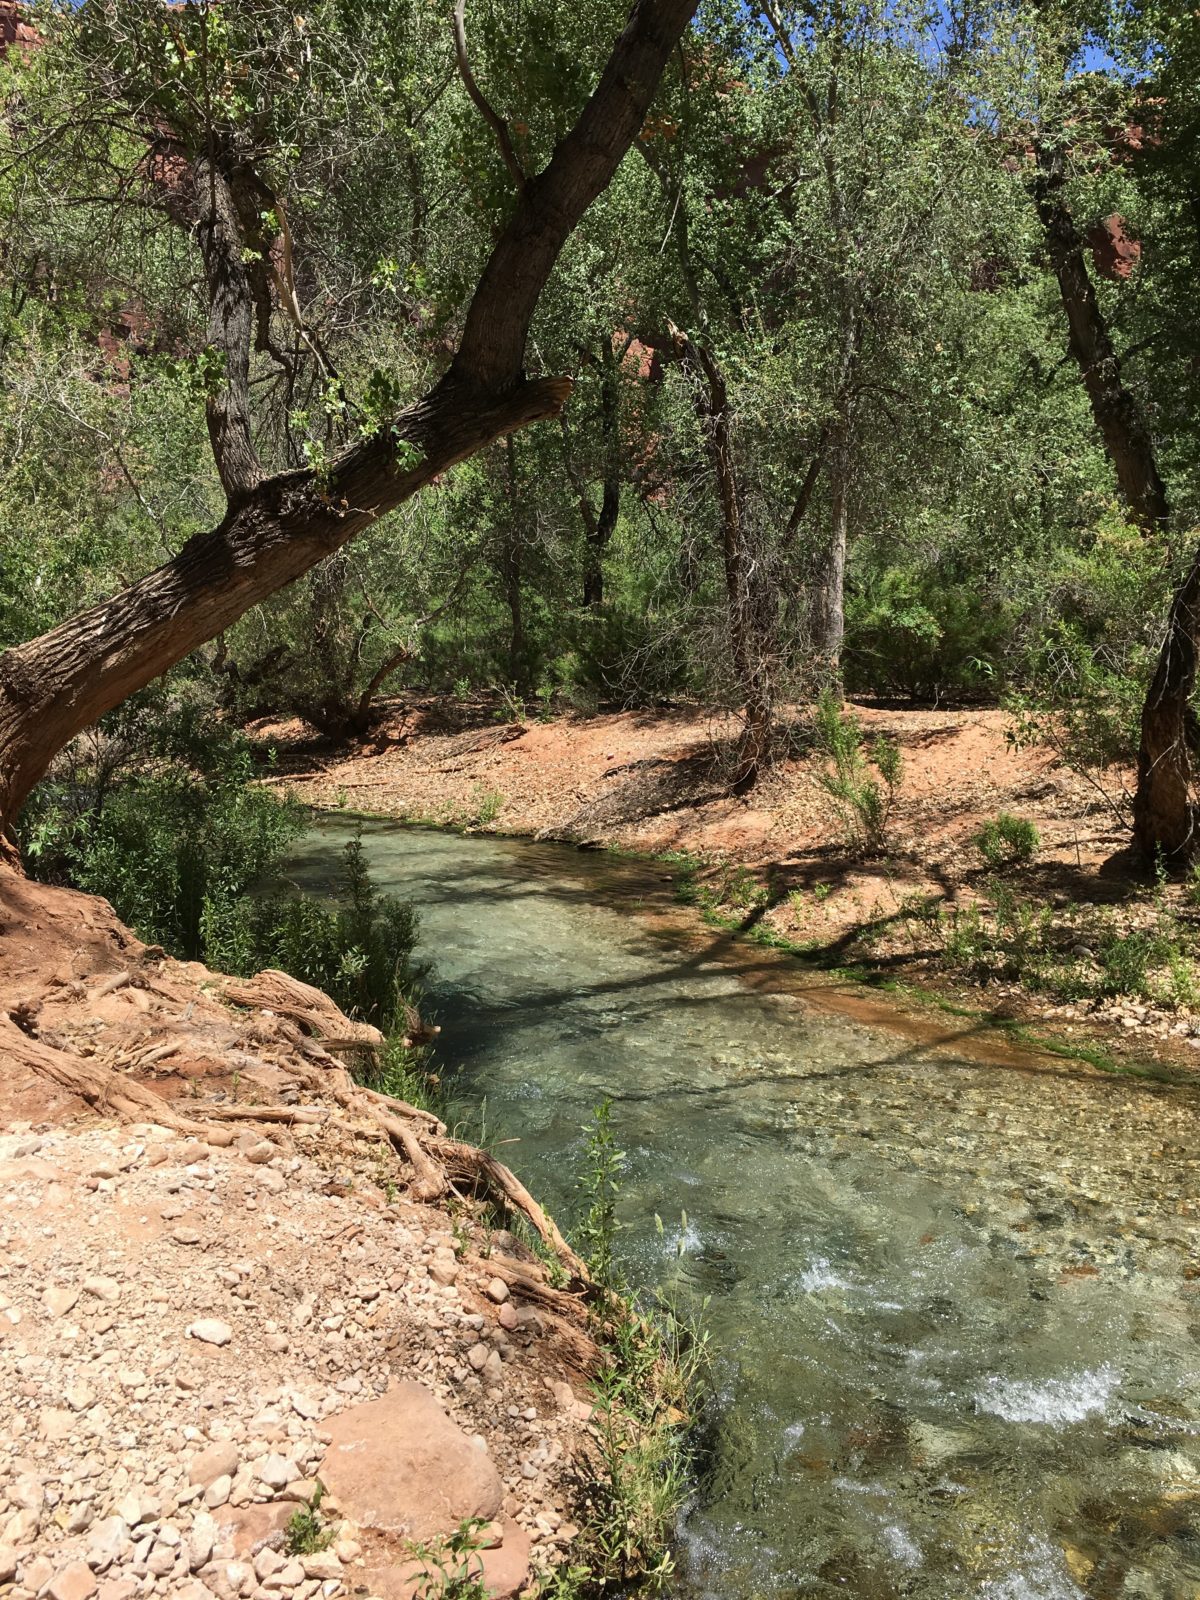
This turquoise creek parallels the trail for a while, leading you to Supai village
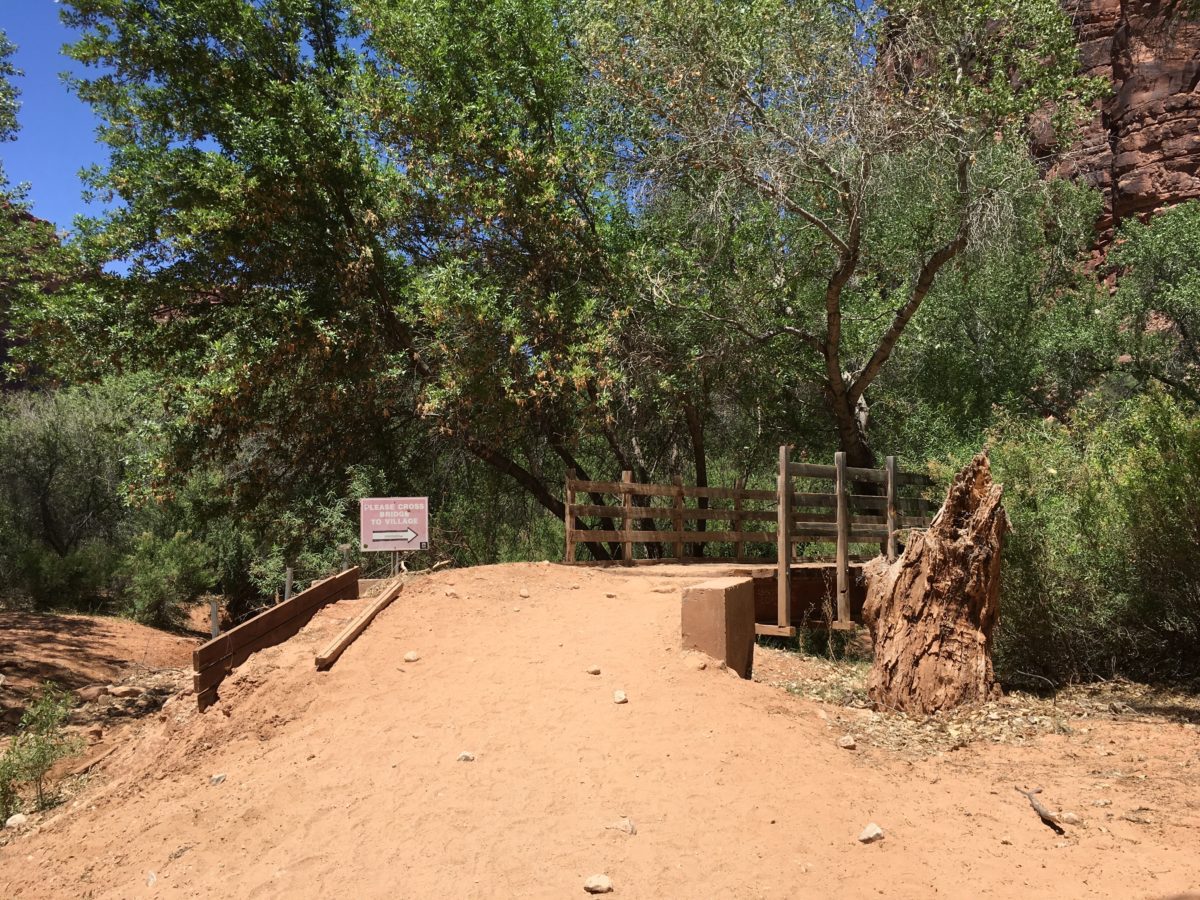
Finally, the village bridge
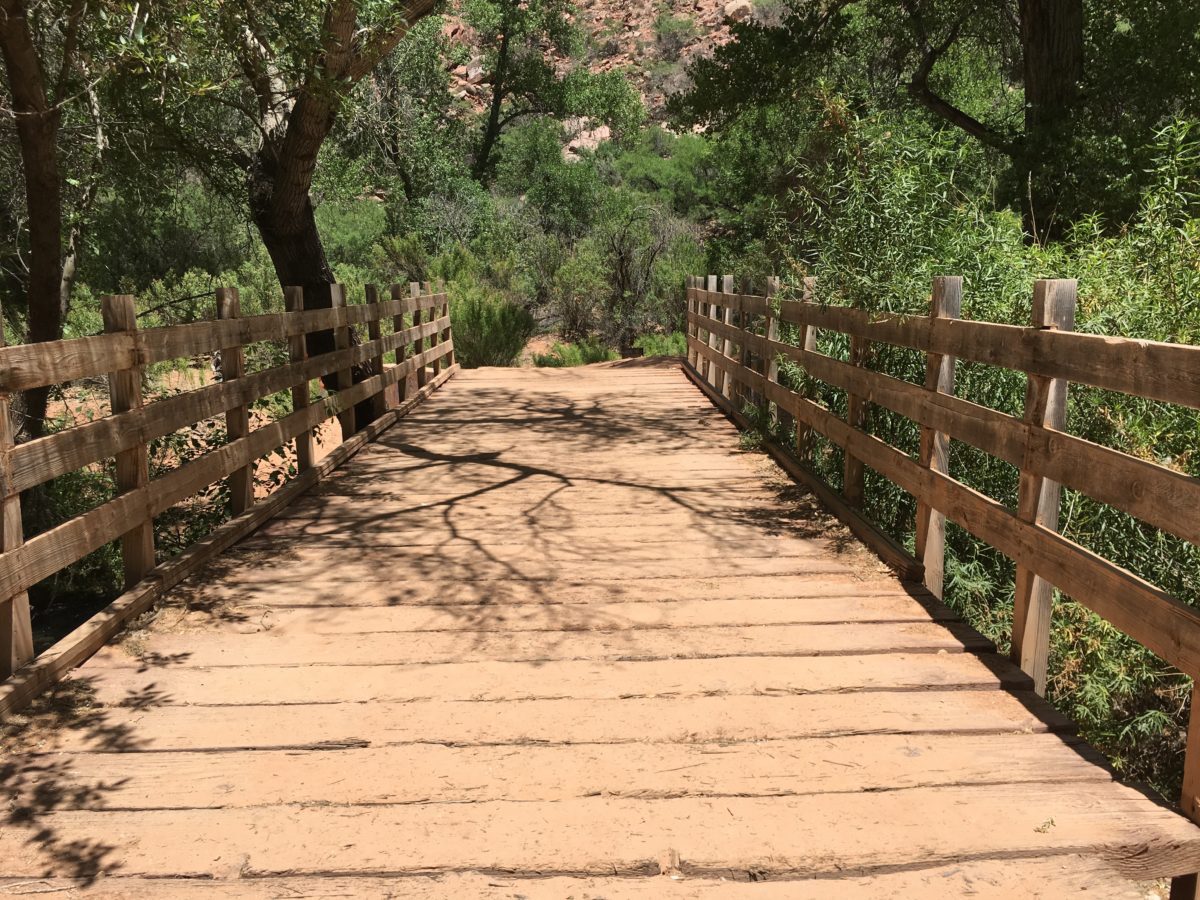
Almost there…
Just a little further…
Section 4: Supai Village
At long last, you’ll arrive in Supai, the most remote village in the “lower 48”.
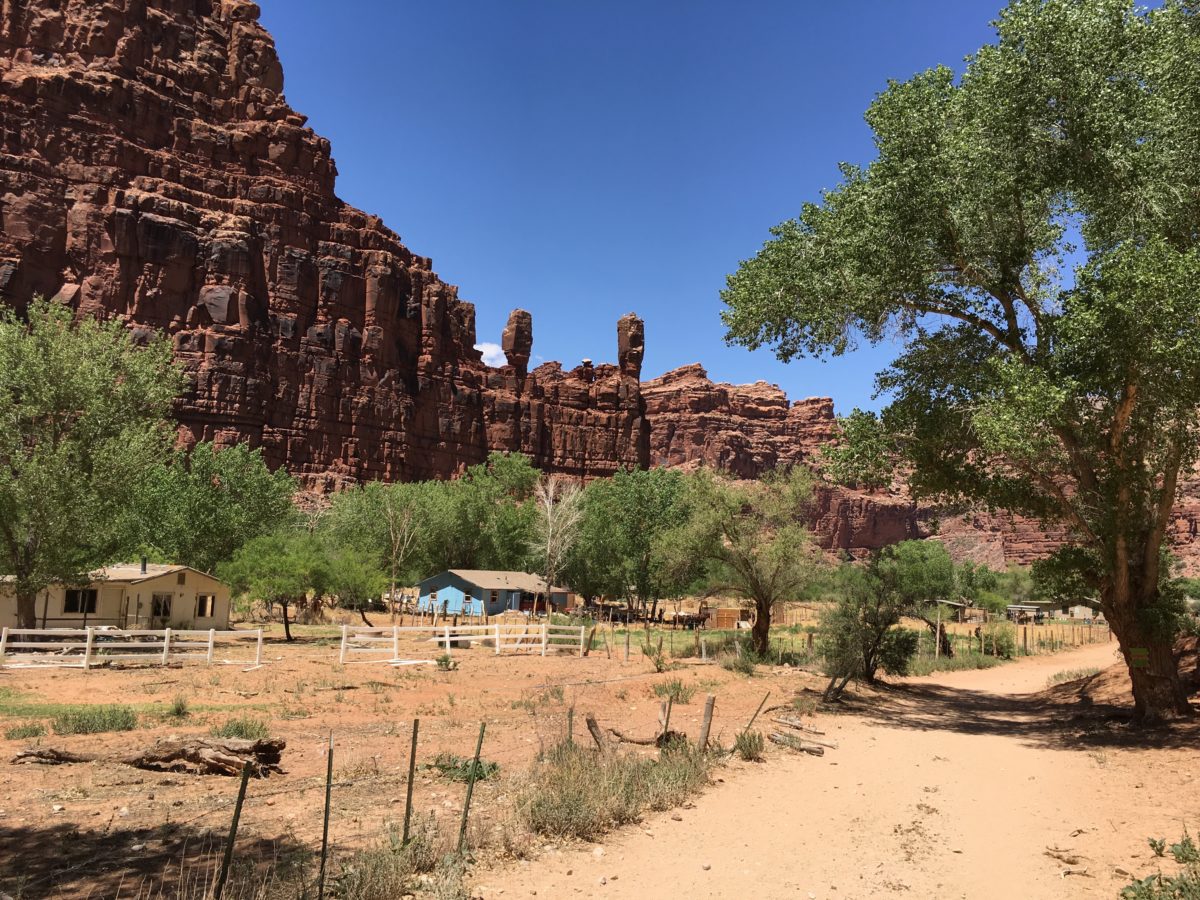
Follow the dirt road through the village
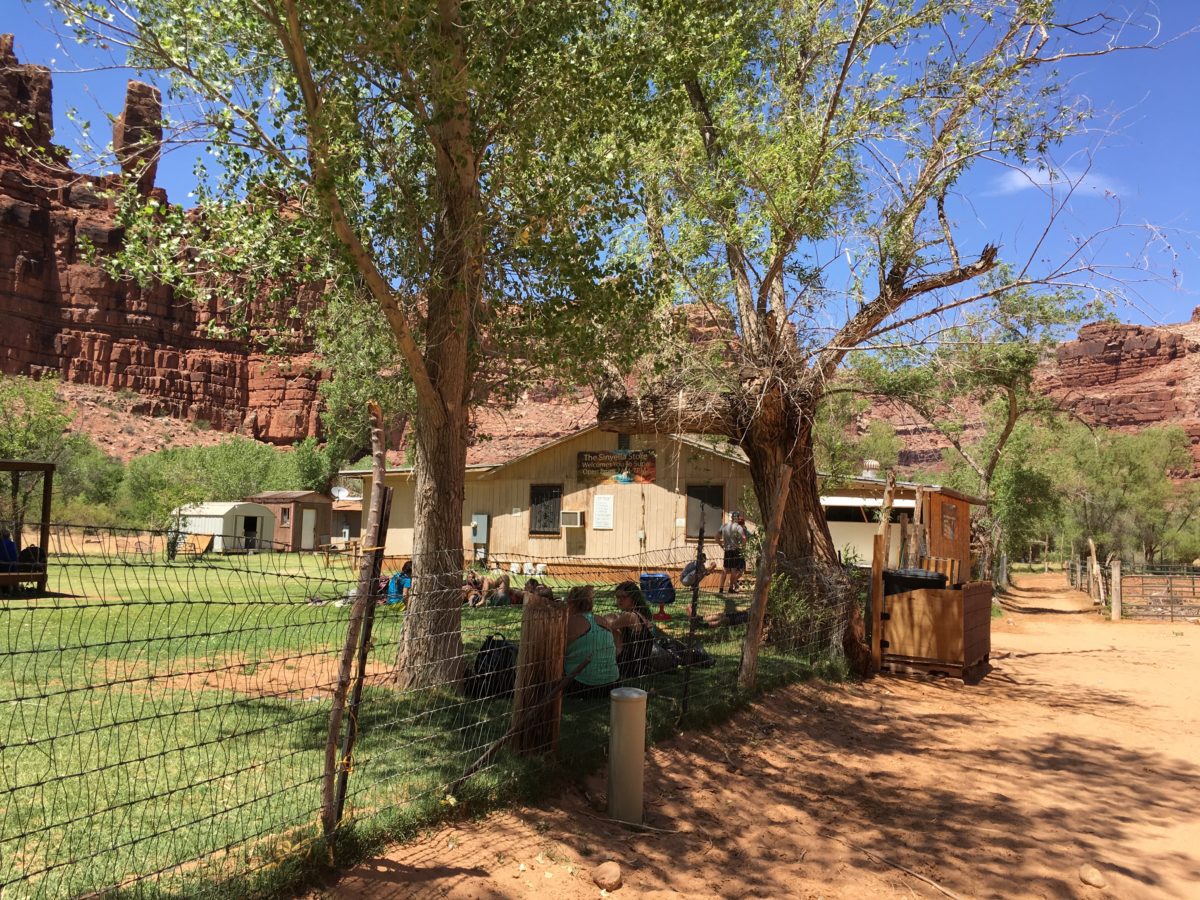
You deserve an ice cream. Lucky for you, this place has ice cream, snacks, and a large yard to relax
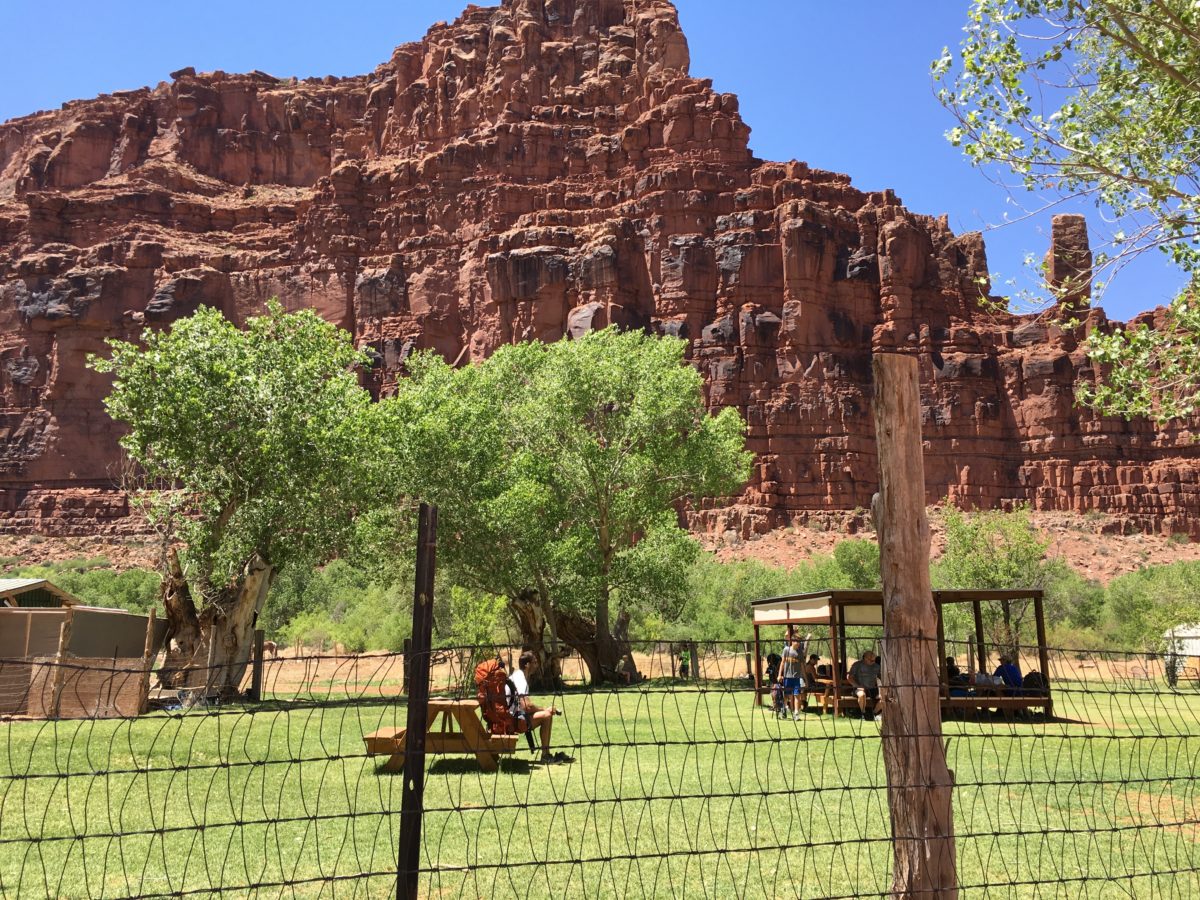
Hikers be chillin’ everywhere here
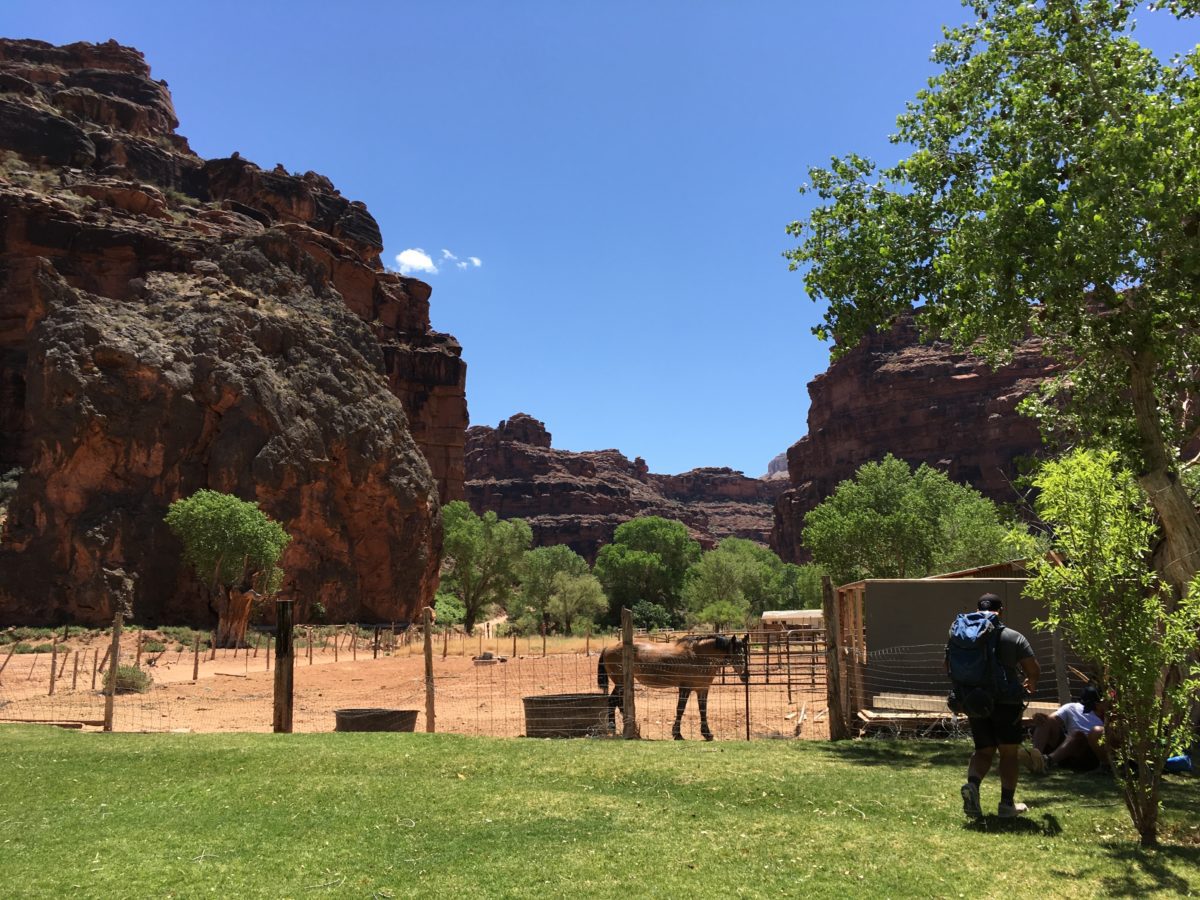
Equines like ice cream too. I see you horse!
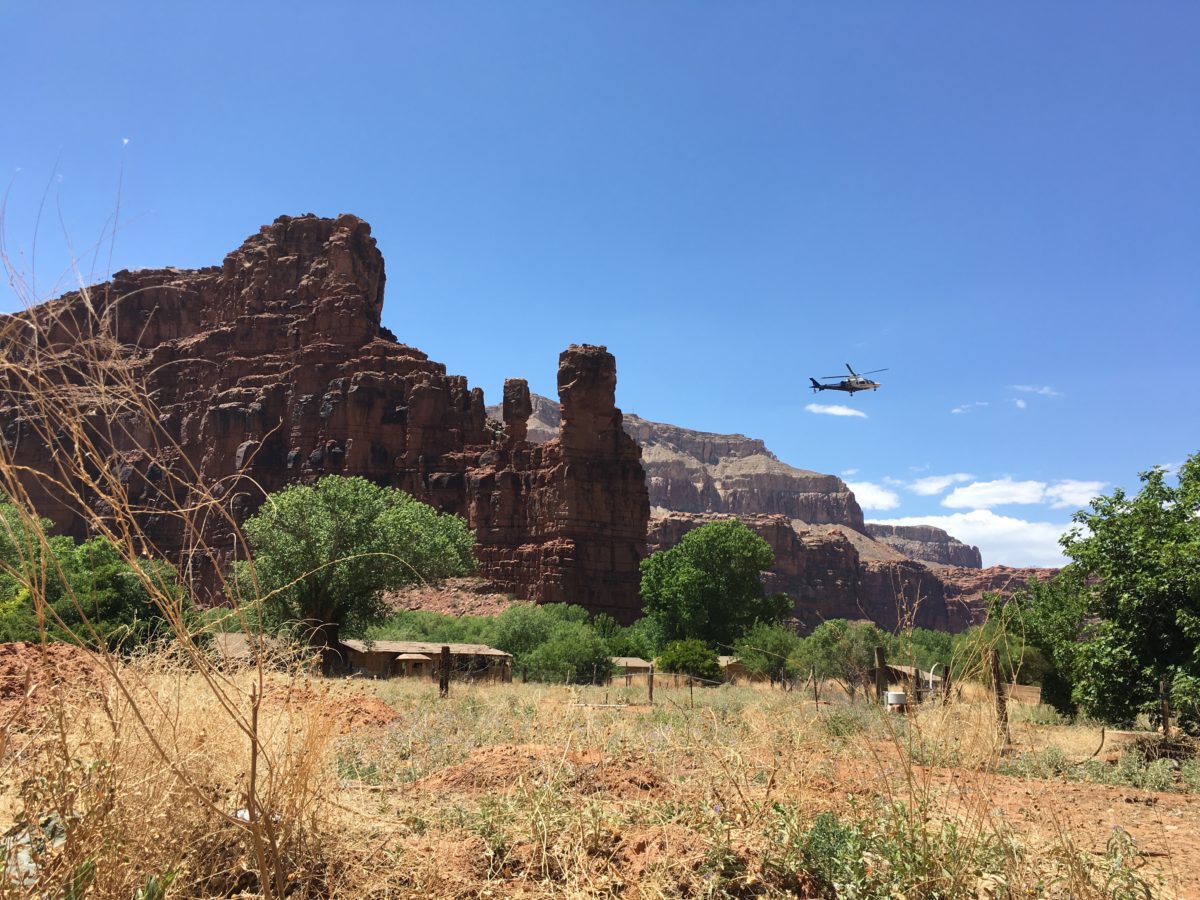
Alternatively, you can hire a helicopter to take you in or out of Supai. Space and schedule is limited. Locals rightfully have priority
Around this corner, the Supai Tourist Office and Museum is located on the left
The Supai Campground Check-In:
You will have to stop by the Supai Tourist Office to verify your reservation and obtain your entrance permit for the campground. This is mandatory.
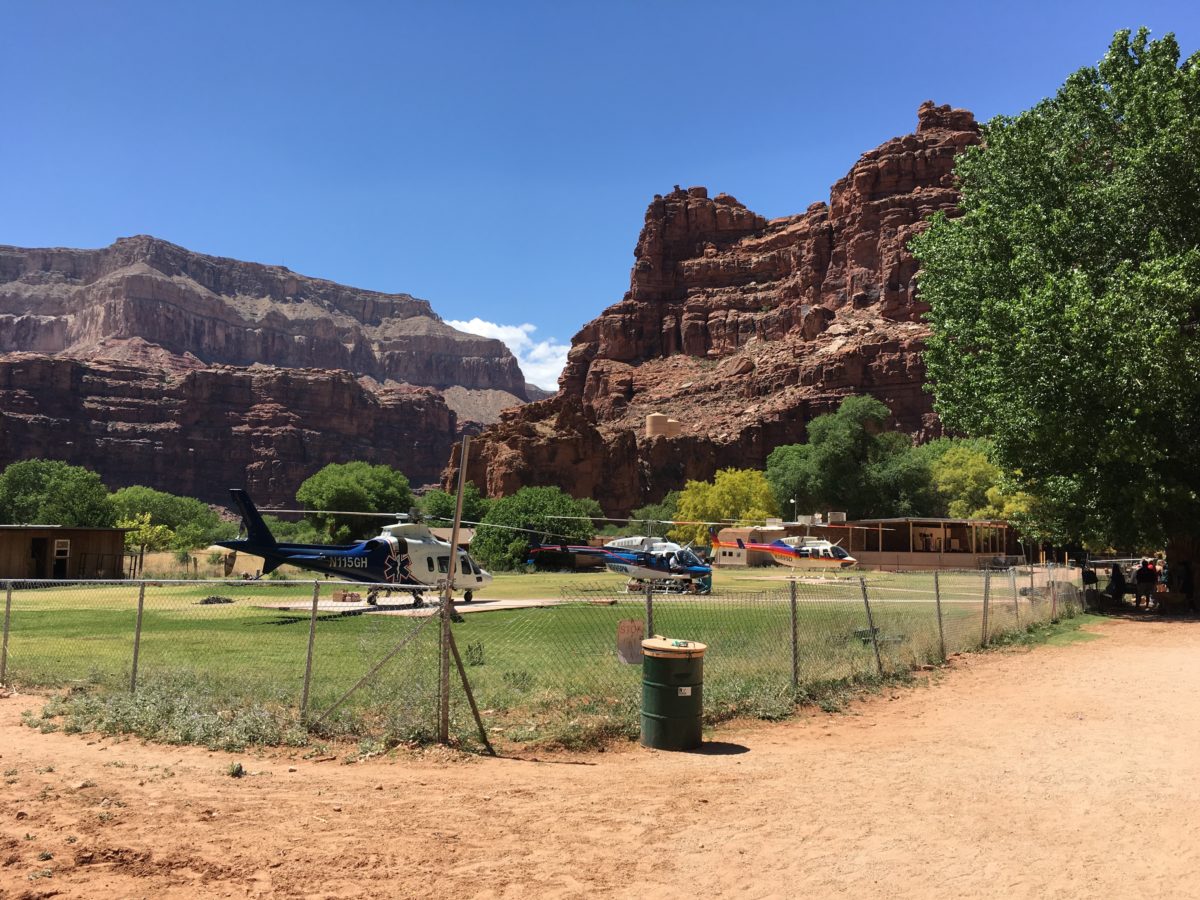
To the left of this helipad is the Tourist Office
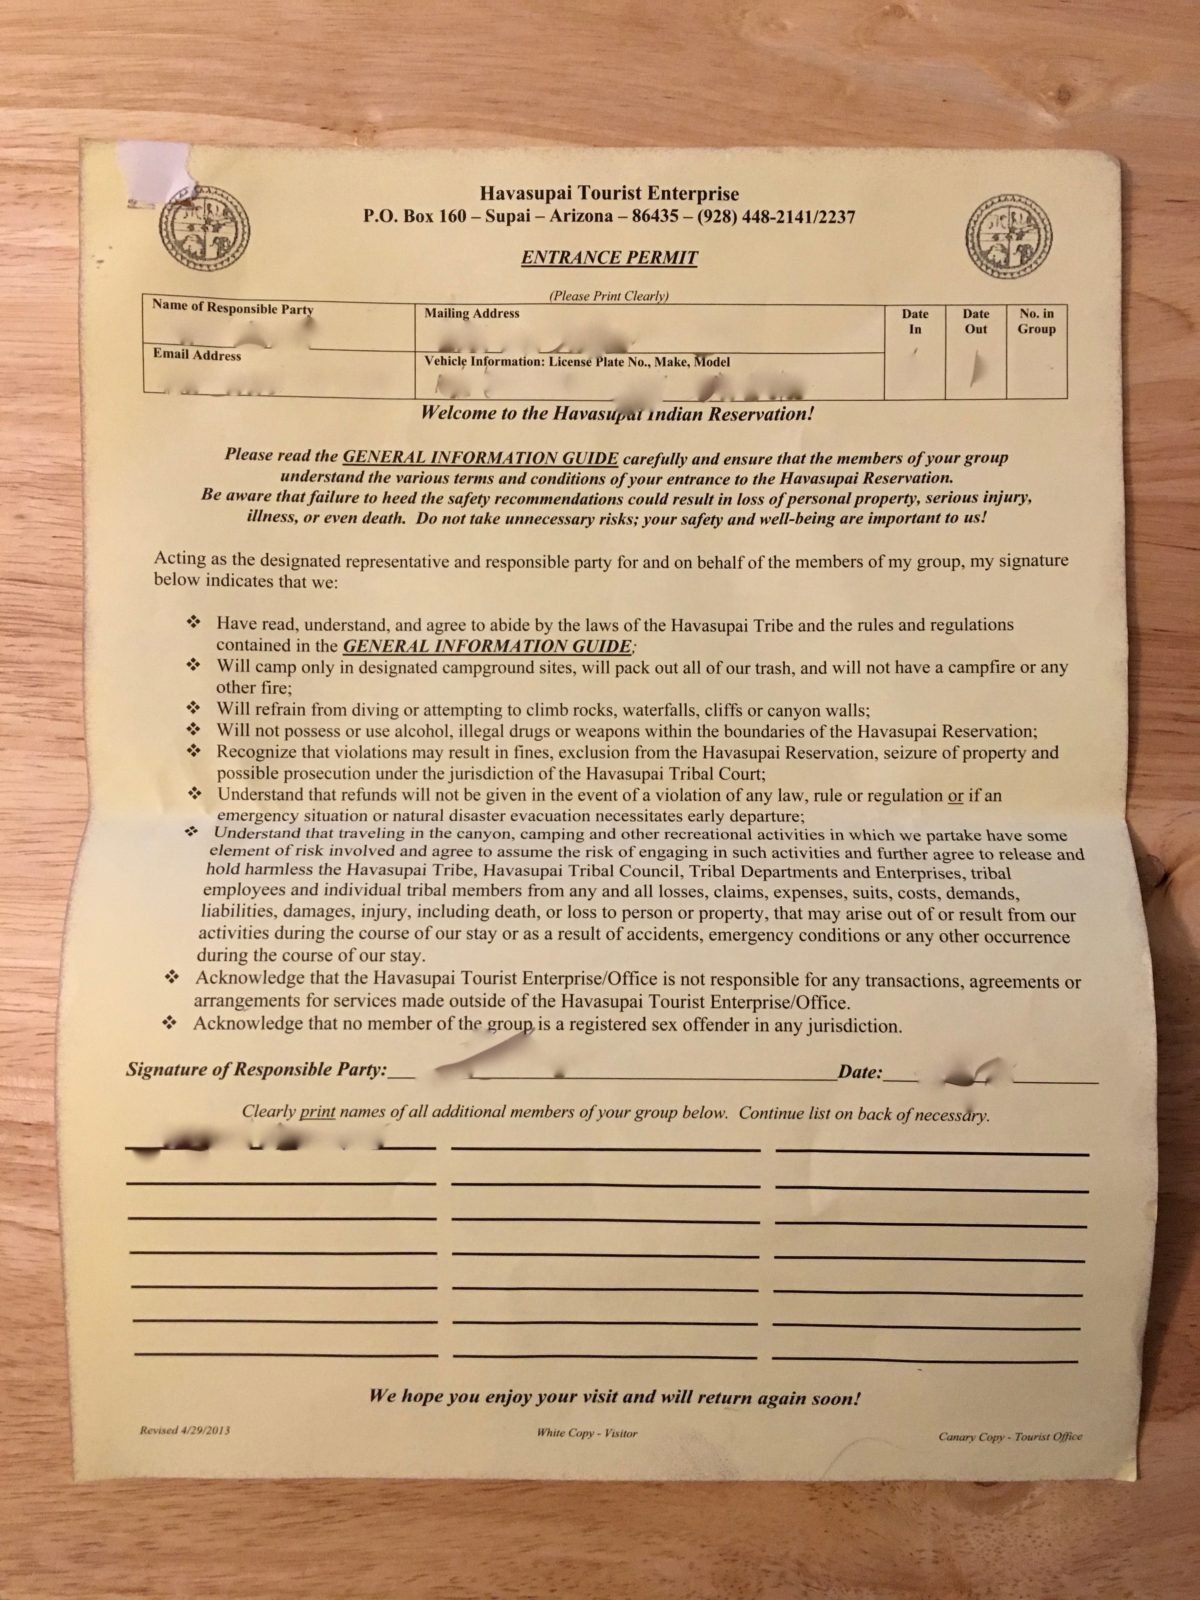
The Entrance Permit
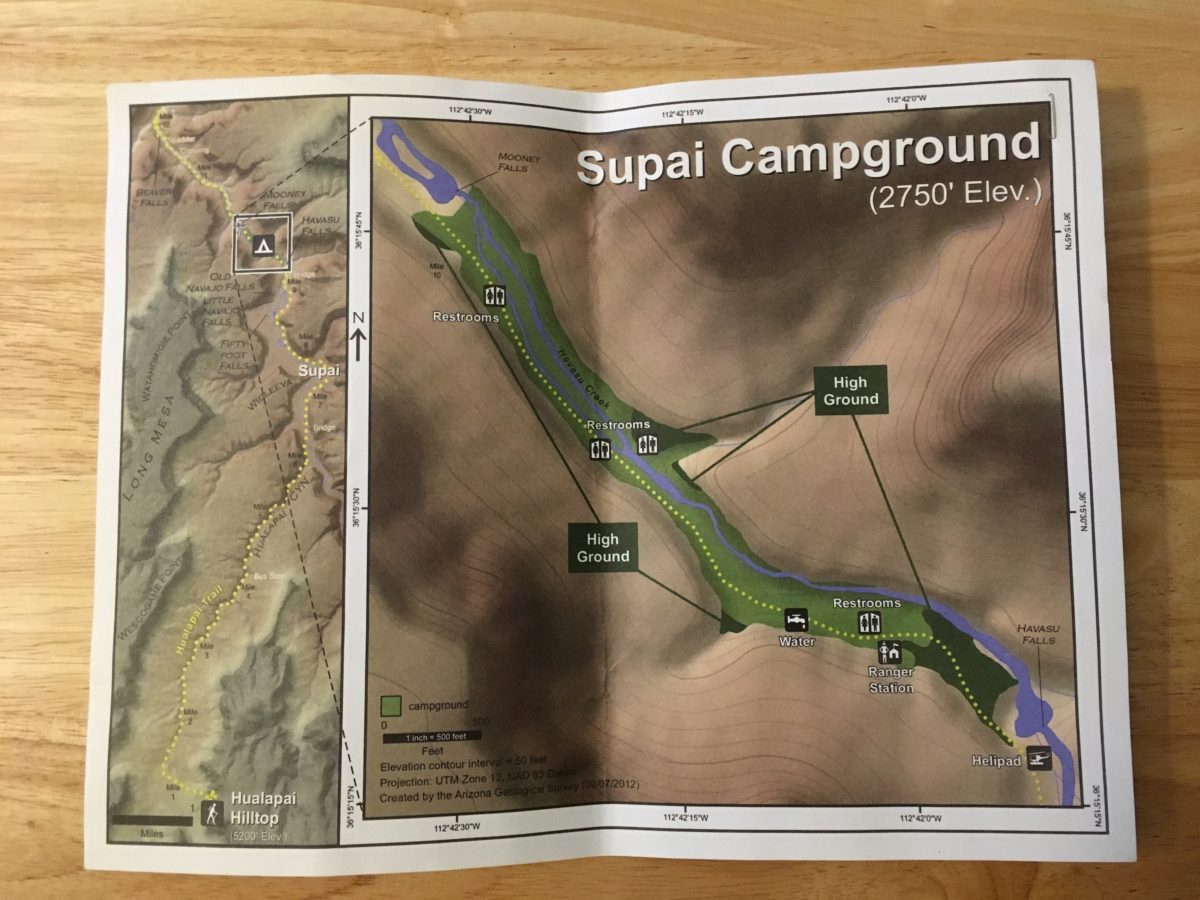
At the Supai visitor office, you’ll get this map of the campground after you check-in.
Section 5: From The Village To The River
After your check-in, you are ready for the final stretch to the river, falls, and campground.
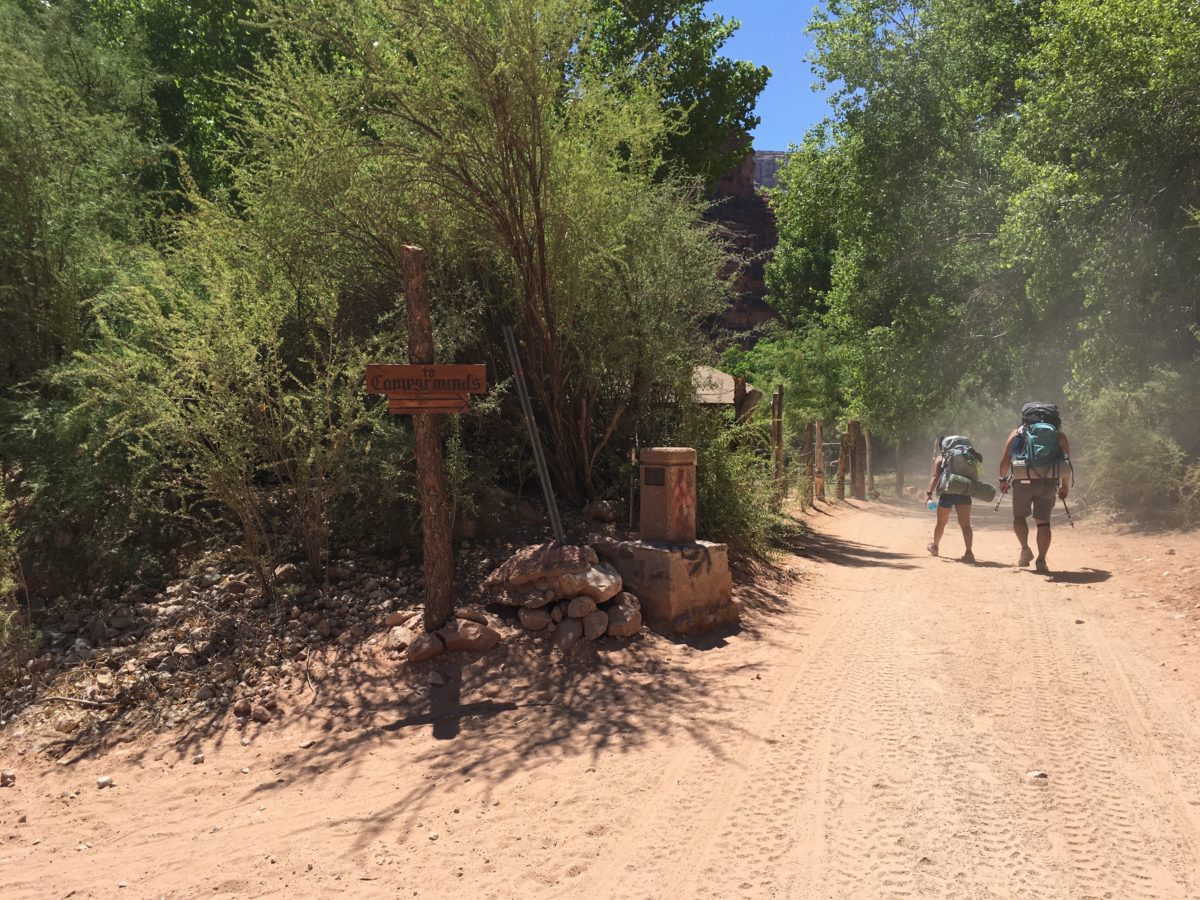
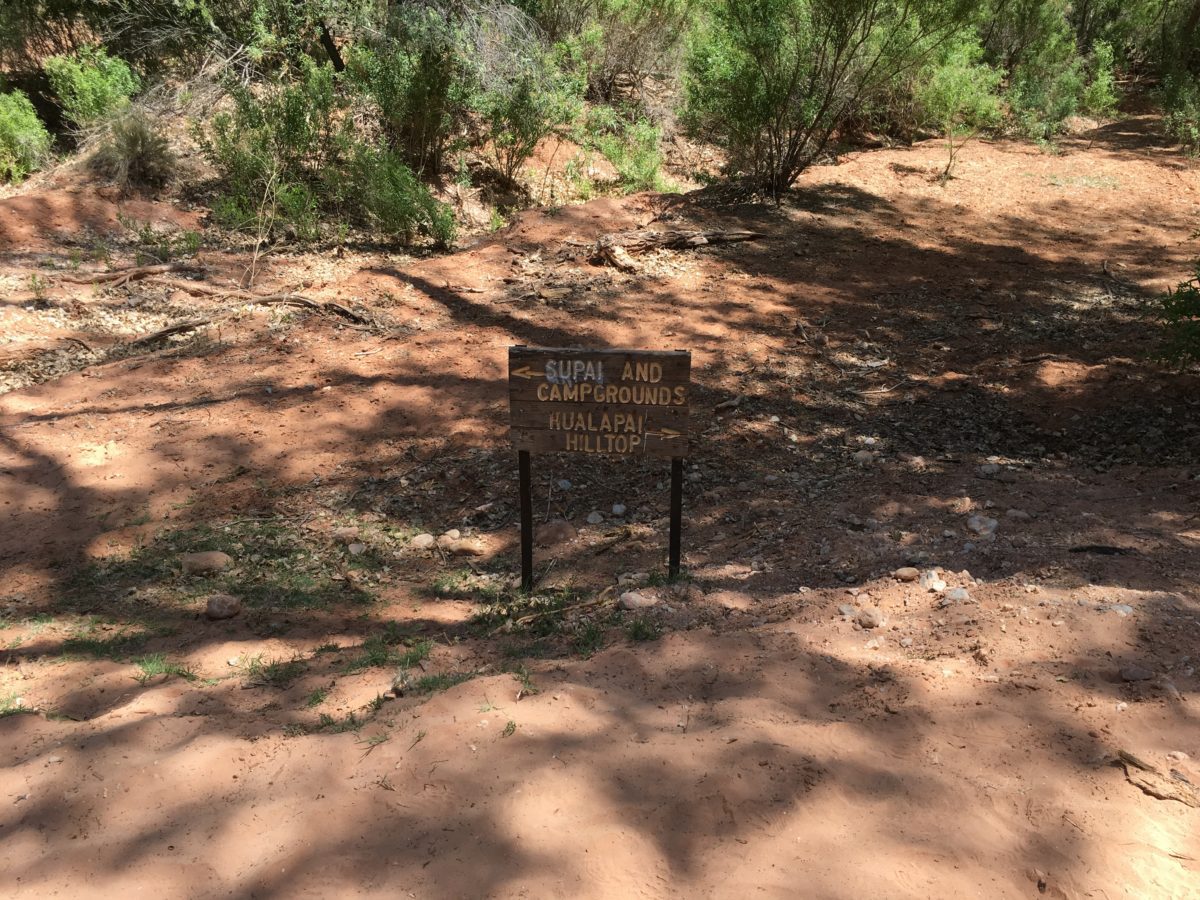
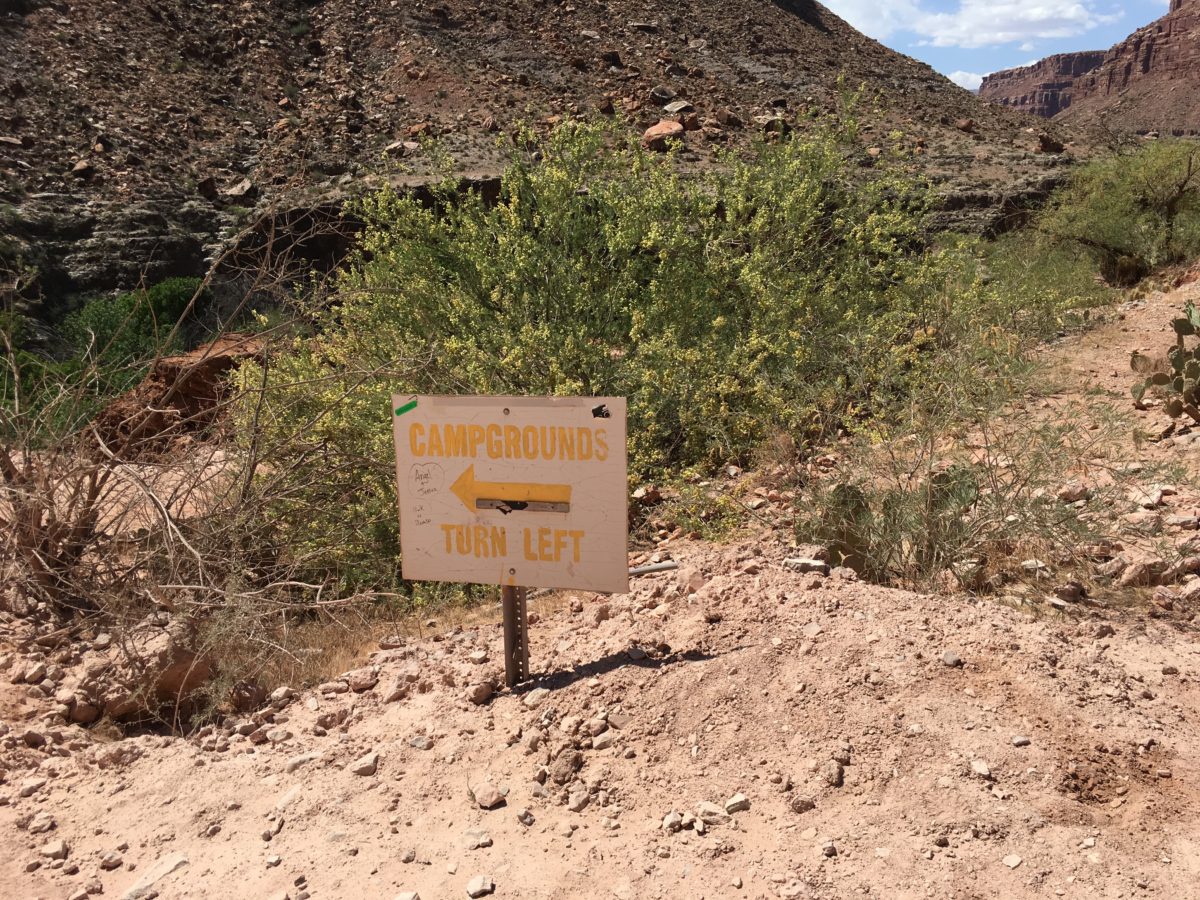
Fork in the road, stick to the right. This section is really sandy so be prepared for a bit of a slow-down
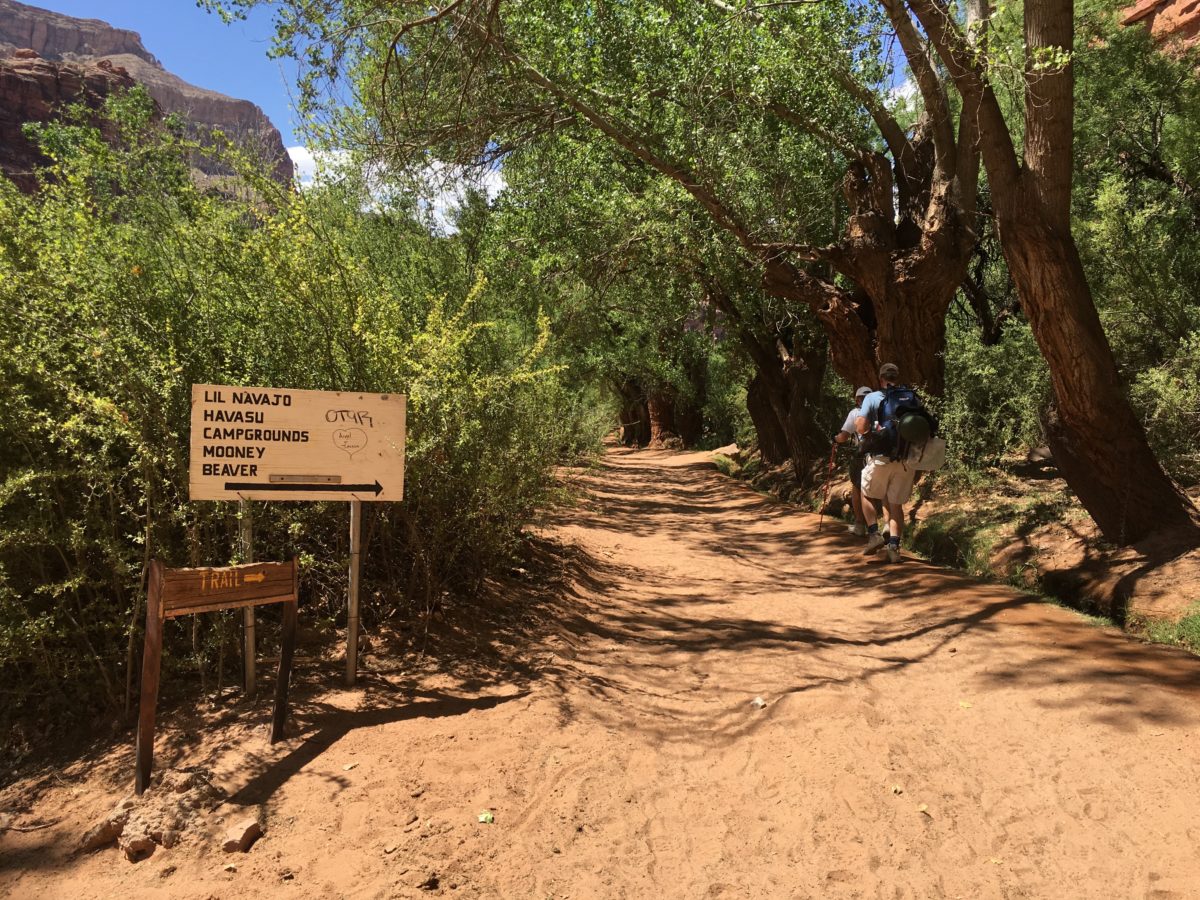
More signs, keep right
Sand hiking pretty much sucks, trust me

Finally, the river is straight ahead
Section 6: The River & Final Stretch
Just when you are about ready to curse the gods for the sandy hike you just endured, the canyon rewards you with your first glimpse of the river.
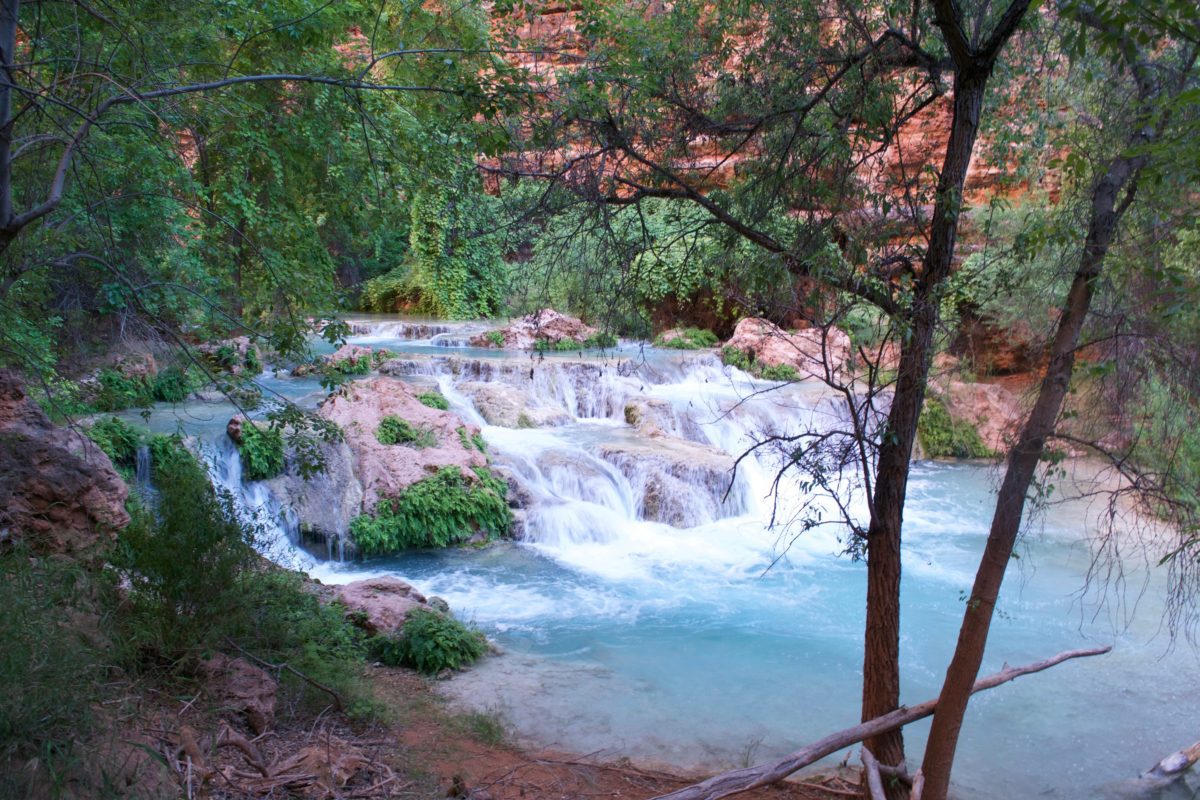
Here you’ll find Navajo Falls and Fifty Foot Falls – the perfect spots for a quick dip.
Lil Navajo Falls
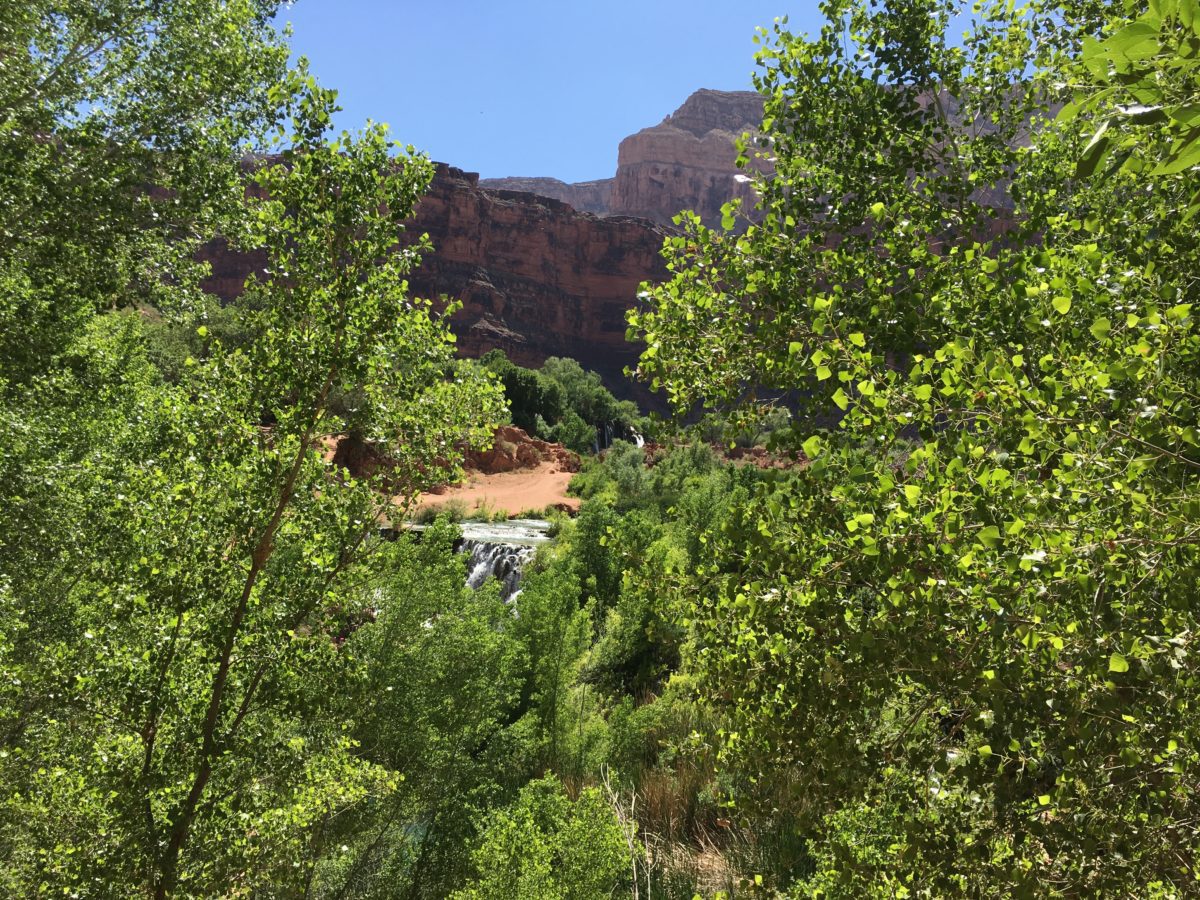
Fifty Foot Falls
As you leave the smaller falls behind you’ll need to make one final trek to the main attraction: Havasu Falls
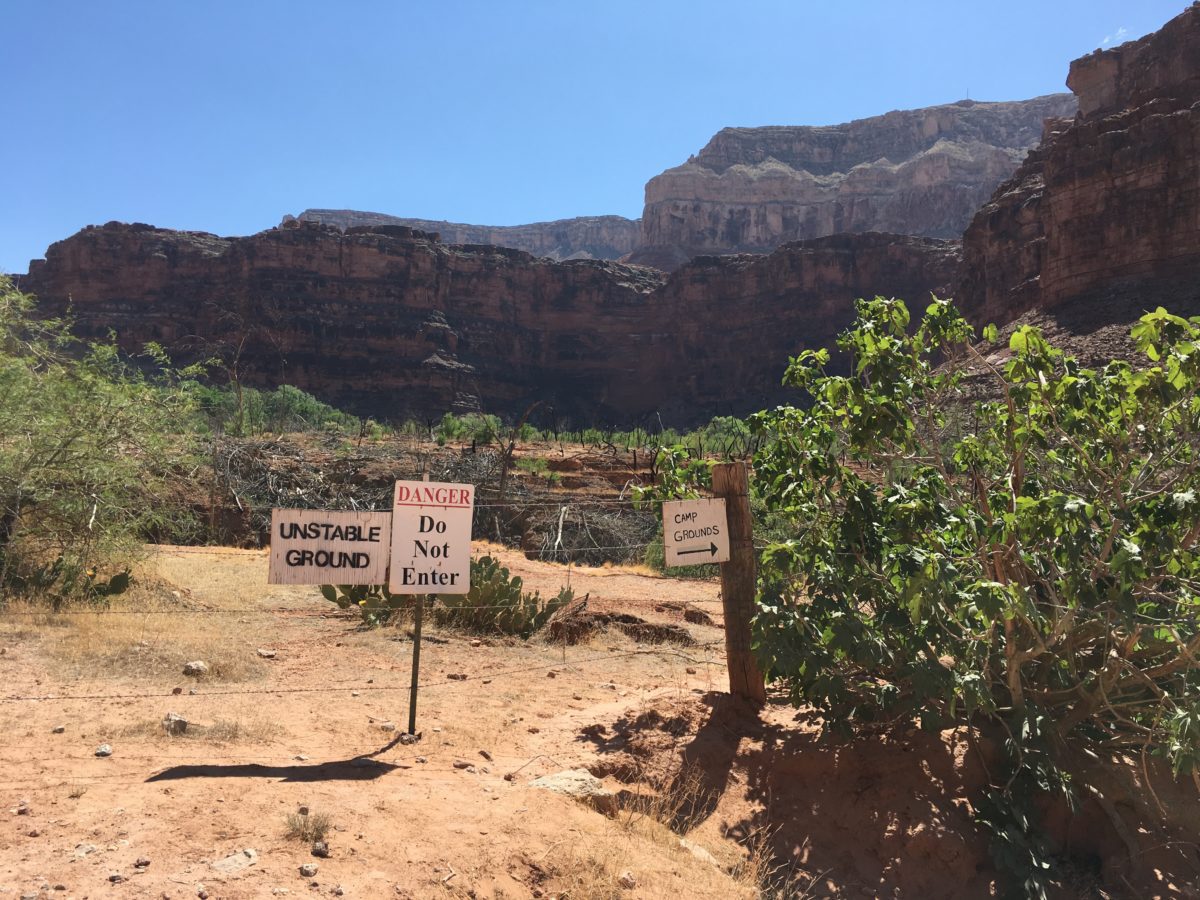
Keep off this stuff. You may also see some burial grounds here, please don’t take pictures – it’s disrespectful to the families
Almost there…
One more bridge to cross, then…”selfie-time”!
Section 7: Havasu Falls
You’ll find yourself on a high ledge. Look down and to the right.
What’s down there?
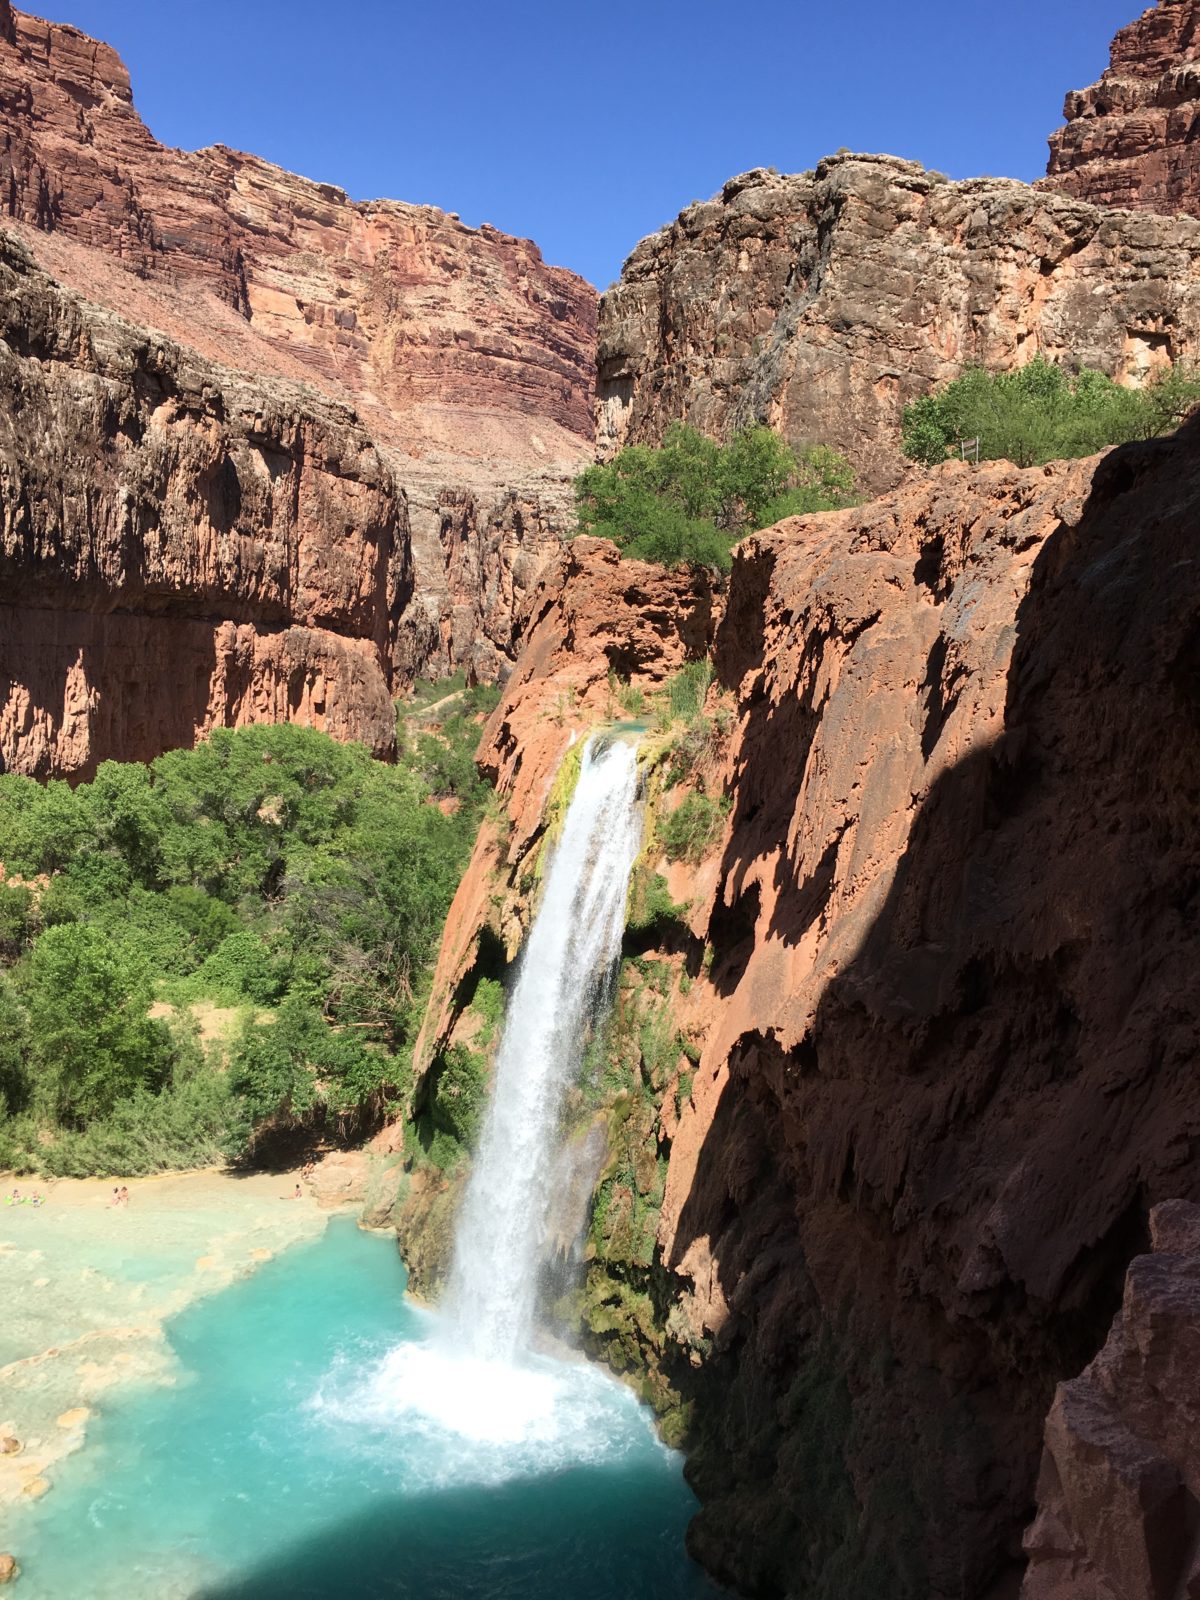
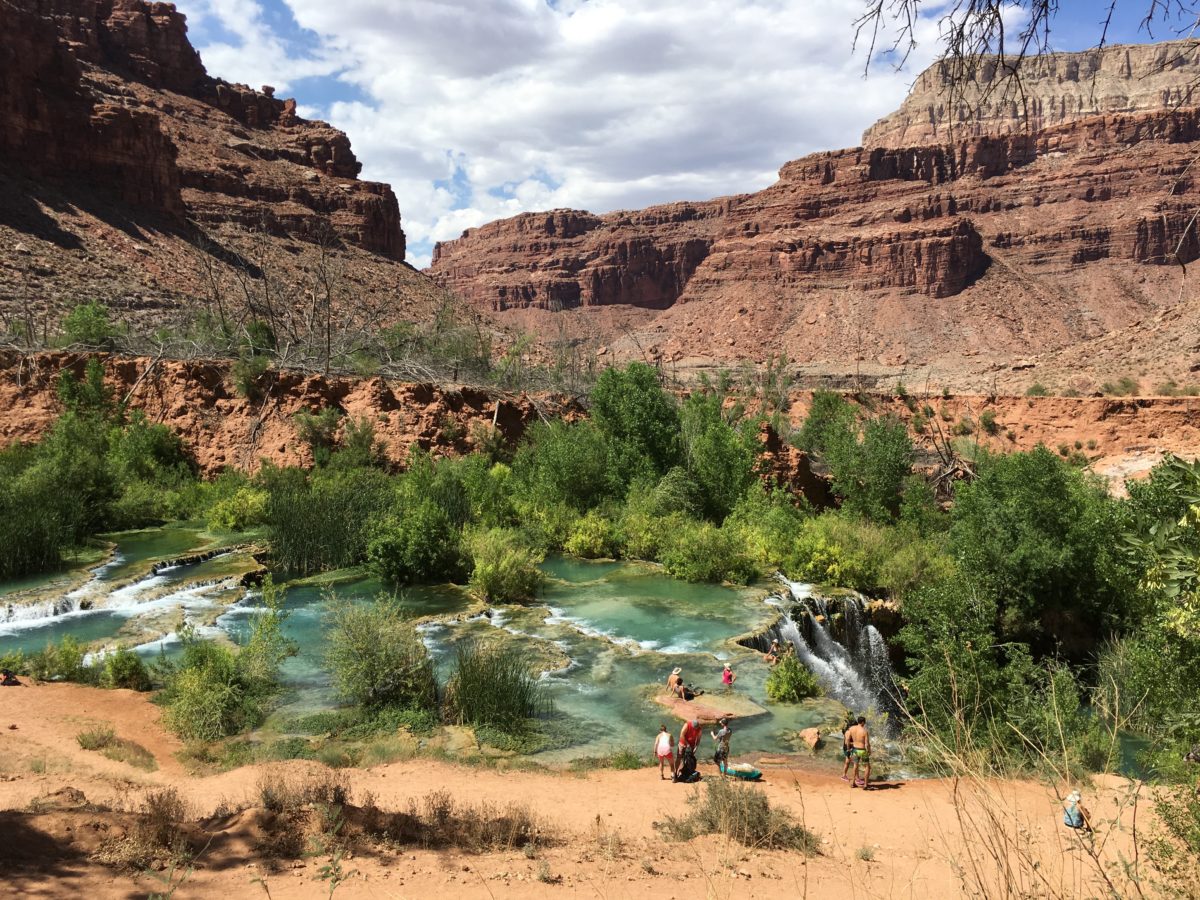
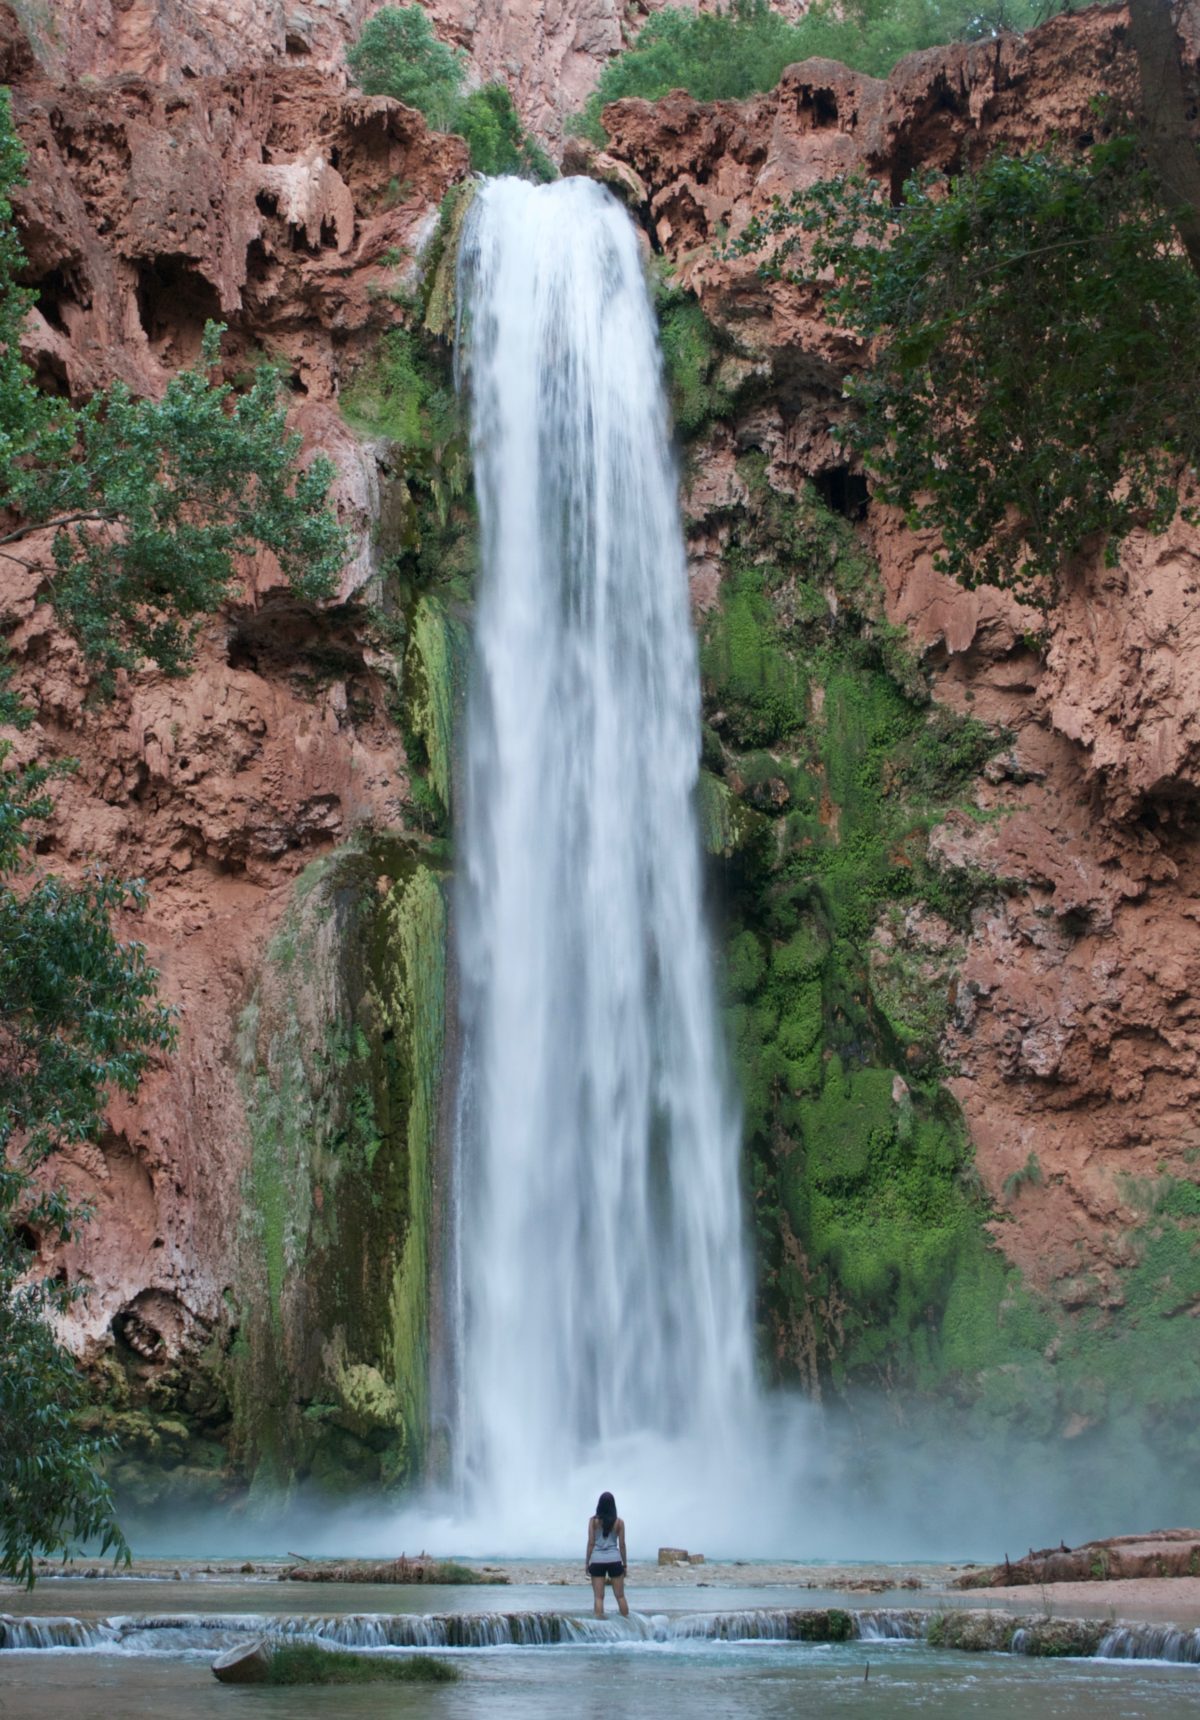
Boom! The first view of Havasu Falls
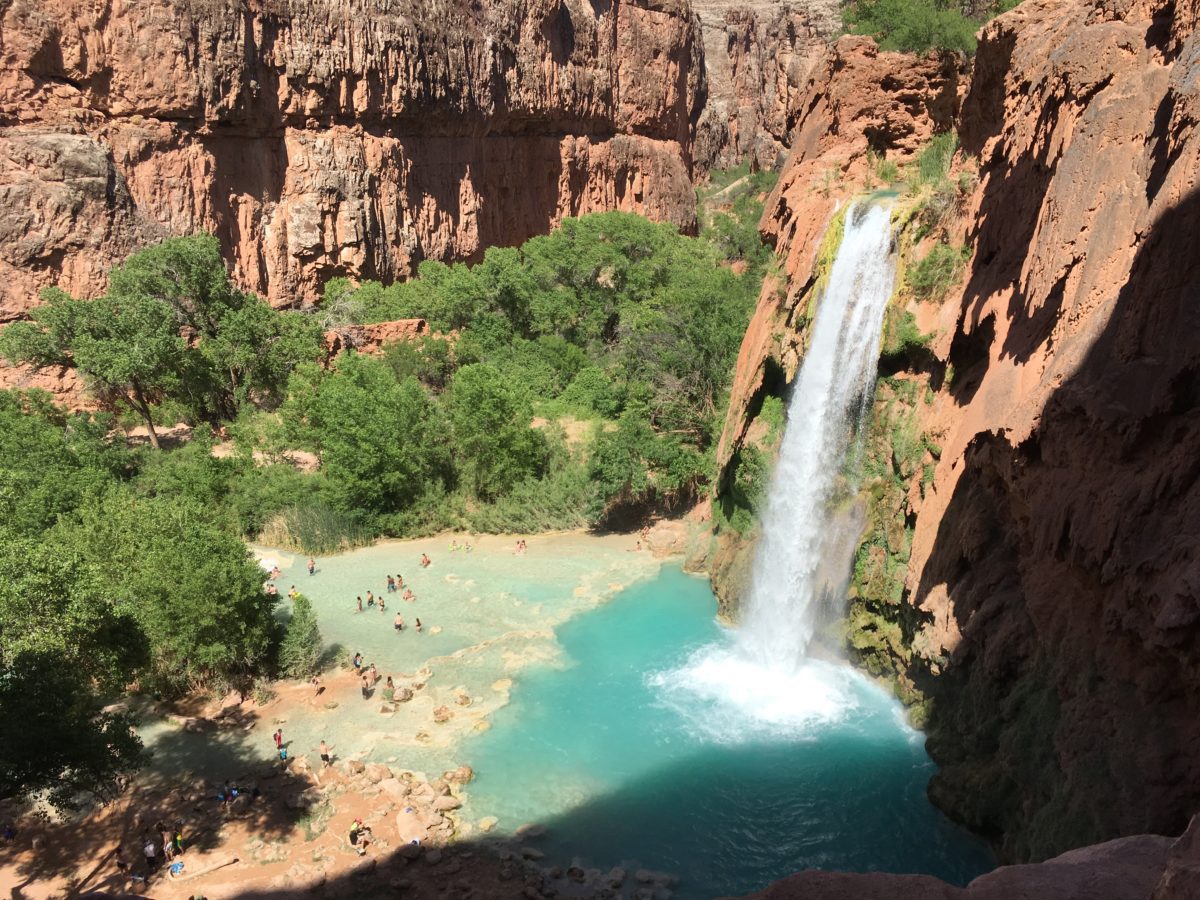
You can see there are several swimming areas here. The darker the water, the deeper the pool
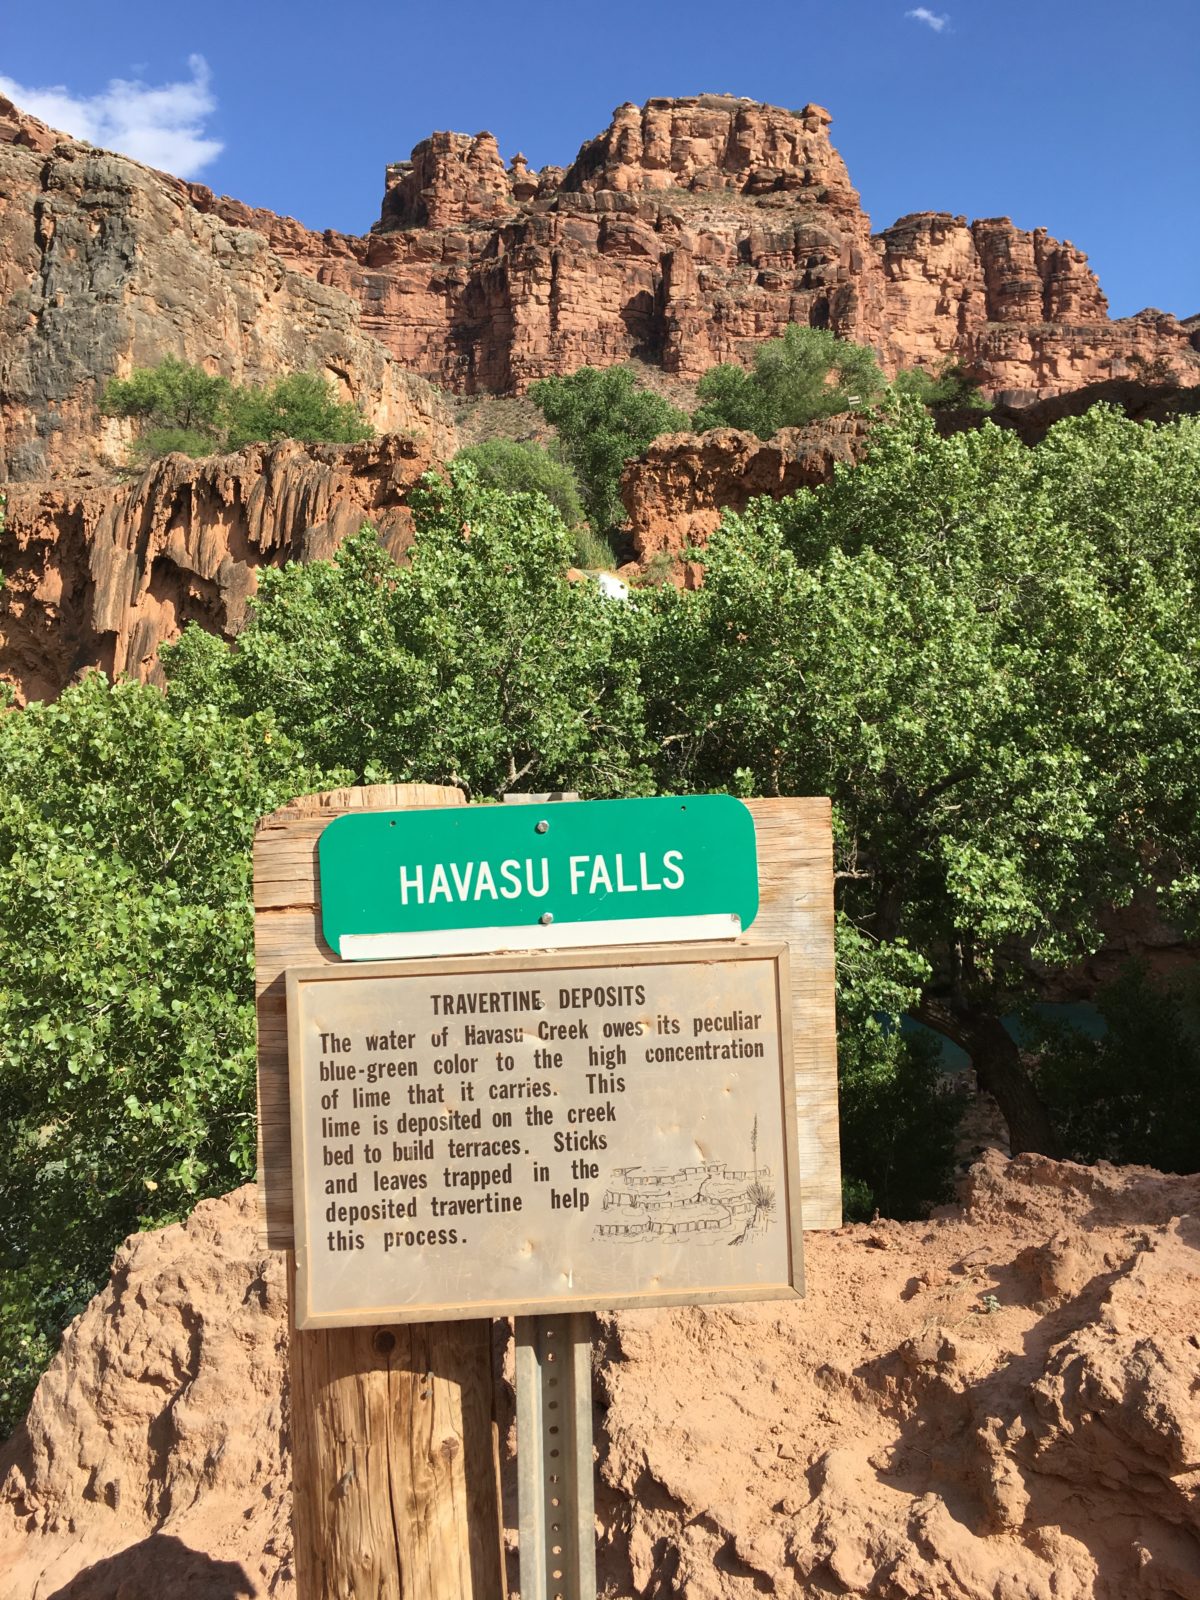
Lime minerals give Havasu Falls its unique blue-green color
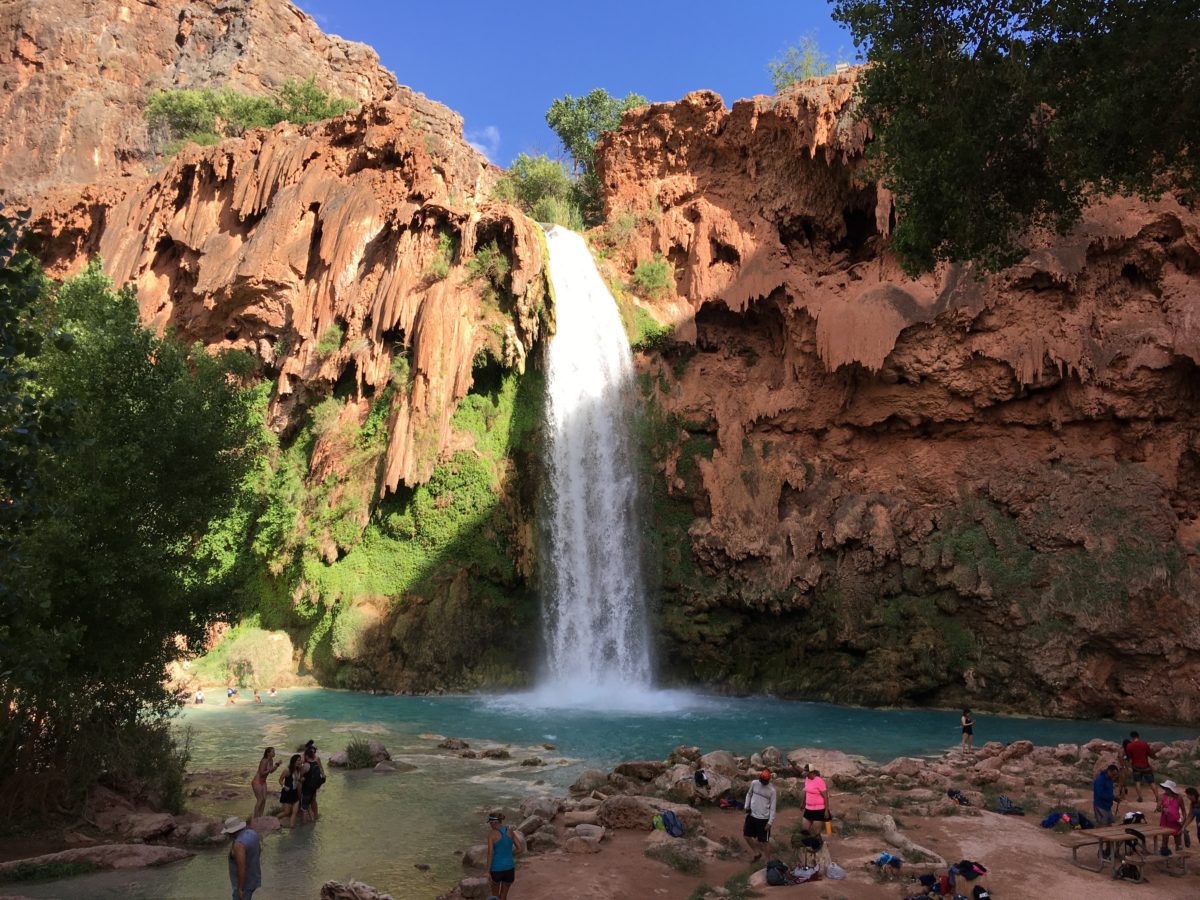
These pictures simply can’t do Havasu Falls justice
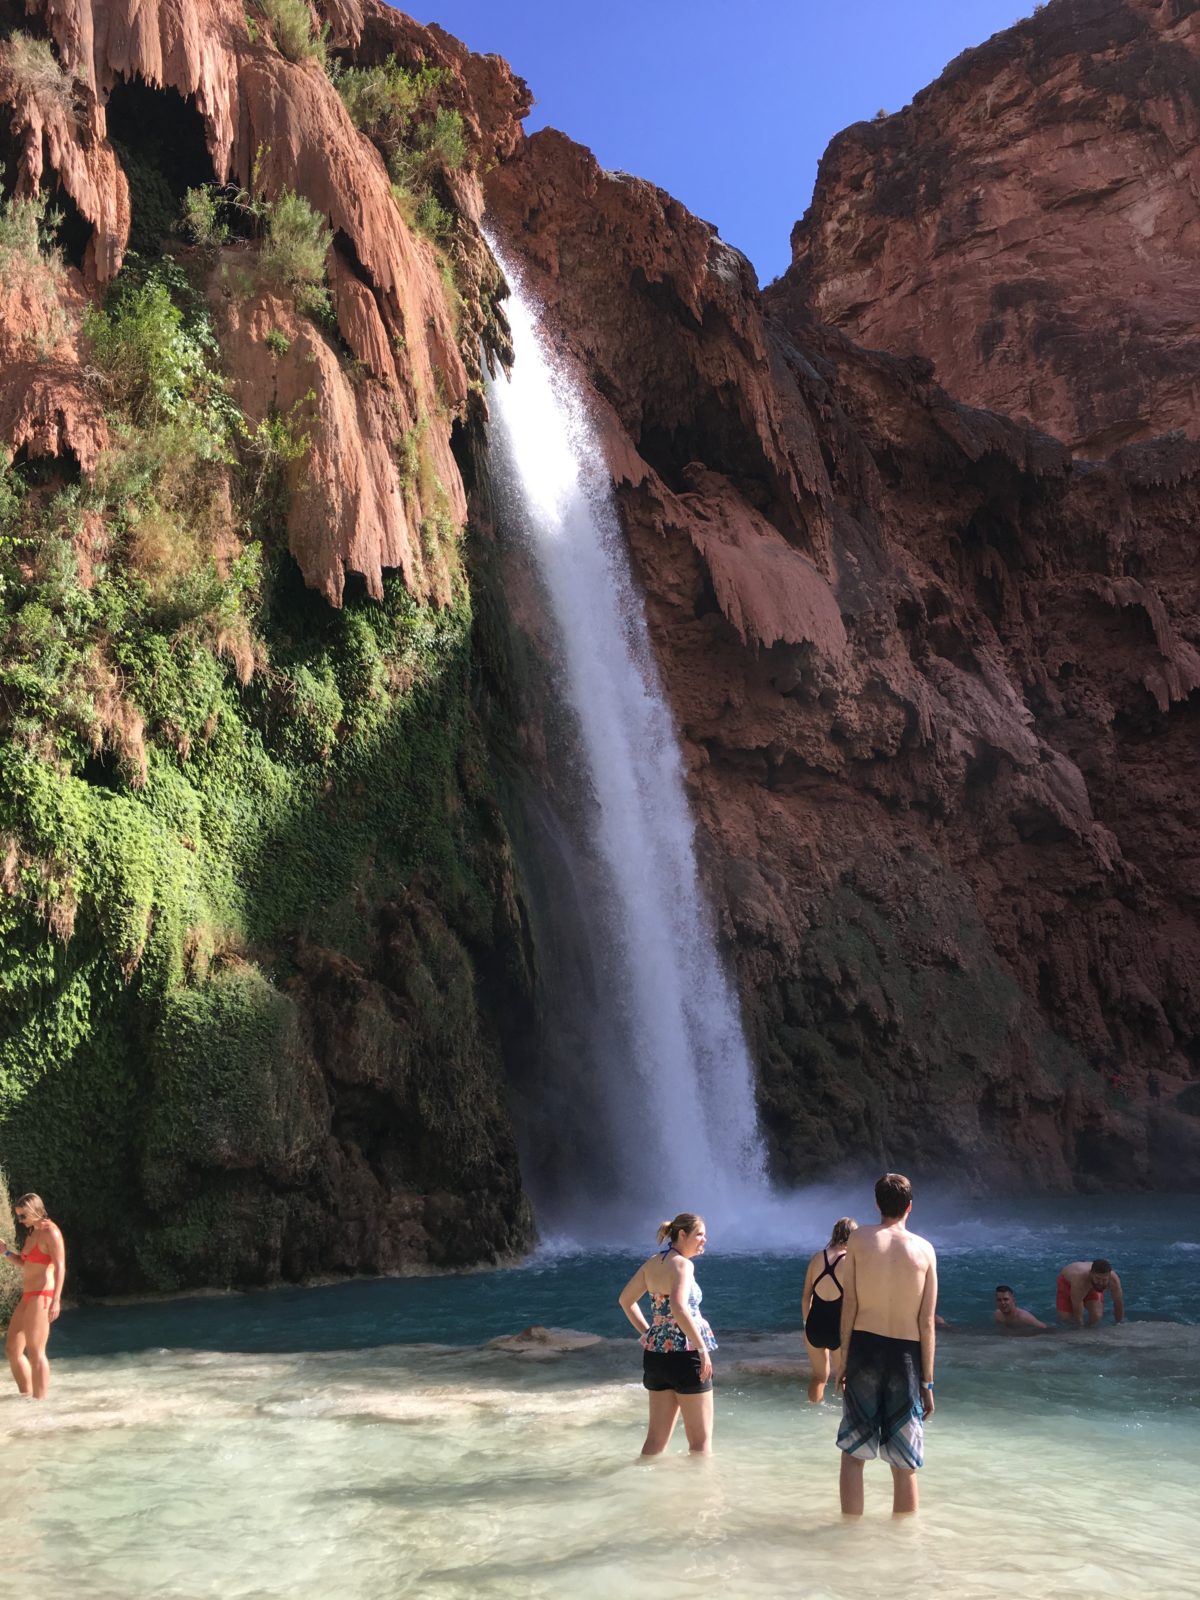
Coolin’ off at the waterfall
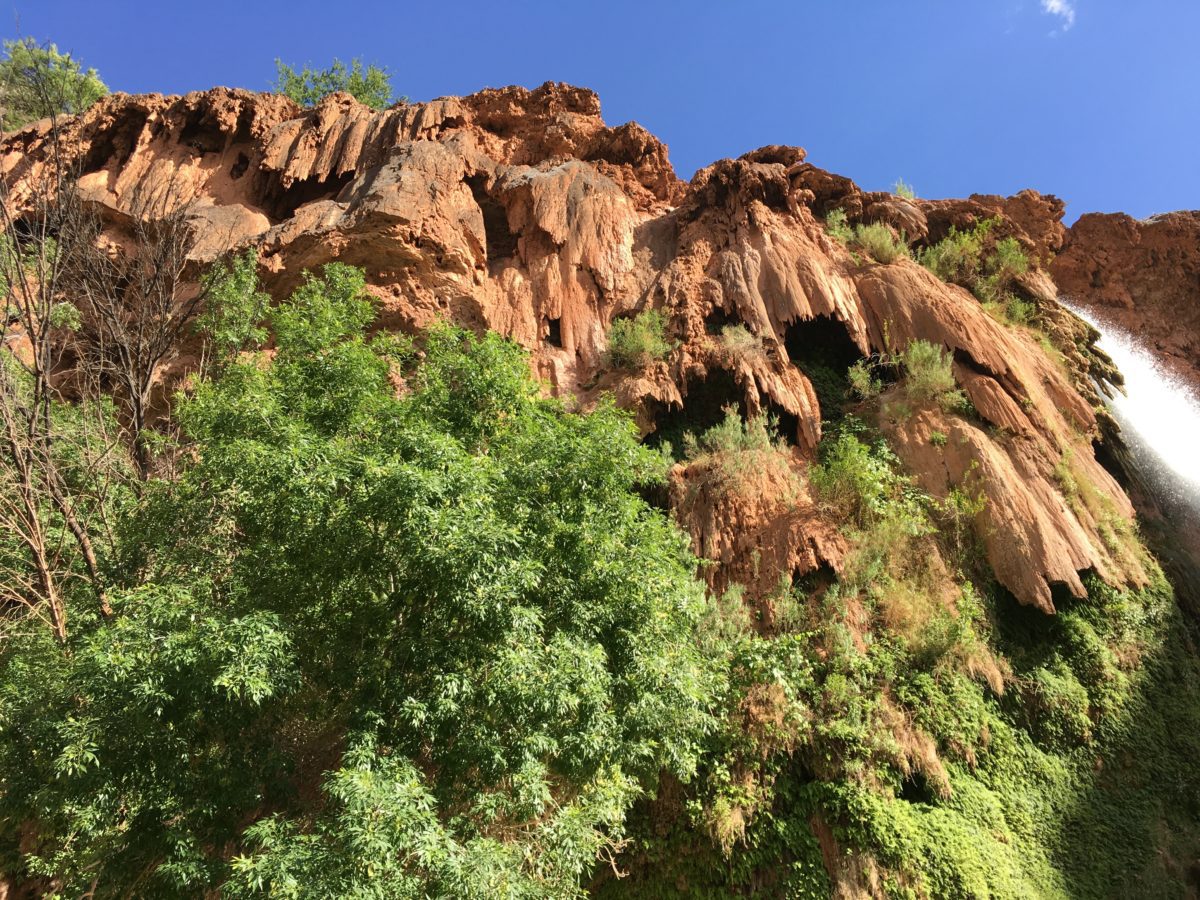
Strange formations frame the top of the falls
Everybody’s having a great time at the falls (myself included)
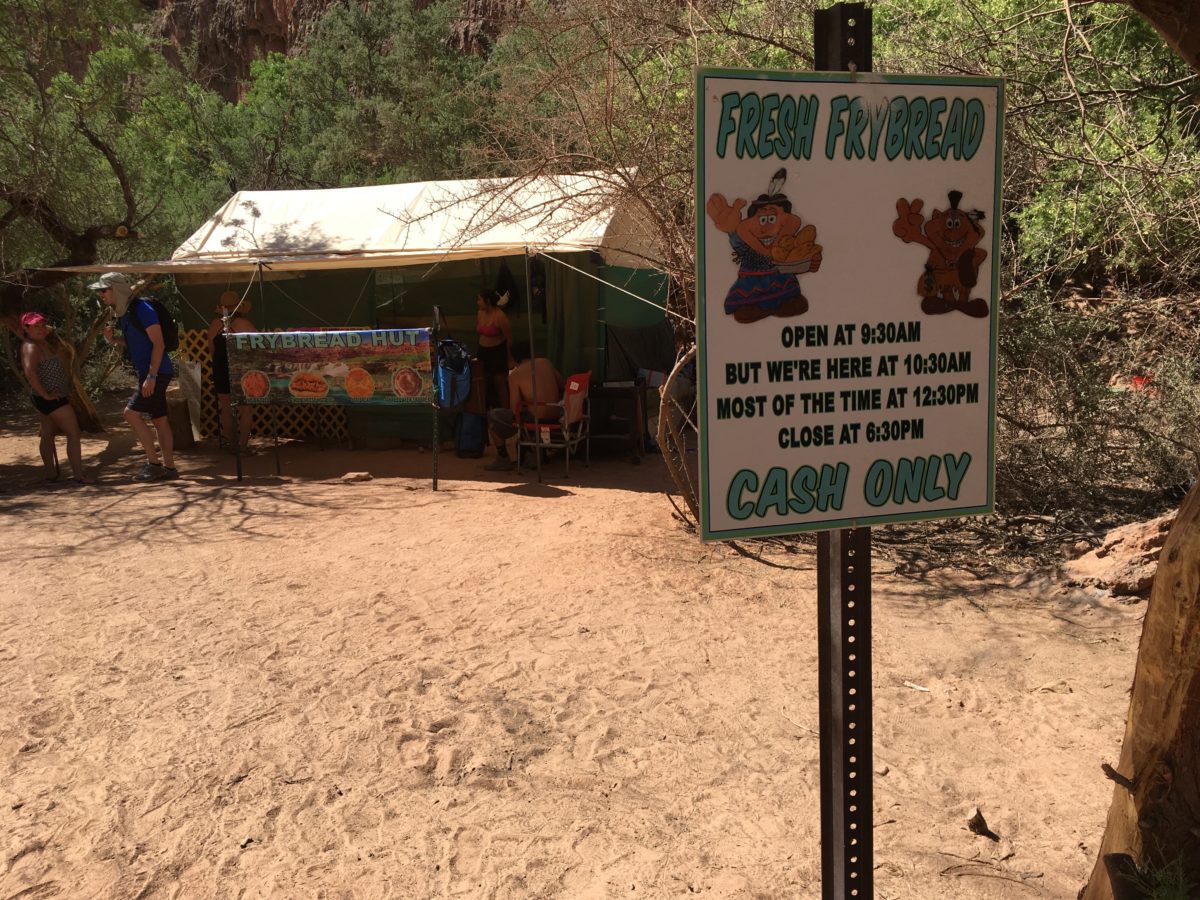
Section 8: Supai Campground
From Havasu Falls, continue down the trail until you hit the entrance to the camp. Here, you’ll find a couple of food vendors, try the frybread!
Mmmm, frybread

An rare empty campsite at the campgound. You can camp on both sides of the creek.
Section 9: Continuing On To Mooney Falls & Beaver Falls
For those with an extra day, many people continue on to Mooney Falls and Beaver falls.
Mooney Falls is located about a half-mile from the end of the campground. This section of the trail takes you along the canyon, through lush vegetation, until you reach the top of Mooney Falls.
Hiking toward Mooney Falls (Image courtesy of R. Nguyen)
Getting to the bottom of Mooney Falls can be a bit of a challenge (the official tribal guide uses the word “treacherous”), as it’ll require you to navigate a system of ladders, chains and footholds down a steep cliff.
It’s challenging, but totally doable, and the payoff is huge.
Mooney Falls (Image courtesy of R. Nguyen)
Beaver Falls is located another 2 miles past Mooney Falls and is equally picture-worthy.
Beaver Falls (Image courtesy of R. Nguyen)
Section 10: Continuing On To The Colorado River
Beyond Beaver Falls, “it’s possible” to continue onto the Colorado River but I believe that adds another 8 miles+ from and it’s not something the vast majority of hikers (including myself) do.
The Hike Back Out:
Remember, the hike out is the hard part.
As I mentioned before, many [most] hikers leave around 3-4 am so that they can make it back to the parking lot before 10:00 am to avoid the direct sun in the hottest part of the day. This will require a little bit of night hiking in the pitch-black darkness – not a problem if you have a headlamp.
Final Thoughts: Hiking The Havasupai Trail To Havasu Falls (Supai, Arizona)
Hiking Havasupai was everything I hoped for and more. It was definitely a “bucket-list” hike. The trail itself was awesome, well-marked, easy to follow, and had amazing sites to see from the beginning to the end.
Havasu Falls was the highlight of the trail [of course]. It was a just plain-old good-time just hanging-out and swimming in the pools with all the other backpackers who made the long trek.
Overall, the distance was what made the hike semi-challenging. But the worst part of this hike – by far – was the stress of just getting the permits. Once that’s done, you can sit back and relax. Remember to bring your hat, sunscreen, and swim trunks and you’ll be A-OK.
Cheers!